
How to Install MDF Shiplap on Interior Walls
Adding accent walls is one of my favorite ways to improve a home. Today, we will learn how to install MDF shiplap on interior walls to create a character filled and customized look! Keep reading for shiplap cost, materials list, and a fast how-to!
Post may contain affiliate links for your convenience.
Adding Shiplap Walls To Increase Character
One of the easiest ways to increase character and customization in your home is to add wood accent walls and millwork. Board and batten, architectural design, mouldings, shiplap, paneling, and other wood additions are all amazing ways to create your own look on a budget.
Here are a few of the rooms I’ve added wood accent walls to in our home to create a custom look!
- Entryway Modern Board and Batten
- Bedroom Skinny Board and Batten
- Mudroom Tongue and Groove Paneling
- Basement Modern Custom Design Millwork
- Plywood Shiplap Accent
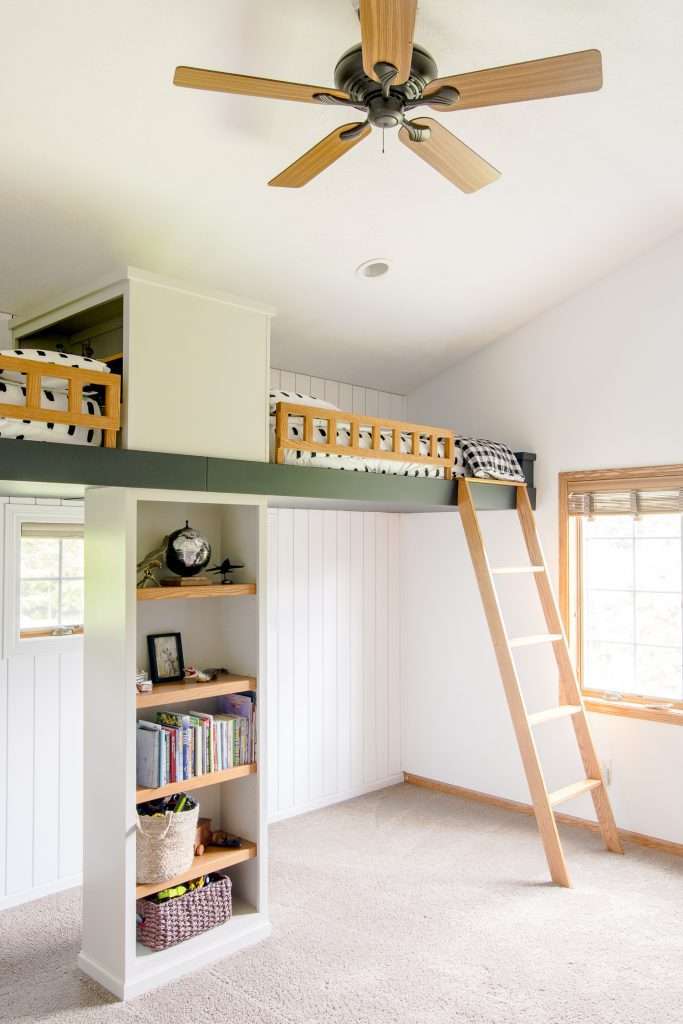
This year, I tackled Owen’s bedroom to create a more modern and older boy’s room look. One of the elements I wanted to add to his room is MDF shiplap underneath his loft beds. I wanted white shiplap to brighten up the otherwise dark space.
It worked! Here’s all the details for how I installed this MDF shiplap.
MDF Shiplap v. Tongue and Groove Traditional Shiplap
To begin, I chose to use MDF shiplap. Traditional wood tongue and groove shiplap has a more rustic and authentic look. However, I wanted a more clean and modern look for Owen’s room.
MDF shiplap comes pre-primed, has no wood grain and is lighter weight. I love the clean lines it gives, and it has the tongue and groove installation style to make spacing effortless.
MDF Shiplap Cost
There are a few compromises you have to make when using MDF shiplap as opposed to the plywood shiplap hack. The main one being: cost. While this product isn’t excessively expensive, it does cost more than some of the popular shiplap hacks going around.
You can see how we used plywood to add a shiplap accent in our basement. This was more cost effective, but the preciseness of the finished outcome wasn’t as good.
You’ll have to do the math for your space to see how much of this product you will need to calculate costs. For Owen’s room, we spent just over $200 to shiplap one wall in a large room.
This MDF shiplap comes in an 10 pack and gives that perfect 1/4″ gap every time!
How to Install Shiplap Walls
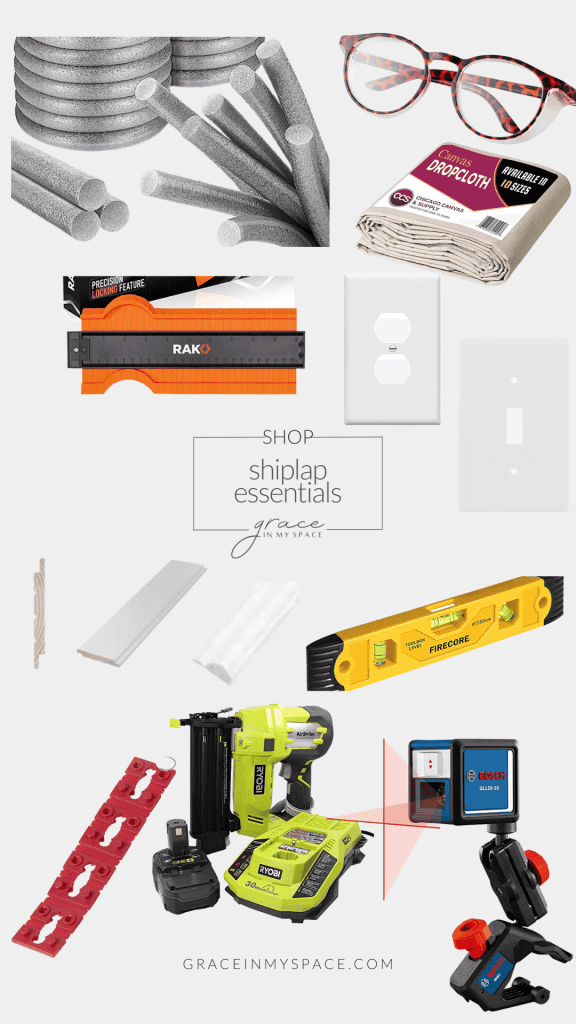
Materials List
- MDF Shiplap
- Measuring Tape
- Finish Nail Gun (electric or air compressor)
- 2″ Finish Nails
- Miter Saw
- Jig Saw
- Table Saw (depending on cuts needed)
- Square
- Level
- Pencil
- Caulk
- Caulk saver for large gaps
- Receptacle spacers
- Wood Filler
- Liquid Nails or Construction adhesive (optional depending on use)
- Optional: Contour Gauge for tricky cuts
- Optional: Base cap for trim
- Optional: Oversized outlet covers to hide gaps
TOOLS YOU’LL NEED

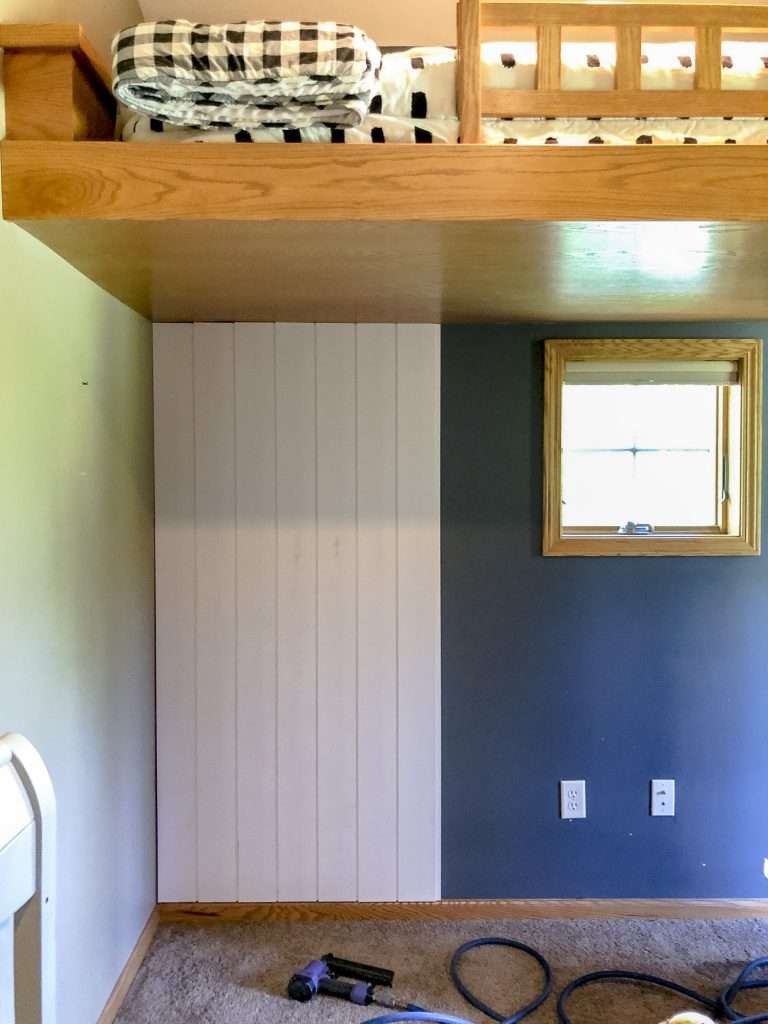
First, measure your space to determine how many boards you need to buy. Overestimate so that you don’t run out mid-way through the project due to failed cuts or mis-measurement.
Once you’ve purchased your boards and have all your supplies, set up a work station outdoors. MDF shiplap puts off a lot of saw dust for even small cuts.
How to Handle Thin Baseboards
You can choose to remove your baseboards and install all the way to the floor with plans to add baseboards overtop, or leave the existing baseboards like I did. I painted mine to match so it looks seamless in the end.
If you have thin builder grade baseboards, add a piece of base cap installed upside down before installing your shiplap. This gives the same profile edge for the shiplap to sit on rather than overhanging thin trim. See this video for a visual explanation.
How to Secure Shiplap to Walls
After that, begin in a corner of the room. Measure your first board and ensure that it is level before installation. This first board will be the foundation for the rest of the room, so you want to make sure it is level!
Install it with the gap and tongue facing down the wall, not into the corner.
Using your nail gun, adhere the board to the wall along the tongue and add a couple of nails in the corners. Nailing into the tongue instead of all over the boards allows for an unmarred finish.

I chose not to use construction adhesive in addition to the nails because I do not plan to hang anything on this accent wall. Since my nails aren’t going into studs (for the most part), it is essentially a floating wall.
If you plan to hang items of any substantial weight onto your shiplap, you’ll want to ensure it is nailed into studs, add secured perpendicular boards to nail it into, or use construction adhesive.
Continue installing each board by sliding the previous tongue into the groove of the new board. Then secure each board with nails.

Working Around Windows & Outlets
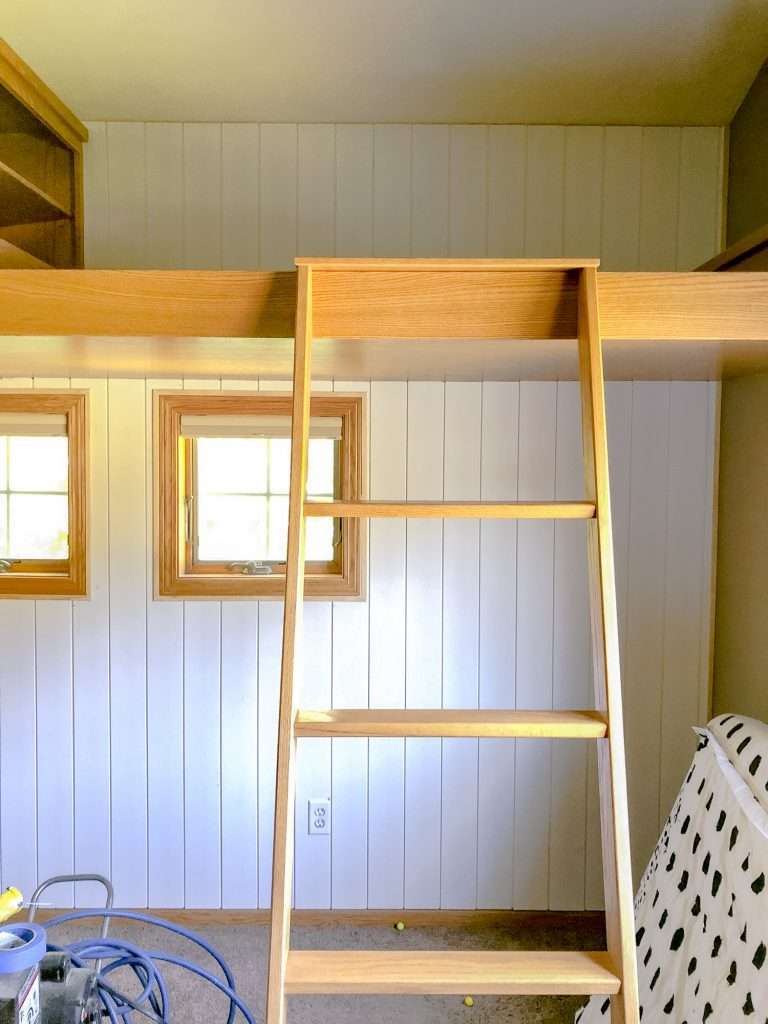
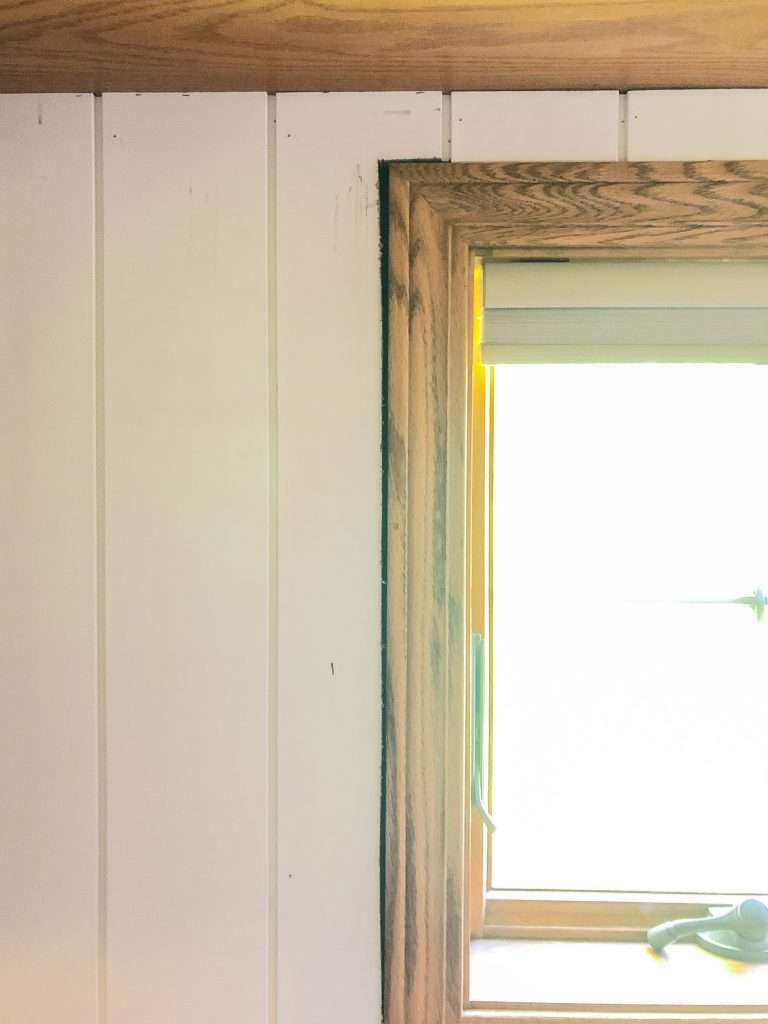
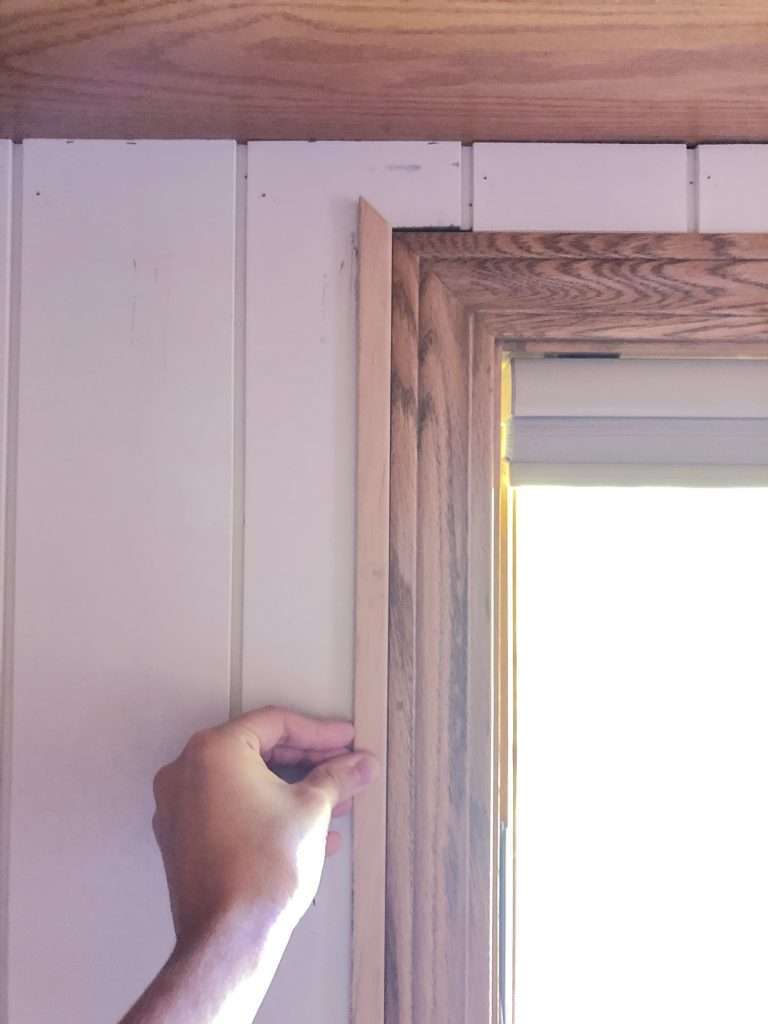
The flow of this project is pretty quick unless you have a lot of windows to cut around! We have three square windows in Owen’s room that I used a jig saw to cut out my boards.
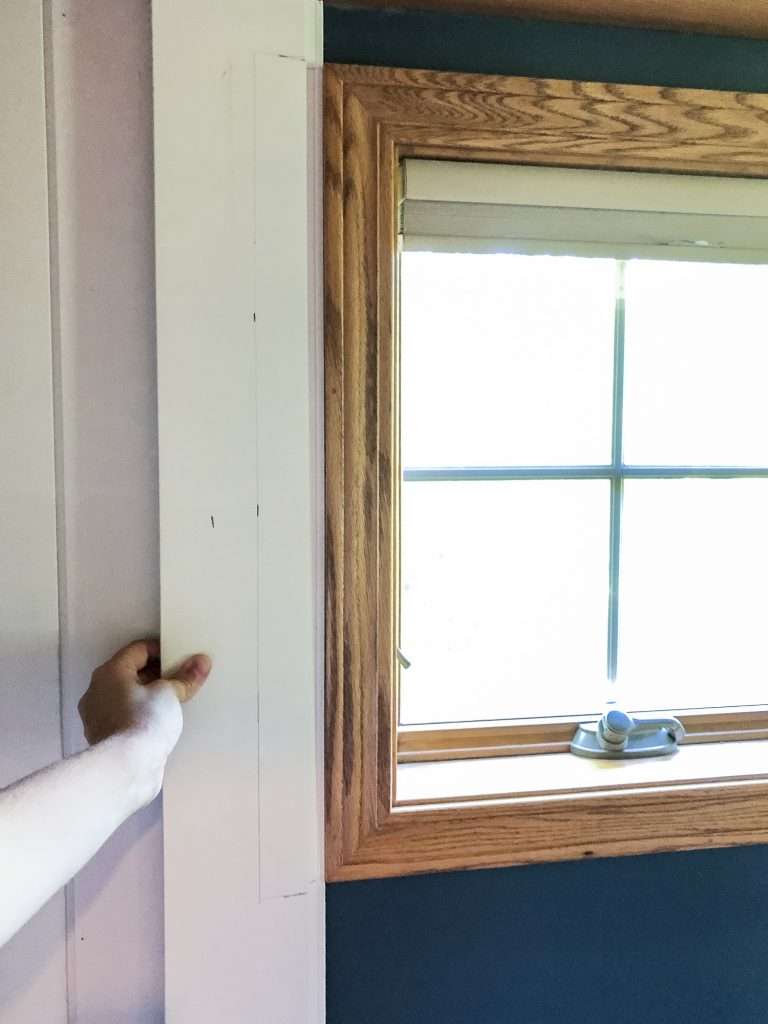
Traditionally, you should remove your window trim prior to installation. That way you can work all the way up to the window itself and reinstall the trim afterward.
We are planning to replace these windows in the next two months, so I chose to keep the trim on and create a work around since the trim will be replaced with something new soon.
Simply measure the space you need to cut, draw it onto your board, and then make the cuts. Make sure that you take into account the 1/4″ gap that is naturally built into the boards.
If I had a table saw or circular saw, I would have used those to get more precise cuts. However, I don’t have either of those tools and used what I had!
Any blunders or gaps can be covered with trim or caulk.
Do the same process for cutting around outlets.
Trimming After Installation
Once you have worked your way around the room, the final step is to trim out any areas that need some assistance. 😉
I had one corner of the room that was showing a bad cut, so I used simple trim to cover those gaps and to trim around the windows.

Extend Outlets
One piece of the project that many overlook is the extension of existing outlets. Since you are adding depth to the wall, you either have to extend the entire electrical box, or use these receptacle spacers!
If they are to code in your state, you can use receptacle spacers to extend your outlets and light switches rather than pulling the entire electrical box forward. This saves a lot of time so that your covers sit flush on the shiplap!
This genius product made it so easy to extend my outlets. Simply get longer screws, add the spacers, and screw it back in! Super easy and no real electrical work.
Caulk, Fill and Paint
The final steps are to ensure that your shiplap looks as clean as possible! Caulk any unsightly seams.
This is my favorite paintable caulk.
If you have very large gaps, use foam caulk saver so you aren’t wasting excess caulk that takes forever to dry.
Use wood filler to fill in any nail holes directly on the surface of the shiplap. Once it is dry, sand it down smooth.

Then, paint! I painted all my woodwork with an oil based primer, then painted all of the walls and shiplap in White by Rust-Oleum.

You can see all the painting details in Owen’s room reveal!

MDF Shiplap Accent Wall Reveal
And, it’s done! It’s not perfect, but it’s done. This is an easy beginner DIY project. My 9 year old son even did most of the cutting and install!


It makes a big difference in his room! I love that we were able to brighten it up without simply adding boring white walls. Now there is character and a touch of modern to the space!

We added this daybed for lounging and topped it with my favorite bedding for kids. You can learn all about this zipper bedding in this post.

Stay Connected
I hope that you enjoyed this project! It came together nicely. If you missed the before photos, you are definitely going to want to check those out!
Make sure to subscribe to the blog for more to come!


This post was incredibly helpful! I love the step-by-step approach you took for installing MDF shiplap. The tips on measuring and cutting were especially useful. Can’t wait to try this in my own home! Thanks for sharing!
It is not only an idea for walls but it is really a talent!
I’m assuming you will have to cut/trim the top board that meets with the ceiling?
I’m not sure I understand your question! You can either use a horizontal board to trim out the ceiling or put your shiplap right flush to the ceiling.
You gave such a great idea for wall construction at home. It makes a big difference in his room. I love that we were able to brighten it up without simply adding boring white walls. Now there is character and a touch of modernity to space. It makes it so much easier to make the beds, especially up high, The pillows and blankets are also from Beddys.