
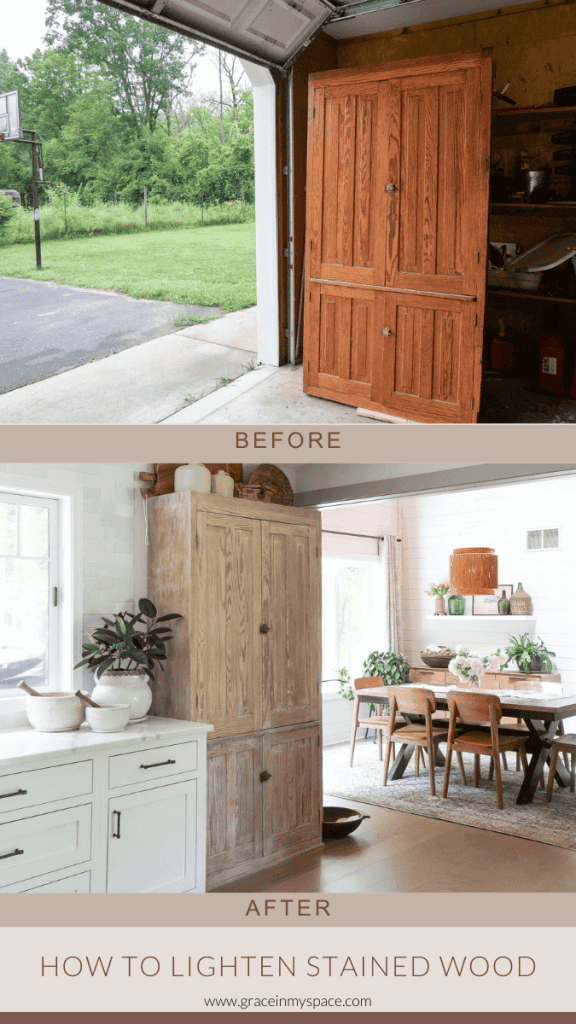
How to Lighten Stained Wood | 7 Options That Work
When refinishing furniture, the wood color is often the first thing people want to change. But how do you lighten wood stain that is too dark? Today, I’m sharing multiple viable options for how to lighten stained wood!
This post contains affiliate links where I earn a small commission on your purchases at no additional cost to you.
How to Lighten Stained Wood
7 Ways to Lighten Stained Wood
As with any furniture refinishing project, there are multiple ways to accomplish the same goal.
Here are the top 7 ways to lighten stained wood, with a detailed description of each process below.
- Steel wool
- Paint and varnish stripper
- Sanding
- Wood bleach
- Whitewash
- White Stain or Pickling
- Liming or Cerusing Wax
The method you choose will be dependent on your piece of furniture, as well as your skill level.
Additionally, some wood species or furniture pieces may require a combination of more than one wood lightening method.
How to Lighten Stained Wood Without Sanding
First, let’s talk about the options for how to lighten wood without sanding. Most people want to avoid this step because sanding is extremely tedious, messy and physically taxing if you’re working on a large piece.
Additionally, you may have just applied a wood stain that turned out darker than you’d hoped and you want to lighten it. There are a couple of options for how to lighten stained wood without sanding.
The first step is to thoroughly clean your piece with mild soap and water, if it is older. Let it dry fully before continuing. Only fully dry pieces will show the true wood tone you are working with.
Use Steel Wool to Lighten Stained Wood
Steel wool is a viable option to lighten wood without sanding. Start by dampening your 0000 steel wool in warm water. Run the steel wool along the grain of your wood to avoid scratching it.
This will require some elbow grease. Make several passes, applying light pressure, and see if the wood begins to lighten. If it does, then keep going!
If it doesn’t, the next step is to add mineral spirits or turpentine. Repeat this process with steel wool or a clean cloth until you’ve reached the desired lightness in your wood.
*Reader Disclaimer: A note that steel wool can cause black spots on oak when the metal interacts with the tannins! Avoid using steel wool on oak wood.
If you’re looking for an affordable option for lint free tack cloths, I like to repurpose my husband’s worn out white t-shirts he uses as undershirts for his dress clothes. They are lint free, easy to cut to size, and a great option for repurposing instead of throwing them out!
Use Paint and Varnish Stripper to Remove Stain
If the above option doesn’t work, and you don’t want to sand, then your next step is to remove the stain as much as possible.
Using a paint and varnish stripper is another option to lighten stained wood by removing it to start fresh.
I’ve always used CitriStrip because it is low-odor and gentler than harsh strippers. Another positive is that it can sit on the piece for up to 24 hours so you are less tied to the project, if you can’t apply and remove the stripper in one afternoon.
If you’ve never used furniture stripper before, follow my simple tutorial here, where I show you how I stripped and refinished my dining table top.
The Best Way to Lighten Stained Wood
Now that we’ve covered some of the ways to attempt this without sanding, let’s dive in to what I would recommend as the best way to lighten stained wood.
This involves a combination of sanding, bleaching and applying a top coat.
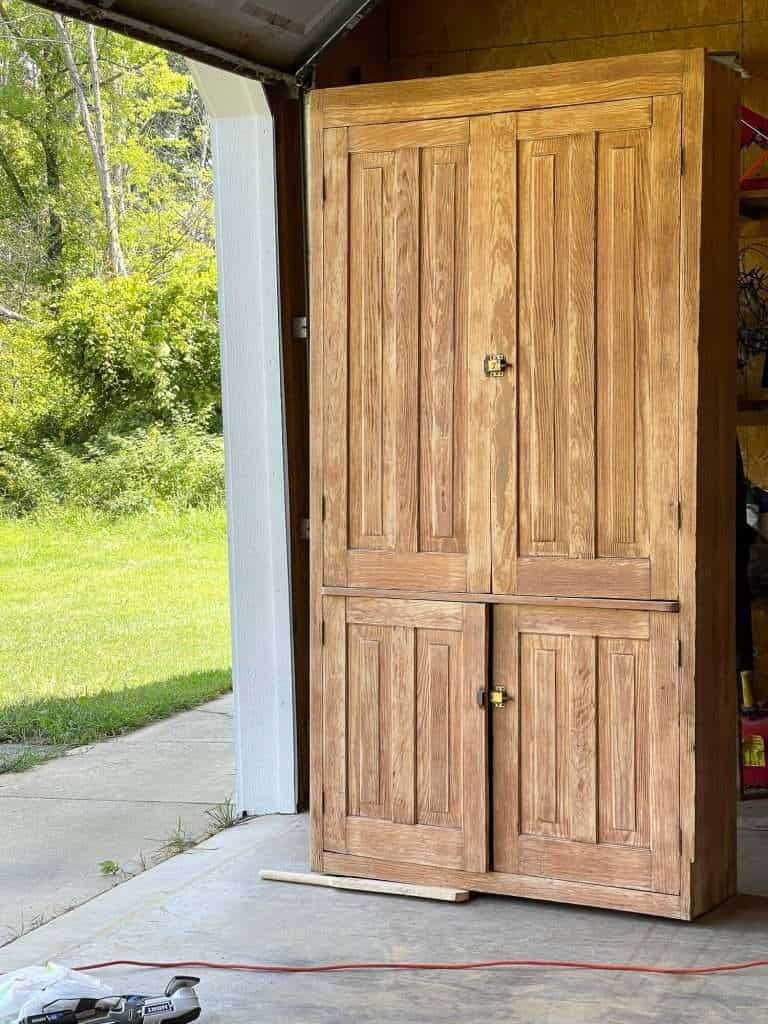
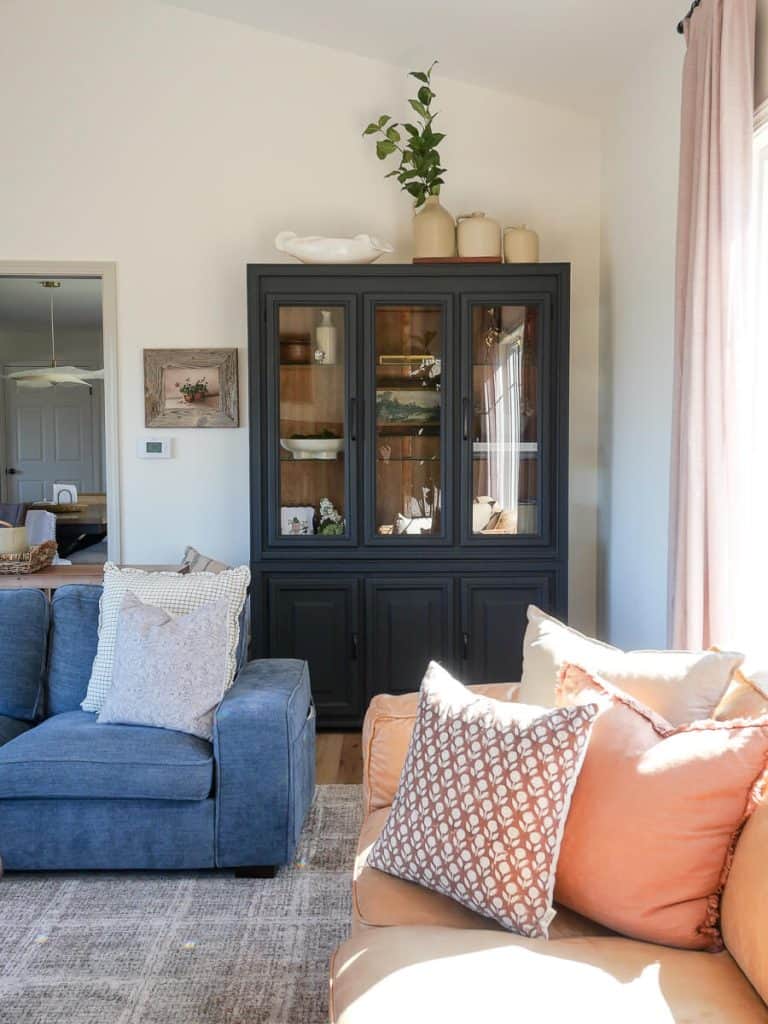
Let’s use my cabinet as an example of this process.
Remember, every wood species has a different undertone to take into consideration. To learn more about that, check out this post where I shared how to change the color of wood.
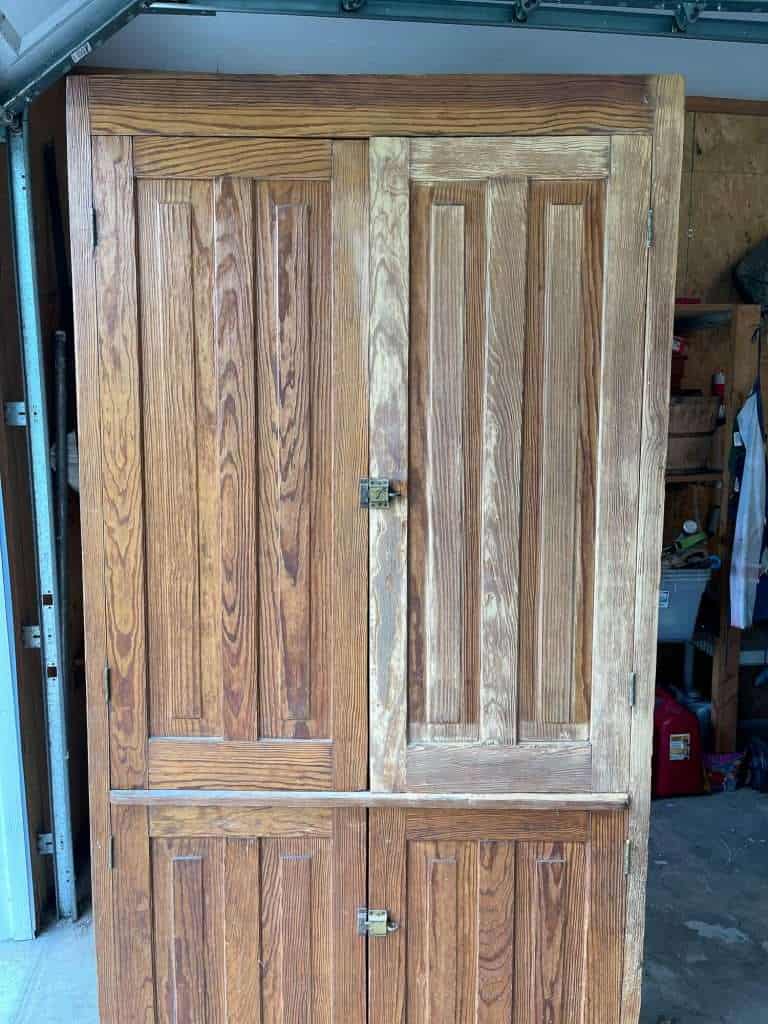
For my cabinet, I was dealing with significant red undertones with subtle yellow undertones. I wanted a much whiter look, but didn’t want to whitewash it.
Here are the simple steps from start to finish on my piece!
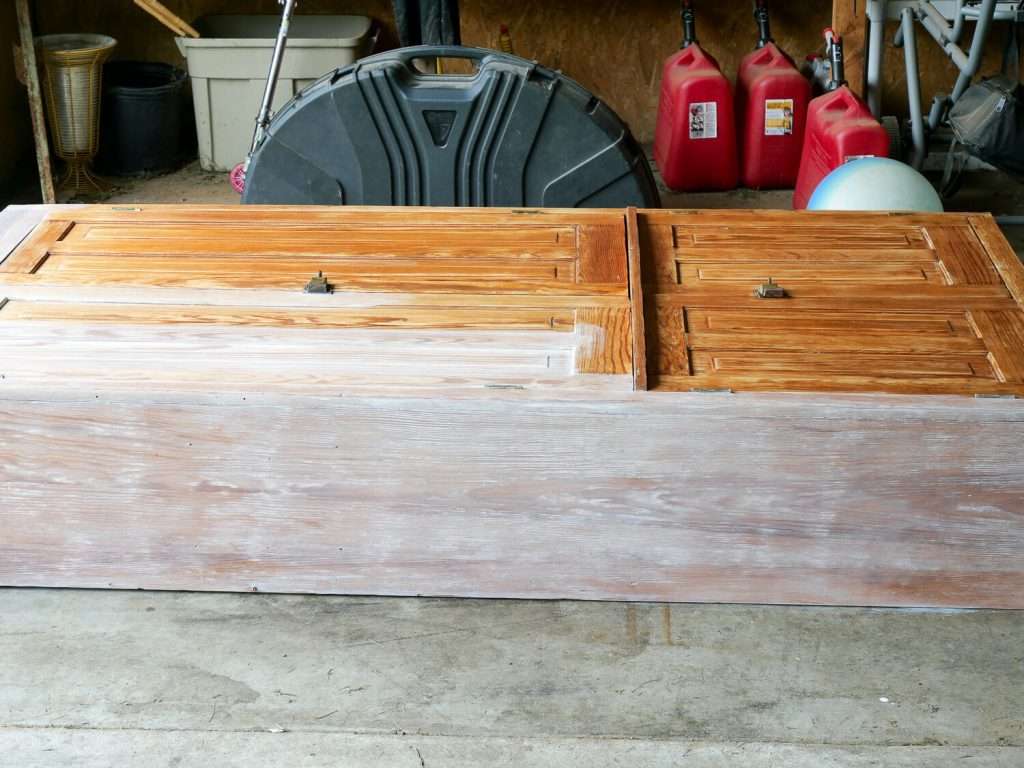
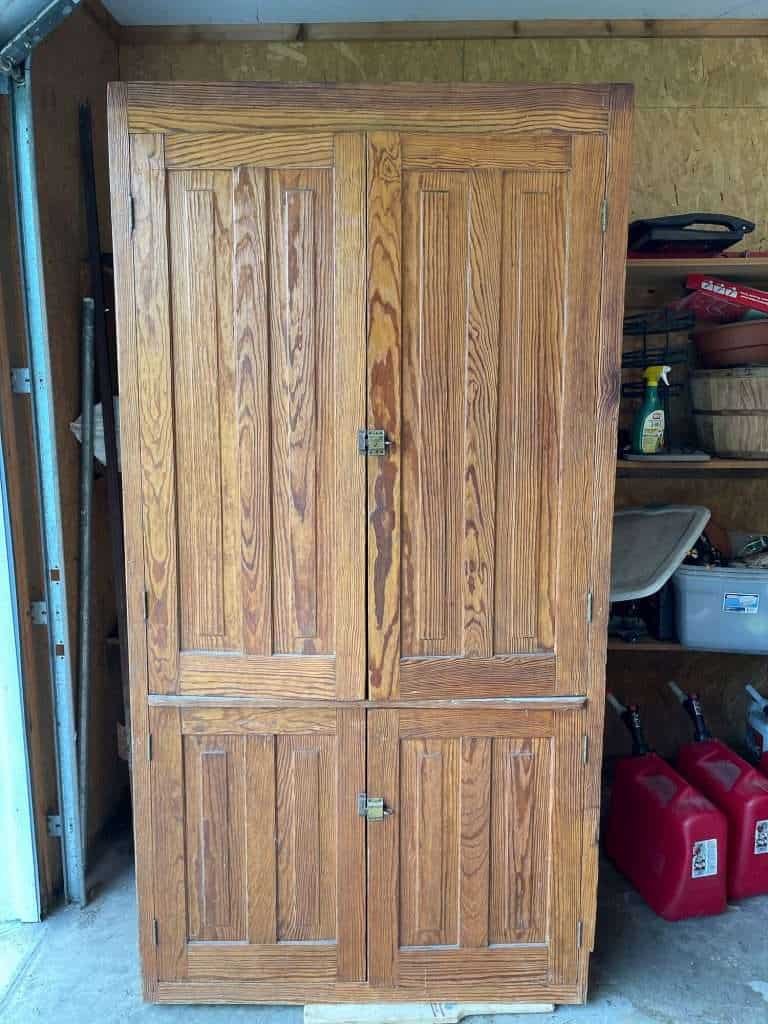
Case Study: Lightening a Red Oak Cabinet
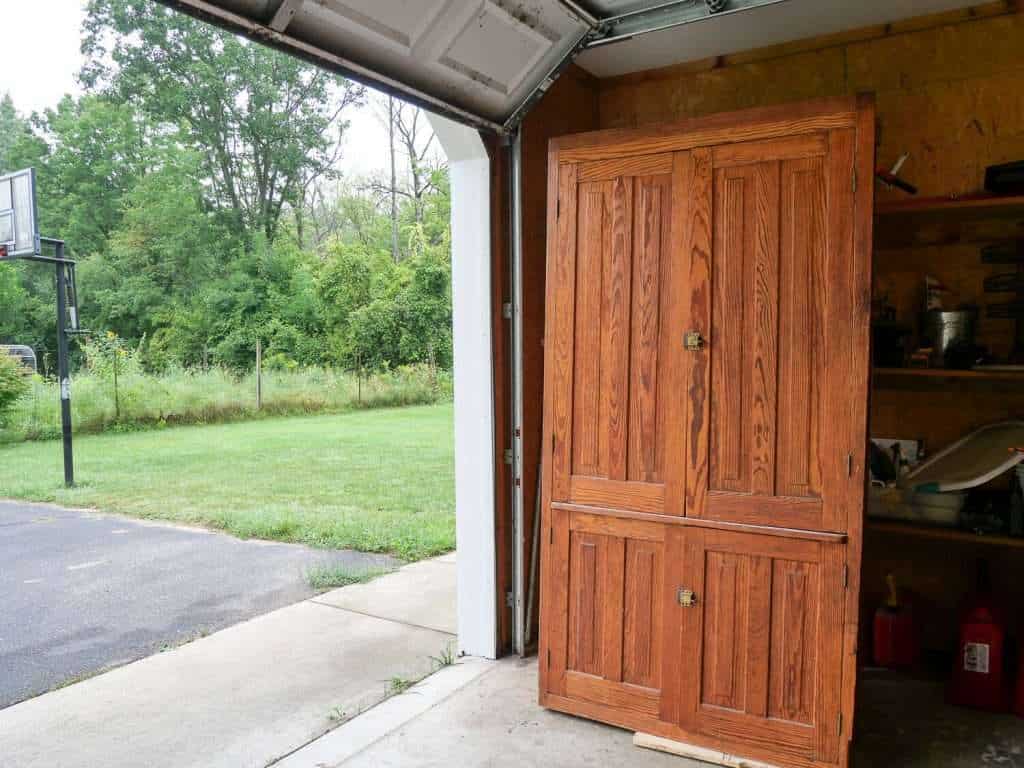
It was heavily lacquered with a dark red-tint stain. I wanted to lighten the wood significantly to give it more of a raw wood look.
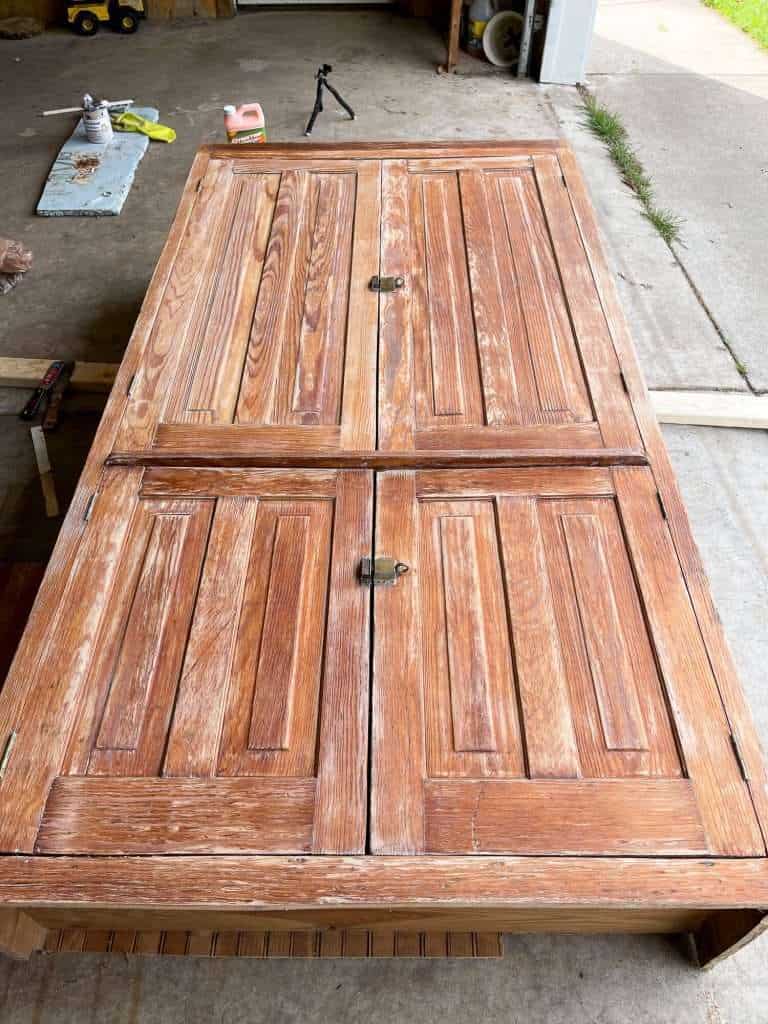
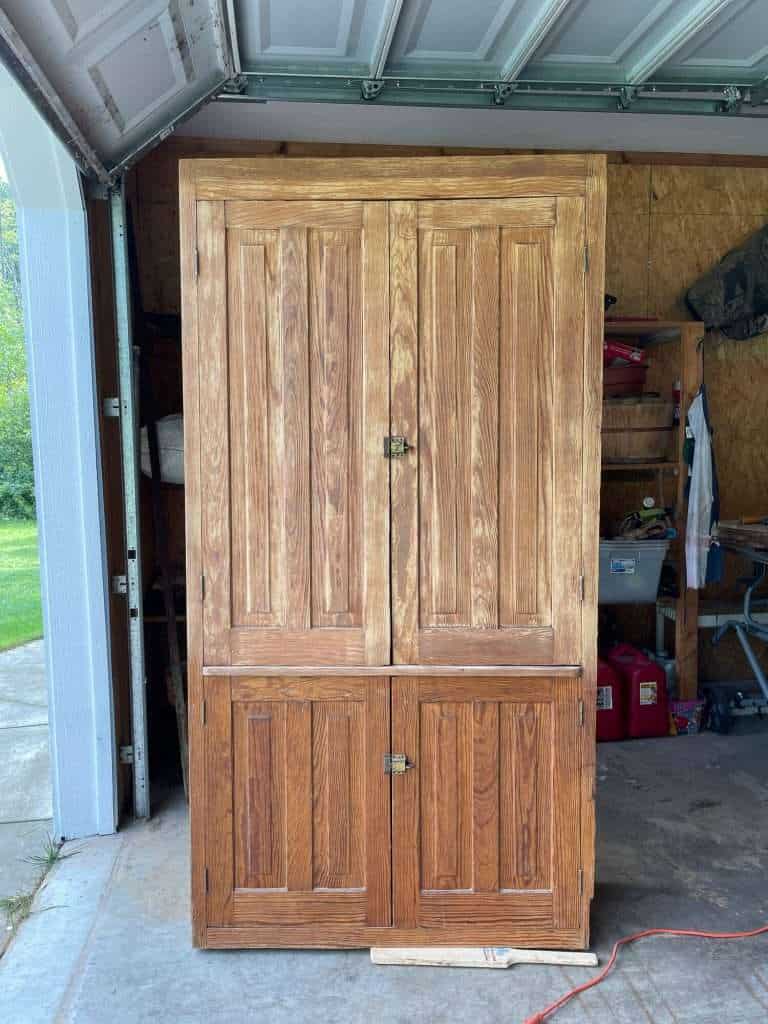
Step 1: Sand
Start by sanding your piece down to the raw wood.
This is extremely tedious and time consuming on a large piece. However, it will give you the best outcome if you’re looking for a very raw and organic color in the end.
Begin with 60 or 80 grit sandpaper to take off the finish as quickly as possible if you are working with a thick varnish. Always sand with the grain of your wood, applying light pressure.
The harder you push, the more you risk marring your wood. I use this palm sander.
For detail sanding, here are a few additional options:
- Multi-Tool for corners and grooves
- Dremel with grinding accessories
- File Sander for very tight spaces
- Micro Power Sander for odd angles
- Micro Tool for tight spaces that are delicate
- Fine Detail Sanding Sticks
Once you’ve taken off the stain with a low grit sandpaper, the next step is to smooth it out. Go up incrementally in steps with your sandpaper grit.
I used 80, then 150, then 220.
This creates a smooth finish on your wood so that it accepts stain the best.
At this point, you might have achieved your desired wood color! If so, you can seal it with a top coat.
This topcoat has come highly recommended by many wood workers for keeping the original color and not darkening it.
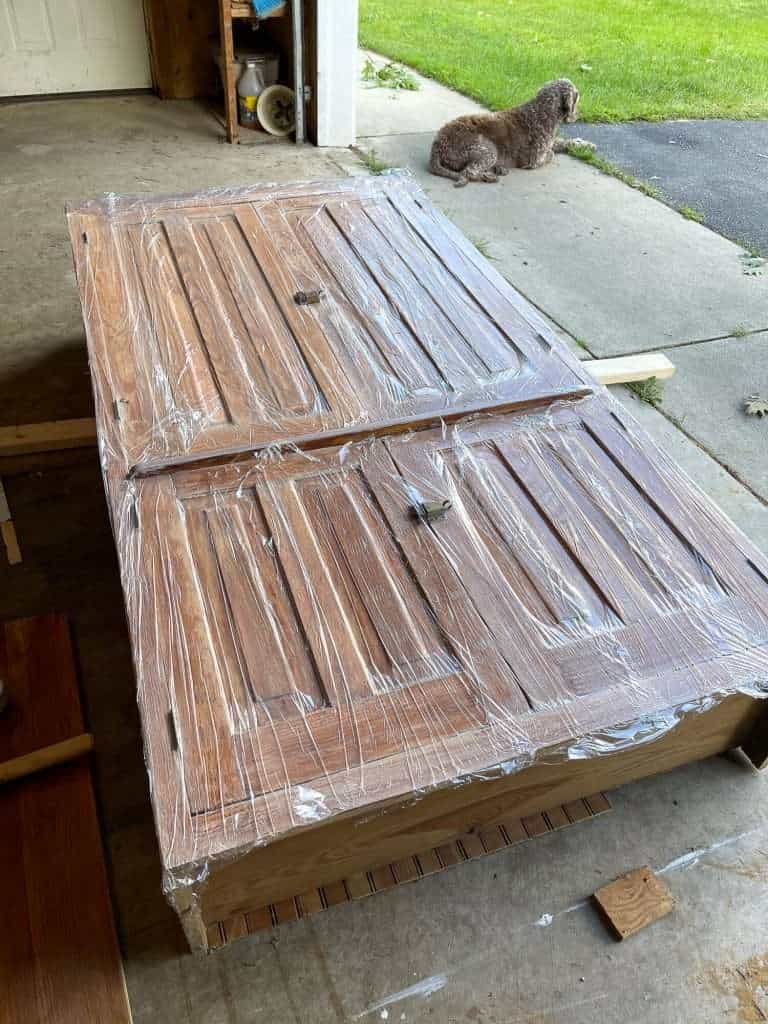
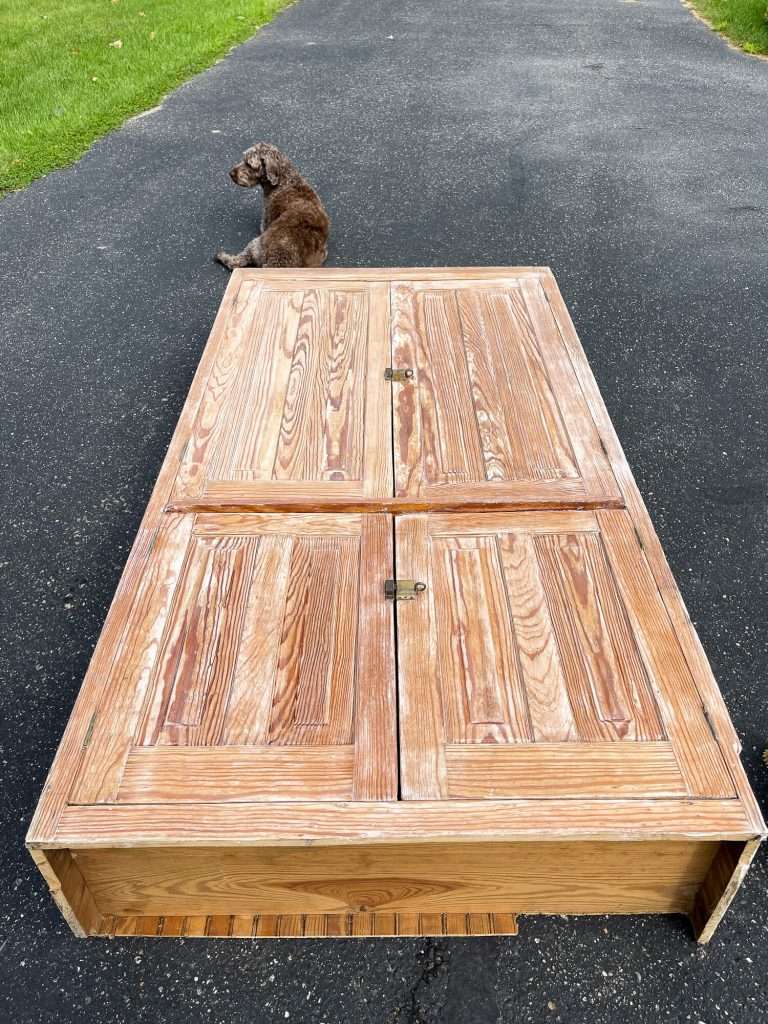
Step 2: Add Wood Bleach
If you’ve sanded your furniture down to raw wood and it still isn’t light enough, the next step is to bleach your wood. For this step, you have a few options.
Can I Apply Household Bleach on Wood?
Short answer: yes, household bleach will lighten wood. However, it’s not the only (or best) option.
Household bleach will remove leftover dye from wood, but it won’t actually change the wood color itself. For my project, I only had regular bleach on hand.
I applied the bleach with my favorite scrub brush and then let it dry in the sun. It lightened my cupboard significantly.
If using this method, you can apply multiple layers of bleach over time until you achieve the desired color of wood.
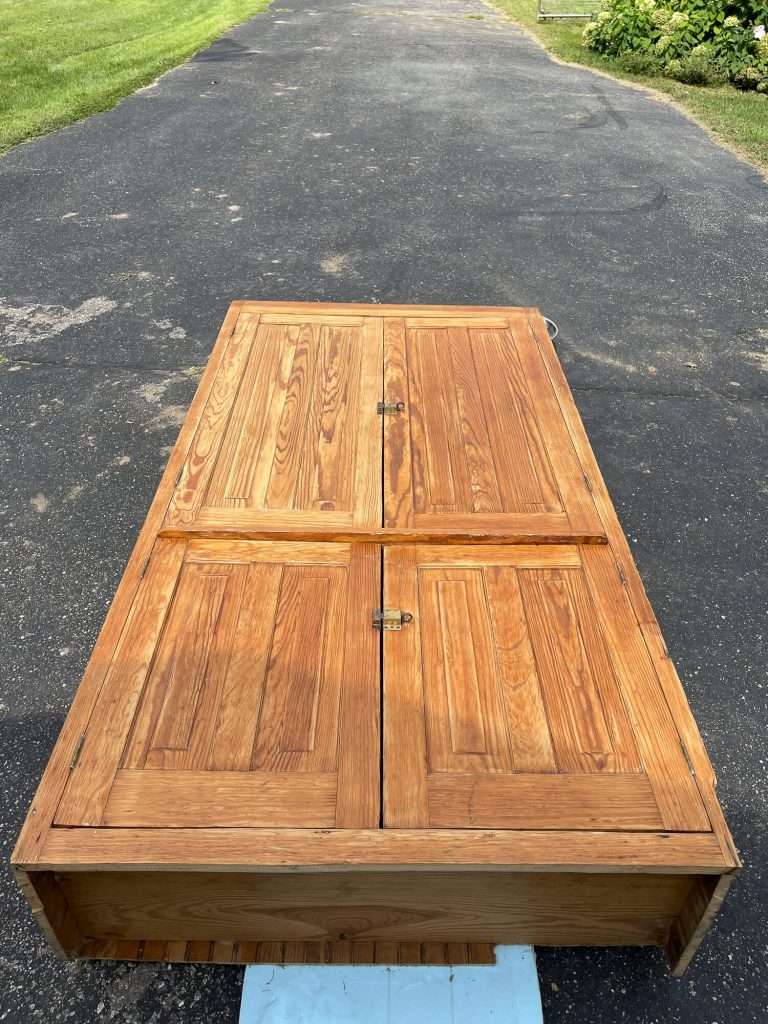
Once you’ve lightened the wood as much as you want, use a 50/50 vinegar to water solution and wipe down your wood. This neutralizes the bleach.
Let it dry fully between each coat so you can see how much the wood actually lightens. If your wood is damp, it will appear darker than it is when it’s dry.
How to Bleach Wood Using Wood Bleach
Using household bleach on wood is one method, however, if it doesn’t give you the desired look, then the next step to bleach wood is with wood bleach. Of course, you can always start with this in the first place as it is most effective!
As you are figuring out how to lighten stained wood with wood bleach, go in increments.
Start with one application and see what it does to your wood color. Let it dry fully, then decide if you need another coat. It’s all about the baby steps as you don’t want to over-lighten your wood accidentally.
There are a few wood bleach products on the market to choose from.
Savogran Wood Bleach
Savogran wood bleach uses oxalic acid and water to lift color. This bleach is known for removing black spots and stains. It may take a few applications to achieve your desired color, but it’s a viable option for how to bleach furniture that isn’t extremely dark.
Zinsser Wood Bleach
Zinsser wood bleach is another option that is more “heavy duty” for dark tone woods like cherry or mahogany.
The beauty of this bleach is that is actually takes the color out of the wood, without removing the grain.
As with the other methods, start with one application. If it doesn’t remove the color to your liking, you can apply another coat.
Step 3: Lighten Your Wood Further With a Top Coat
At this point you may be happy with the color of your wood.
Again, take these step by step and see how your wood looks before trying the next step. If you’re happy after bleaching your wood, then seal with a top coat.
On the other hand, you might want to take it a step further to lighten your stained wood. With my cabinet, I wanted to counteract some of the yellow undertones that came out after bleaching.
Here are some options to continue lightening your wood.
White Wash
White washing is simply mixing white paint and water to lighten wood. Then, applying with a rag or brush.
The more paint you add to your mixture, the more opaque the finished look will be. So, if you’re looking to just lighten your wood without covering the wood grain, then use mostly water with a few drops of paint.
Start with less paint and you can always add more as needed to achieve your look. Test a hidden area on your piece to make sure you have the right mixture before applying to the whole piece.
White Stain, Pickling or Color Wash
Part of the process I undertook with my cabinet was adding Antique White stain. I’ve used this stain to neutralize undertones in the past and love the way it looks.
As part of my cabinet process, I did apply Antique White to the entire cupboard.
Similarly, you can try applying a color wash, which is a similar option. There is also stain that produces a pickling effect and can be applied over existing stain. And of course, you can always try weathered stains!
The sky is really the limit on applying stain to your bleached wood. You just have to be willing to test which option is best for your wood and the final color you’re trying to achieve.
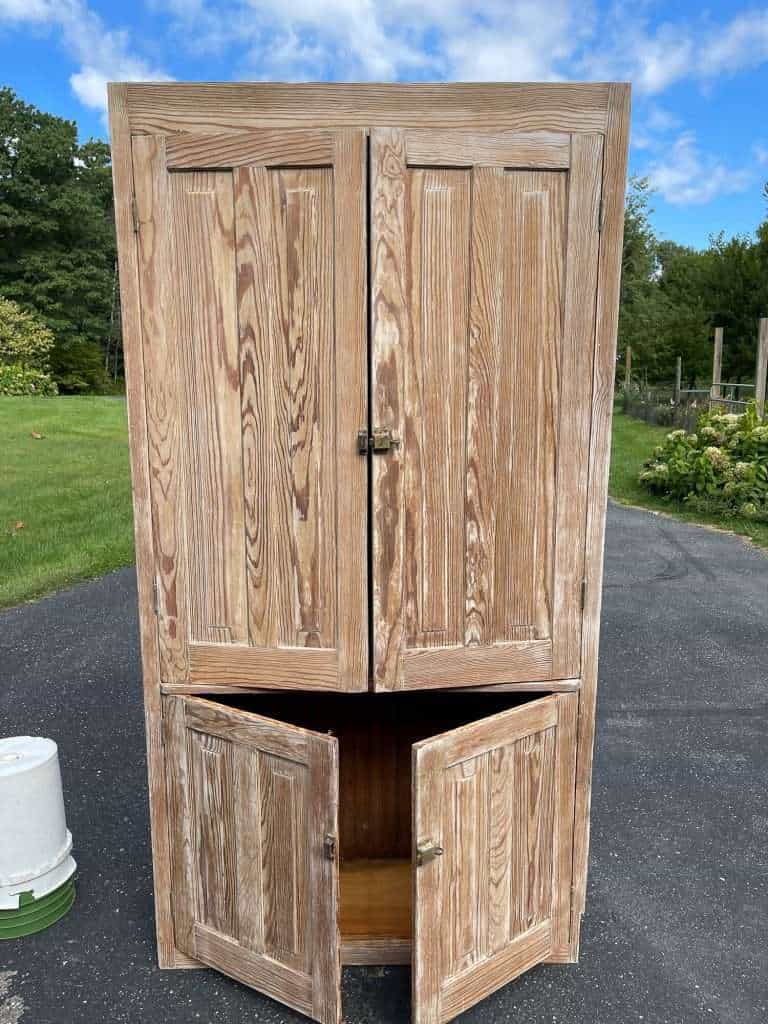
Liming Wax or Cerusing Wax
The next option is to apply a liming wax or cerusing wax.
These are very similar in the final outcome, and both give that vintage worn look with a white grained finish. The main difference is that the cerusing wax finishes out to a more durable topcoat.
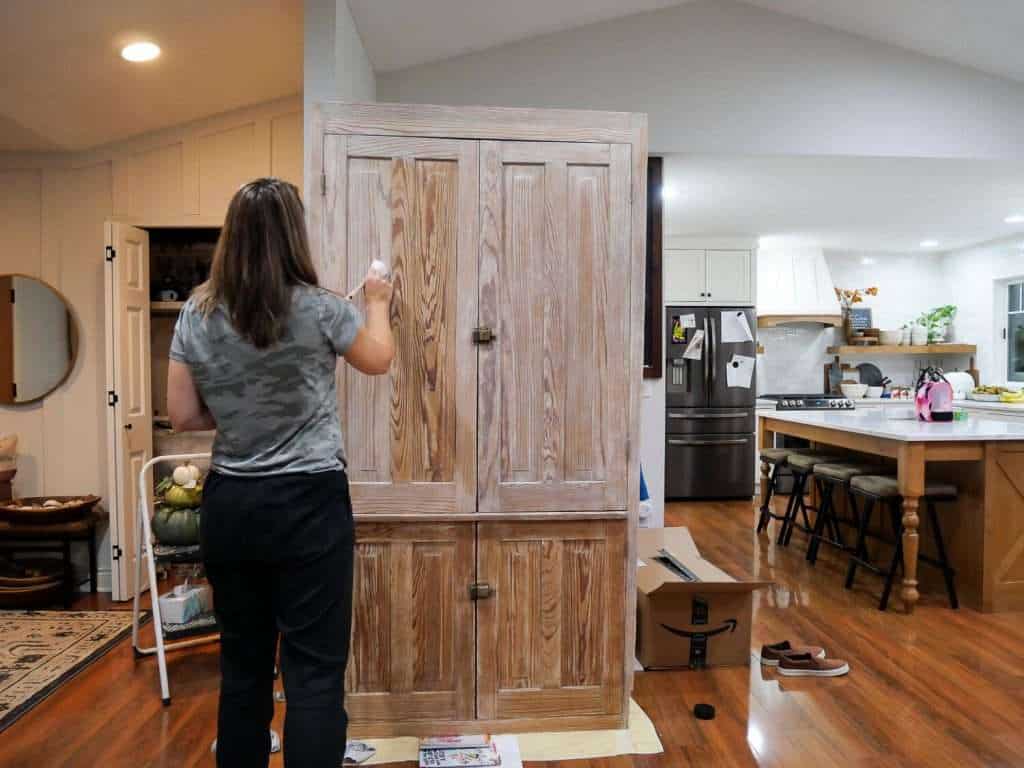
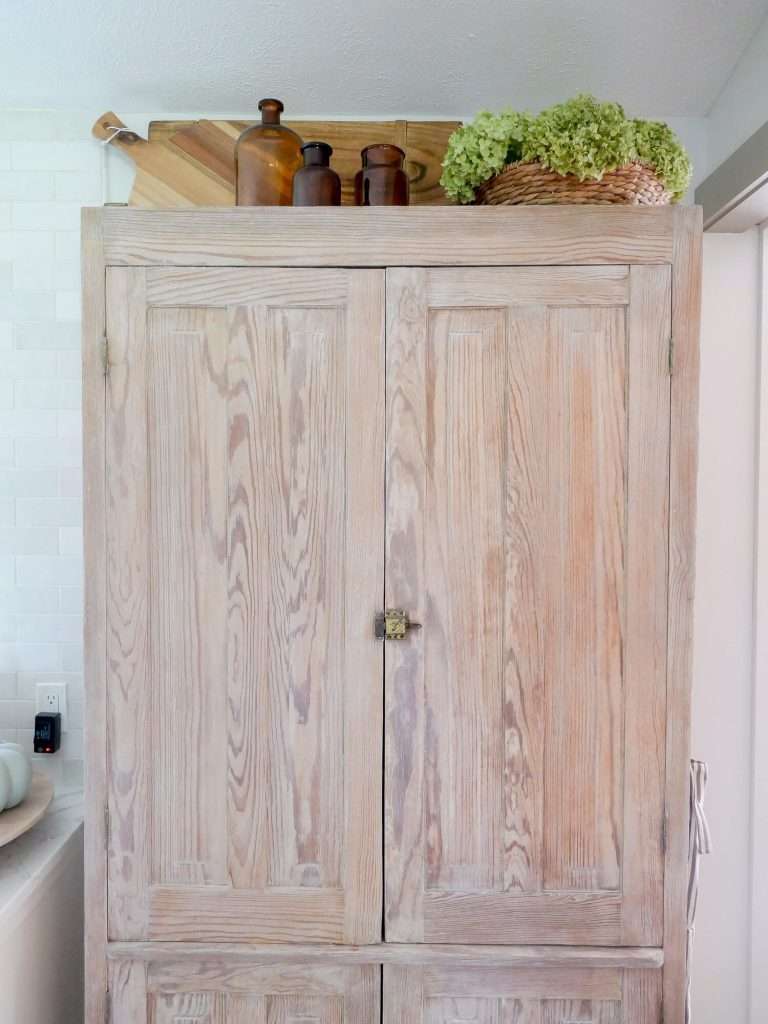
I ended up applying a liming wax to my cupboard as the final top coat and am so happy with how it turned out.
It was a simple process.
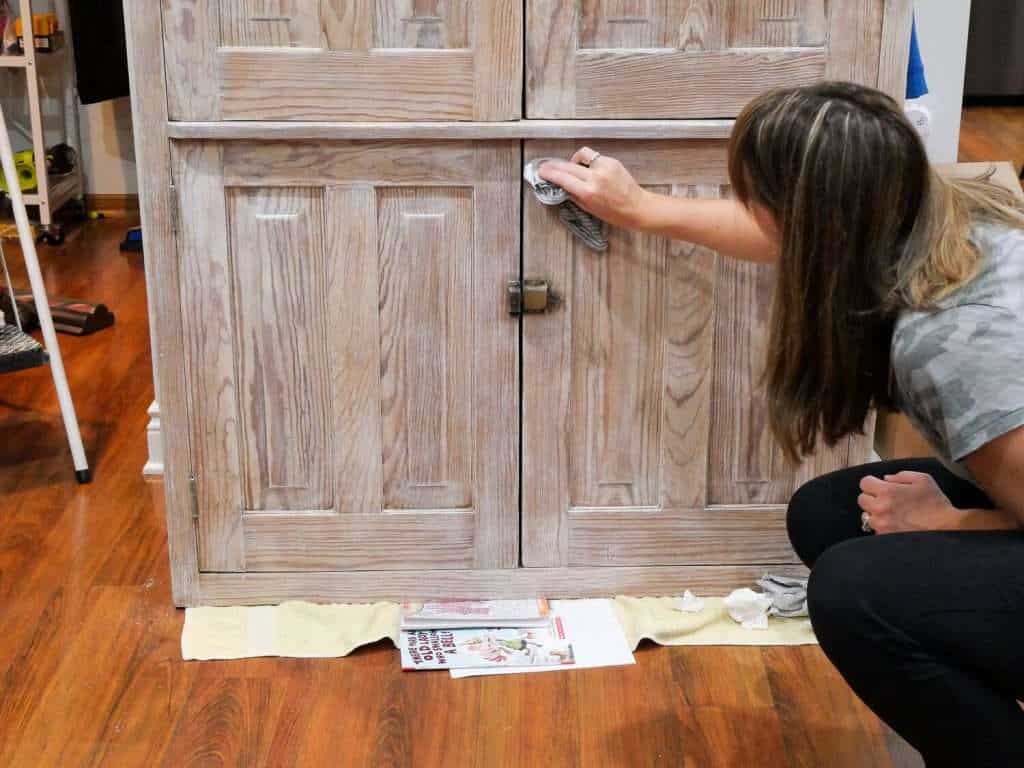
Simply brush the wax on in a cross hatch motion with a stiff bristle brush. Apply a full coverage coat. Then, wait 30 minutes and come back and buff with a lint free cloth.
This creates a subtle sheen as the wax is worked into the wood.
Furniture Refinishing Cost
One of the things I love about Facebook Marketplace finds is that you can achieve a really nice piece of furniture, on a budget, with some elbow grease. But realistically, furniture refinishing costs can vary based on what you already have on hand, the size of your piece, and how many failed attempts you have.
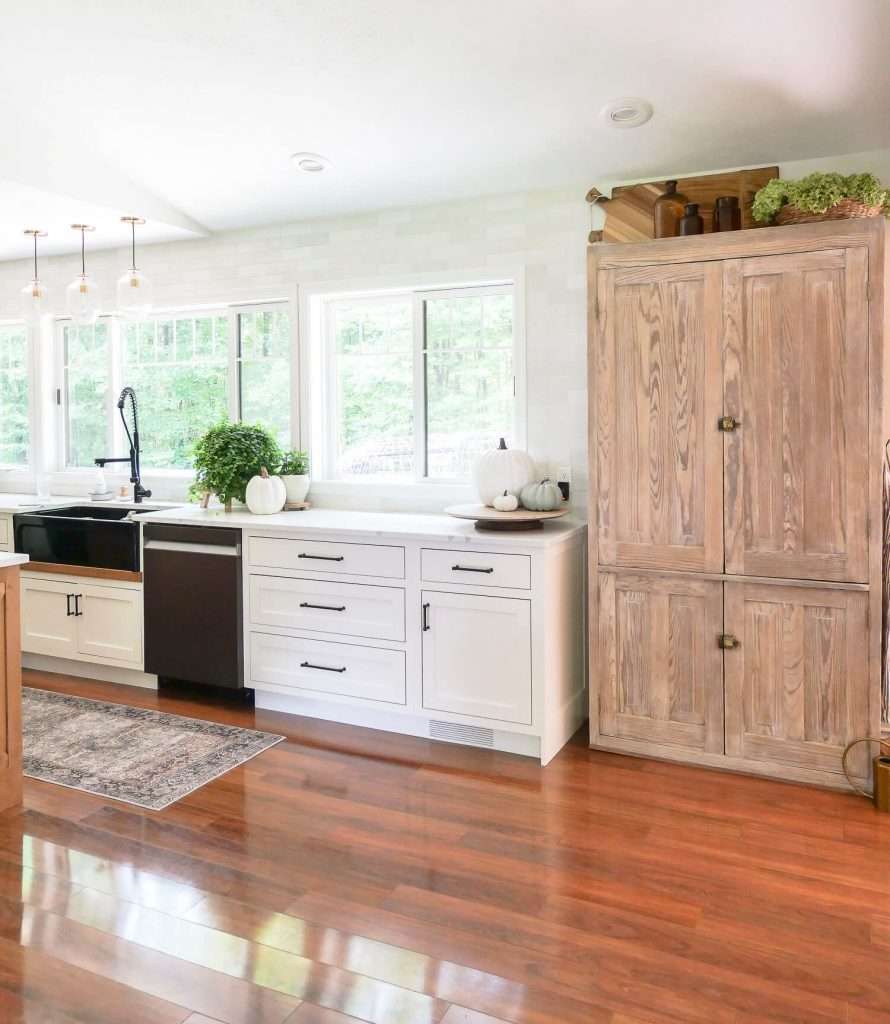
For my pine cabinet, I paid $150 to the seller. Then, I had to purchase sand paper, different waxes I was considering, gloves, face masks for sanding, steel wool, putty knife, and wood conditioner. I spent around $100 in supplies, bringing my grand total to $250 for a huge cabinet!
I’d say that’s a good deal.
Of course, everyone’s budget will be different, but the hours and hours of work go a long way to add affordable pieces to my home.
If you want to see the full process that I went through, come commiserate with me on YouTube where I show you the entire process I endured on this project!

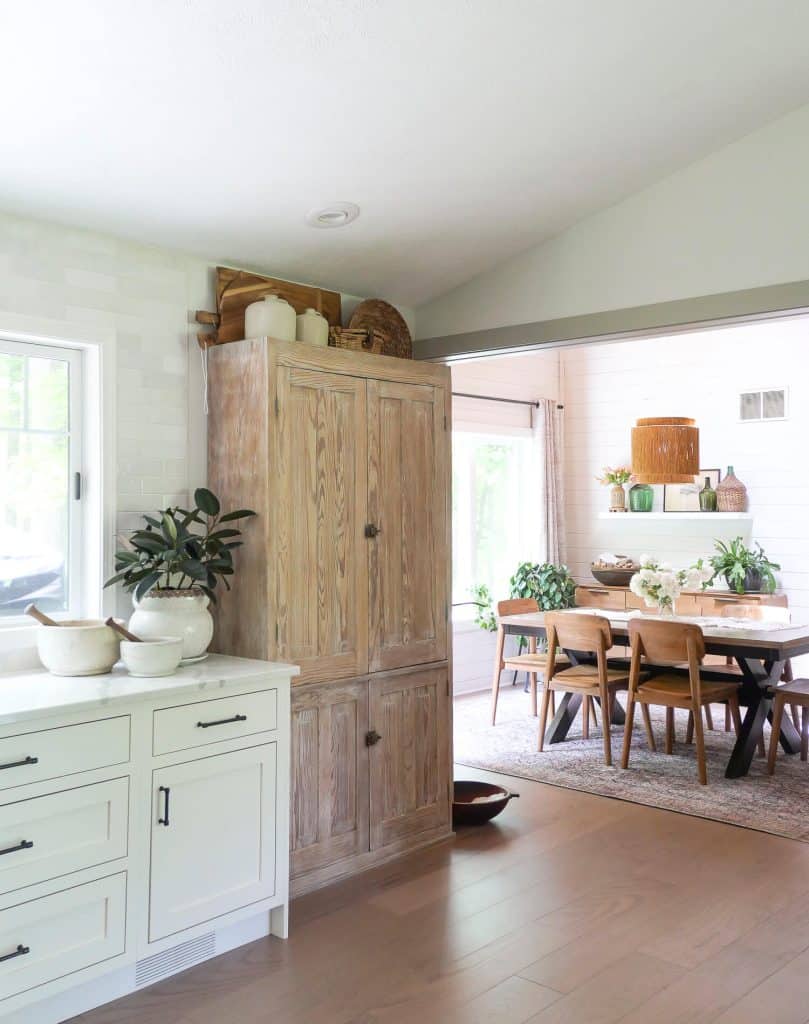
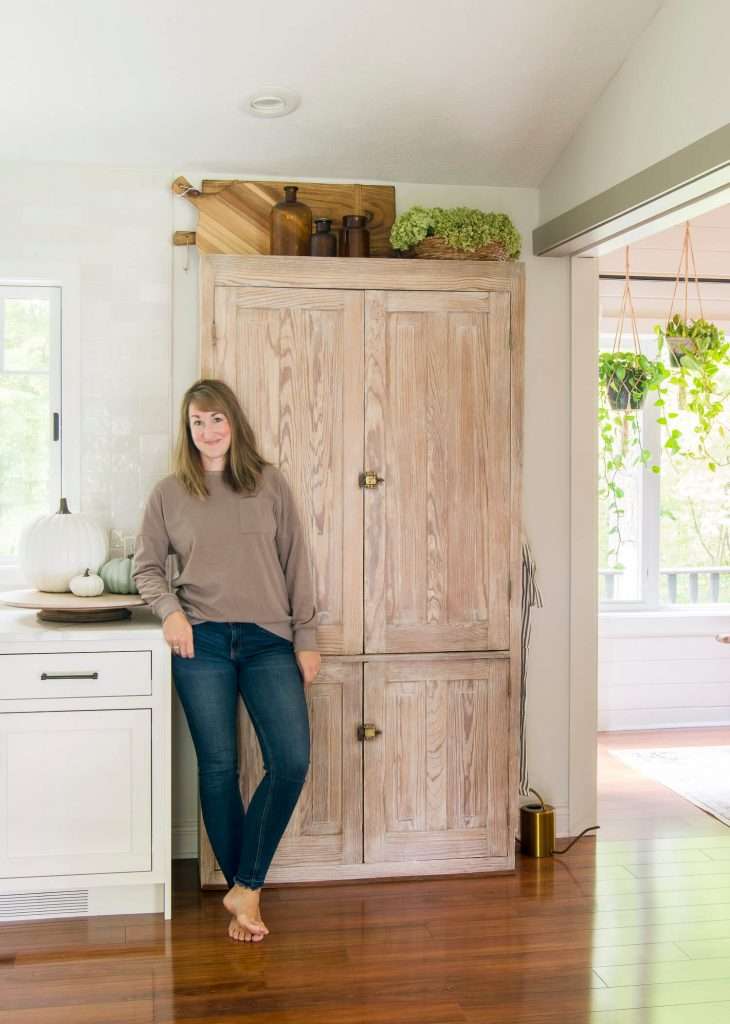
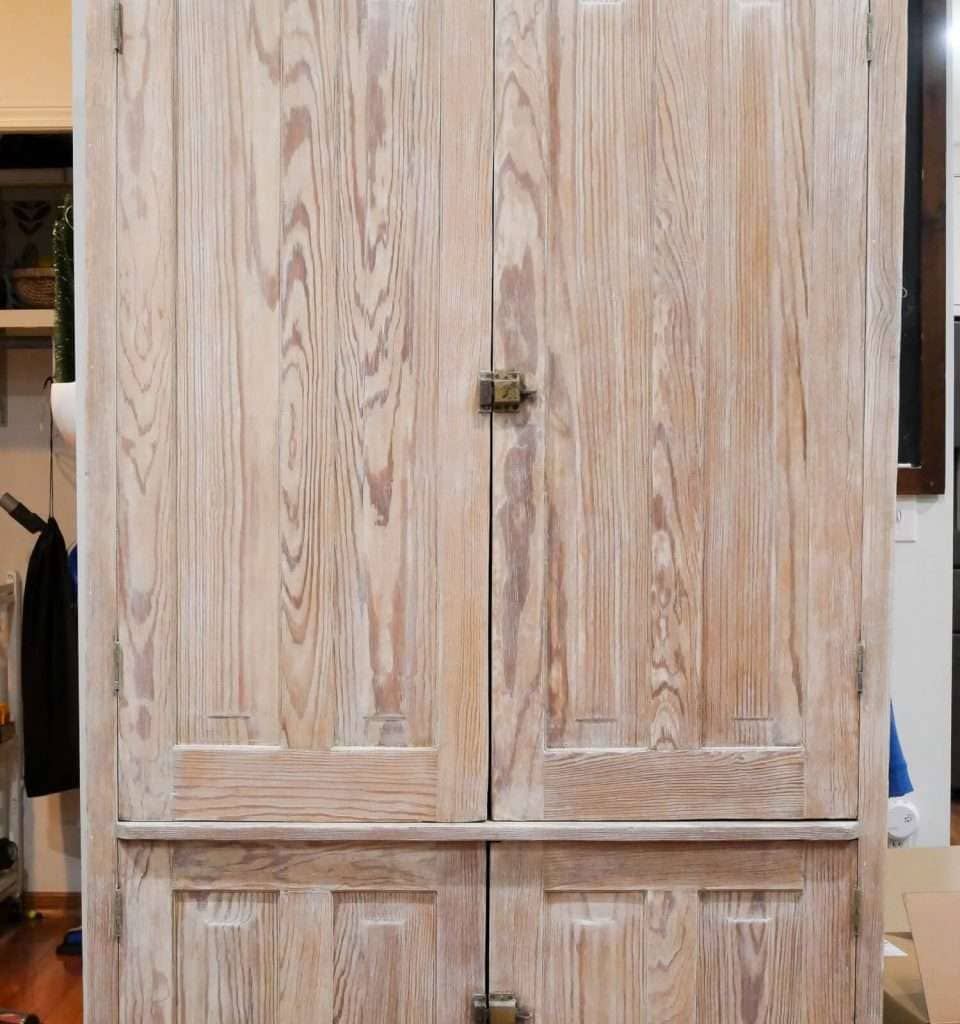
Can you believe it’s the same piece?!

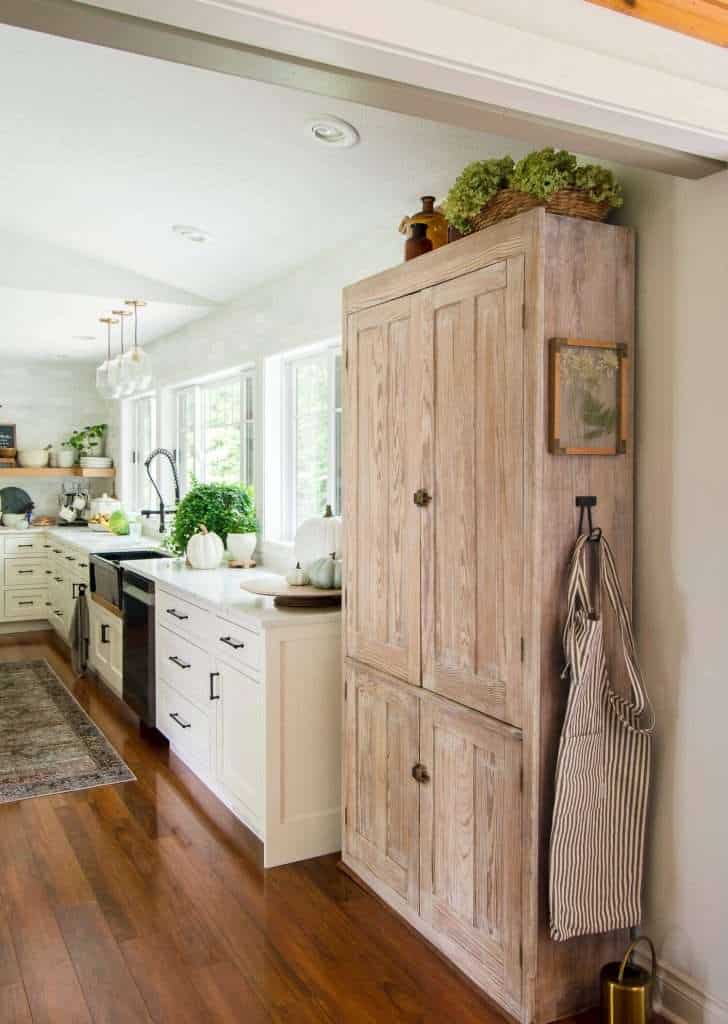
Of course, I kept the original hardware. I think it adds so much charm. I didn’t even clean it up as I liked how the character of years of use looks.
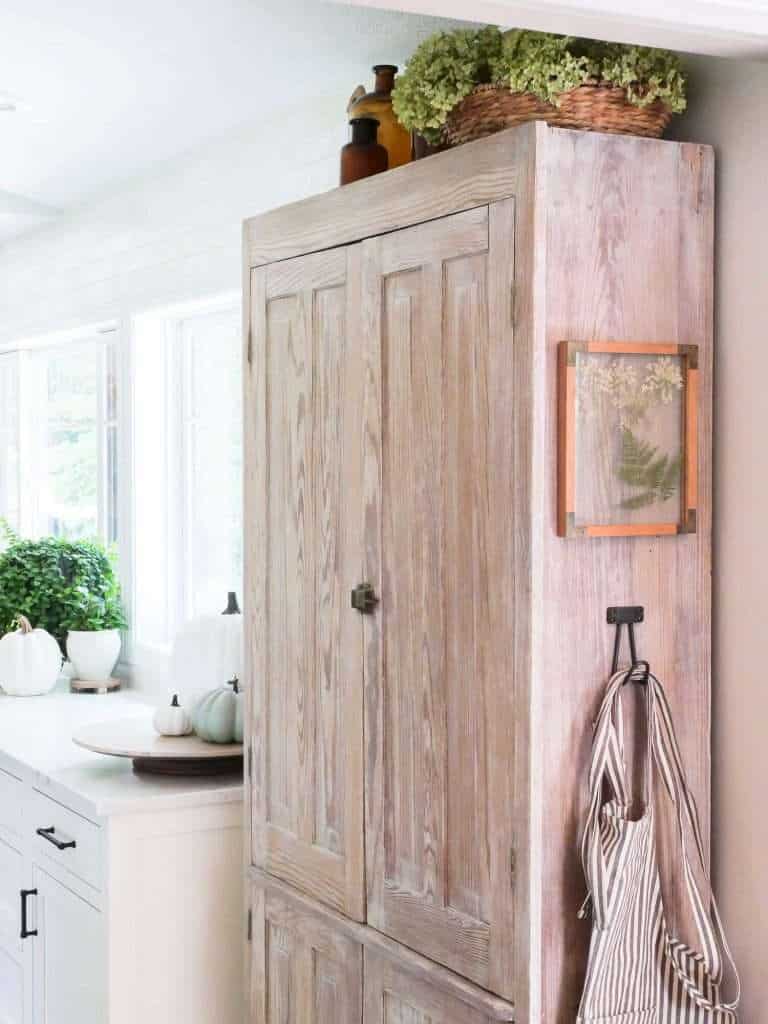
One side is inset because it used to be part of a larger built in. So, I used that space to hang my apron and some artwork for a pretty detail looking into the kitchen from the dining room.
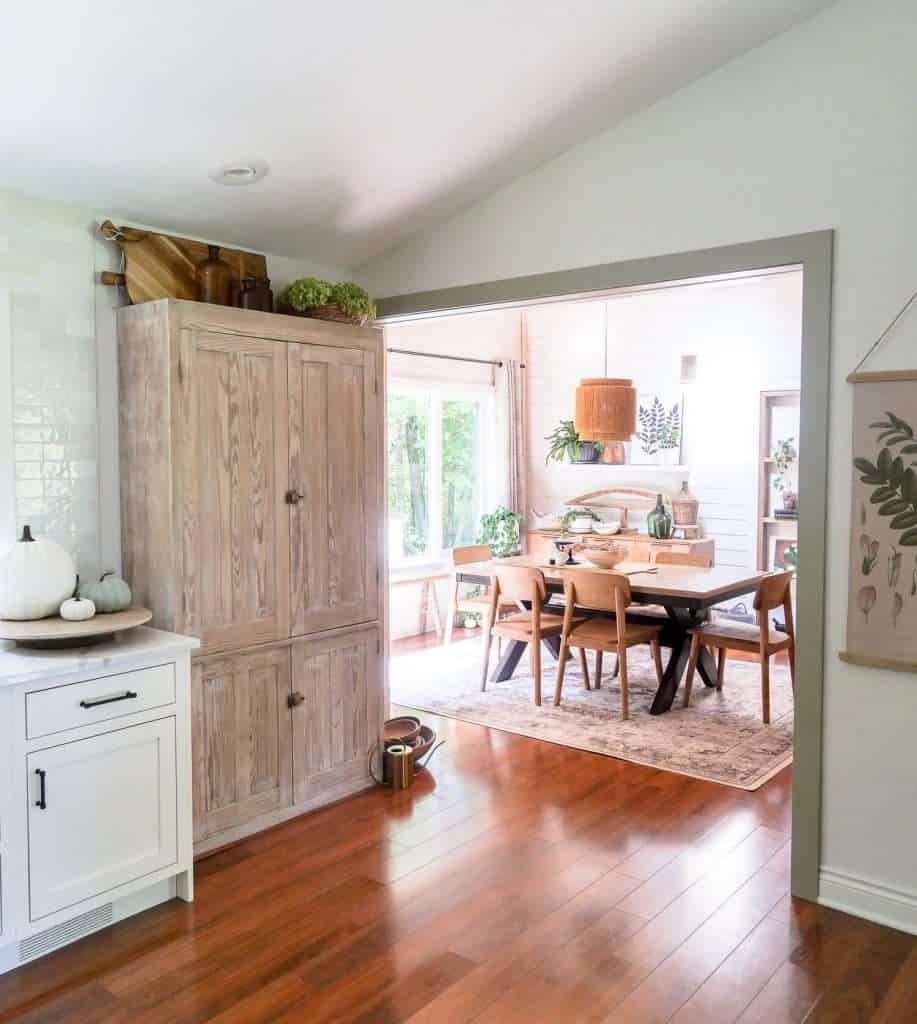
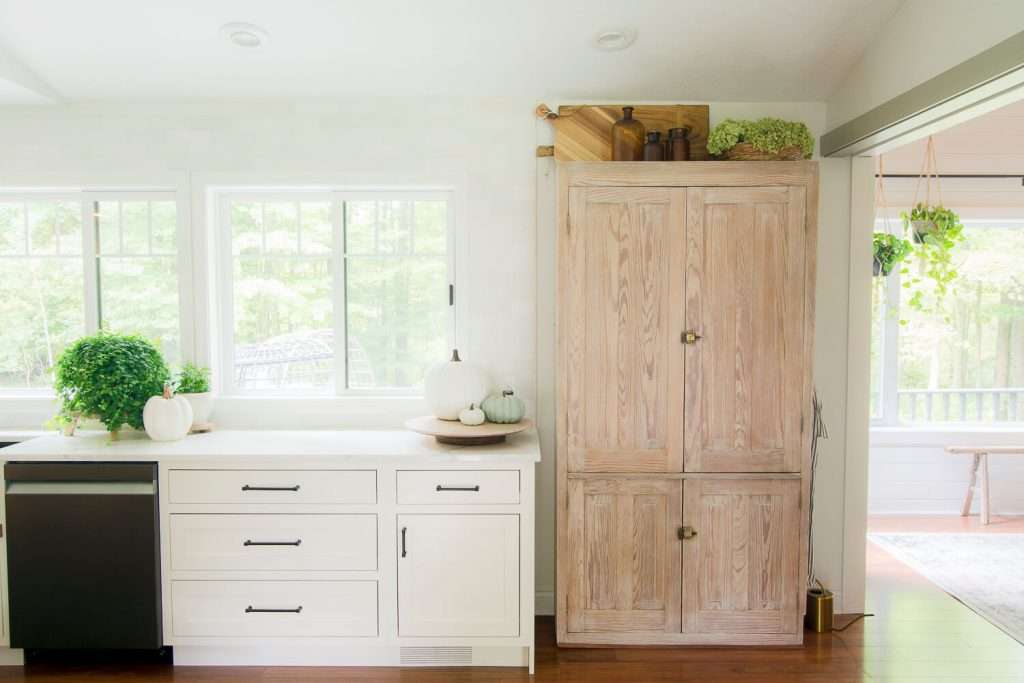
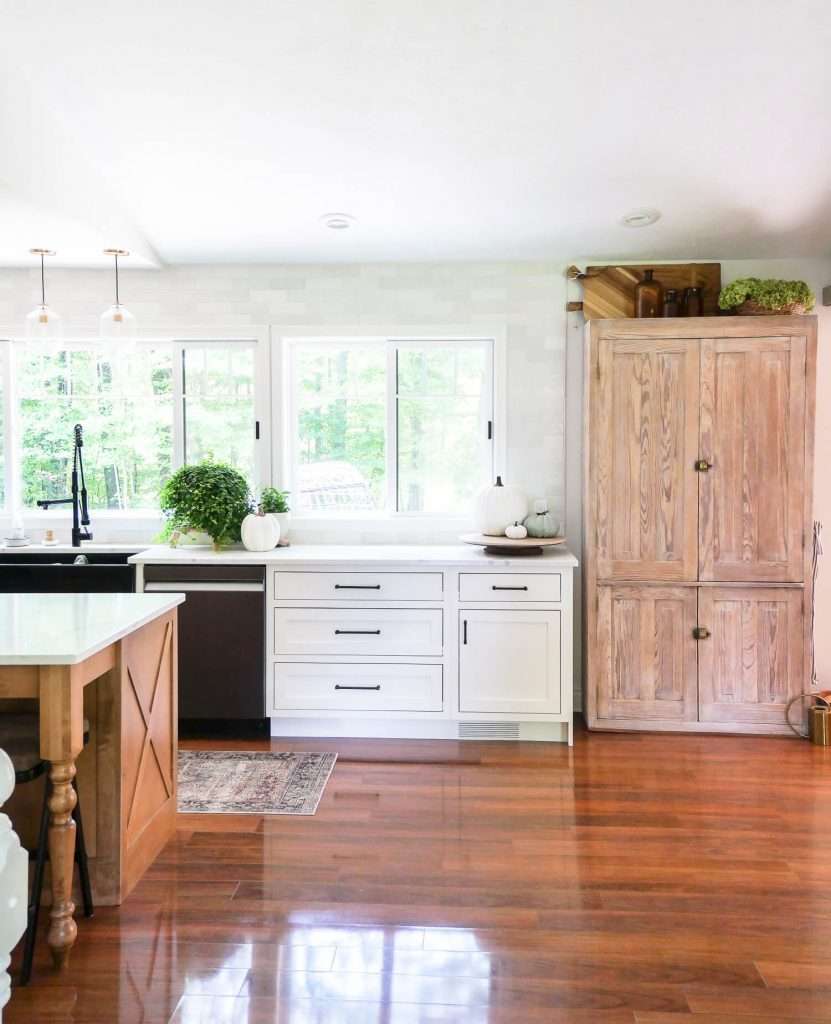
I love how it all came together! What do you think of how it turned out? I love how much character it adds to our modern kitchen.
Stay Connected
Thanks for joining me here on the blog today! I hope this article on how to lighten stained wood was helpful to you. Make sure to take it step by step.

If you’re looking for more awesome DIYs, check out my huge DIY resource page. And if you’re a beginner DIYer, here are 35 awesome DIYs you can start on in your home.
- 15 Best Beginner Home Improvement Projects
- 20 DIY Home Improvement Projects for Beginners
- How to Use Coffee As a Natural Wood Stain
~Sarah

Hope you can give me some advise. I have an old oak table with gear shift inside to expand and I love it. The person I bought it for took out the middle piece, push the table back together and stripped it and stained it blond. Now I am having a hard time to match the stain of the center piece and the chairs. I was told I had to bring the whole table in for them to work on the blond stained parts – advise please
It’s likely different wood species, which will take the stain differently. I’d advise to bring the whole table so they can determine what will work the best to match it!
I always leave your blog feeling happier and more motivated.
Save Insta is super easy to use! Just find the video, photo, or story you want to download on Instagram. Copy the link to that post, paste it into SaveInsta, click download, and voila! Your favorite content will be saved to your device.
also have a fondness for wooden furniture. Thanks for detailing the process. I believe I’ll have to refinish a few pieces in my home as well Sir .
The article explores techniques for brightening stained wood furniture without the need for sanding. These methods include utilizing steel wool, paint strippers, bleaching agents, and employing different finishing approaches. It underscores the significance of thorough research and exercising patience throughout the process. Additionally, the author recounts their personal journey of refinishing a pine cabinet, underscoring the cost-effectiveness of furniture restoration. Thank you for providing the content.
I also have a fondness for wooden furniture. Thanks for detailing the process. I believe I’ll have to refinish a few pieces in my home as well.