
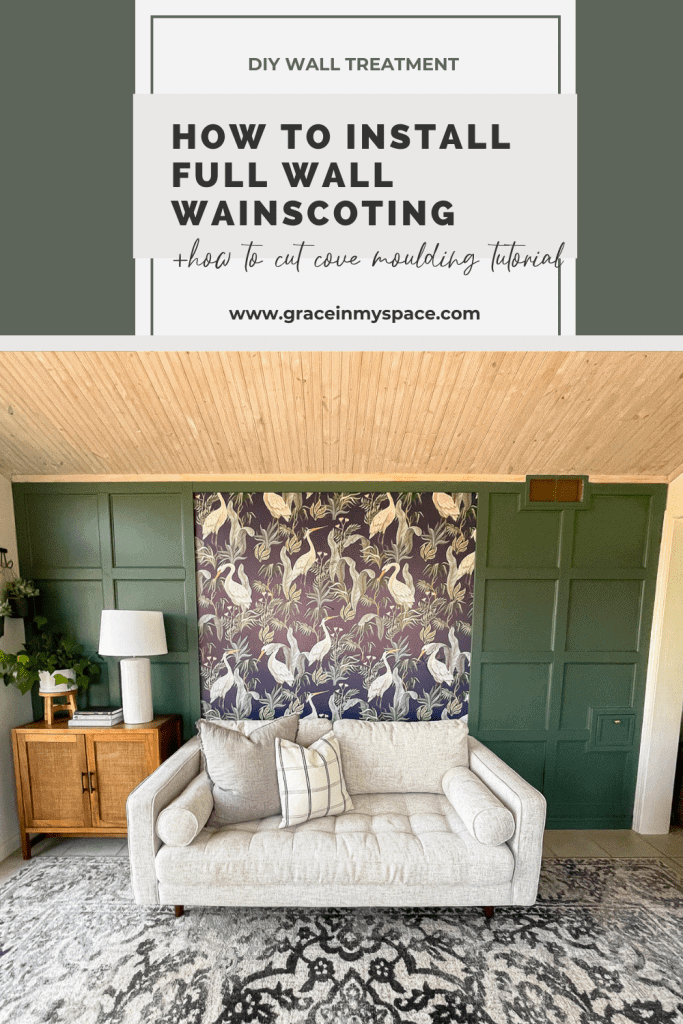
How to Install Full Wall Wainscoting with Cove Moulding
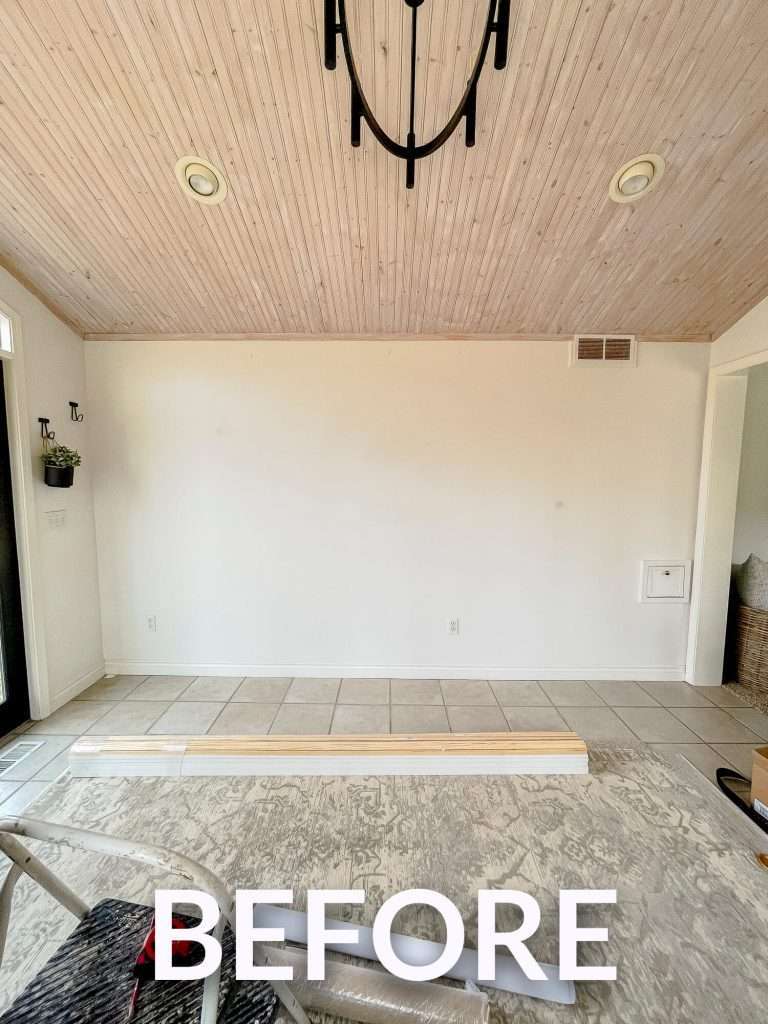
A DIY wainscoting wall treatment is a beautiful option to customize a room! I wanted to take my boring office and turn it into something special for my family. This full wall wainscoting is a traditional design with a modern twist and I’m so excited about how it turned out. Learn how to install full wall wainscoting with cove moulding with this simple tutorial.
This post may contain affiliate links where I earn a small commission on your purchases at no additional cost to you.
This post is sponsored with thanks to Woodgrain.
Is Wainscoting Still in Style?
As I was designing this office space, I kept coming back to adding a traditional wainscoting wall treatment. I love the customization that wood wall treatments add to my home and wanted to create a more traditional design, with a modern twist. You can see some of the other wood wall treatments I’ve added to our home below.
- Modern Minimalistic Wall Treatment
- Modern Full Wall Board and Batten
- Modern Vertical Shiplap
- Traditional Board and Batten
I fully believe that wainscoting will never go out of style. You can see this type of customization dating back hundreds of years in many countries; and yet, we are still adding it to our homes today.
As trends come and go, you can easily modernize traditional designs with some unexpected design decisions, like I did in my office.
If you are interested in this project, chances are you are a DIYer! So I wanted to make sure to mention that I have a free DIY tool kit guide for beginners available to my subscribers. This is a helpful resource for you as you get into DIY and customizing your home! Simply sign up below to access it along with my members only free printable library.
How high should wainscoting be on a wall?
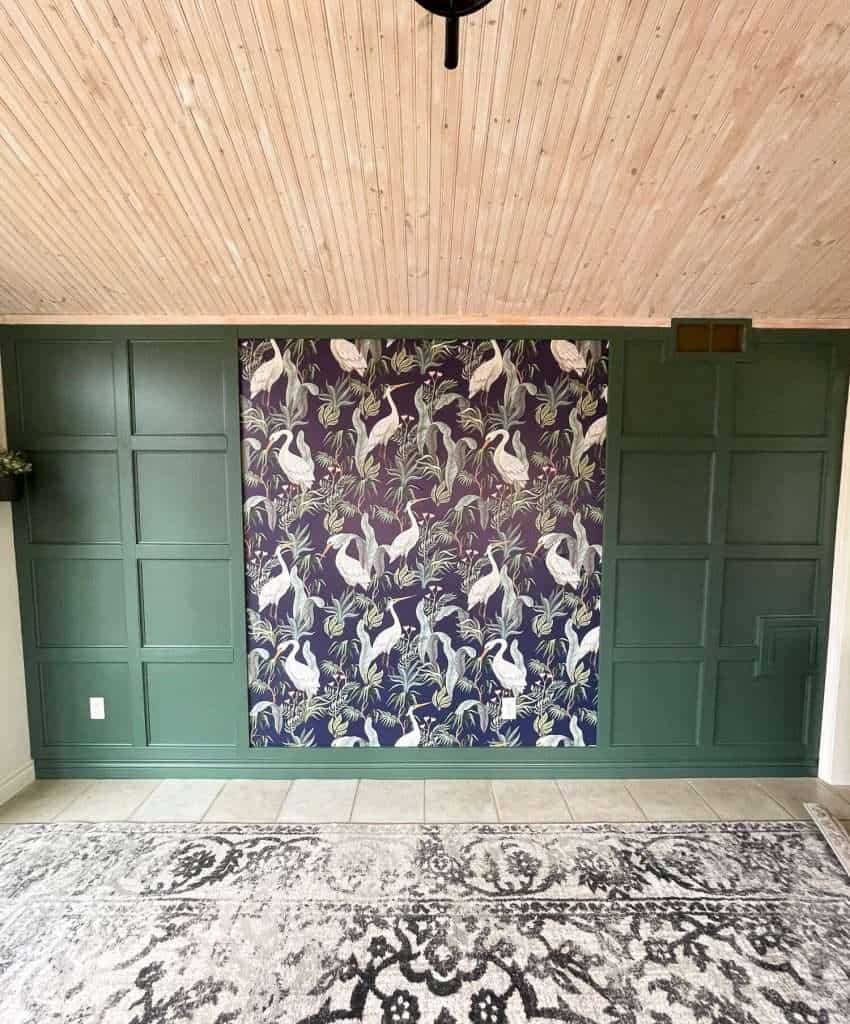
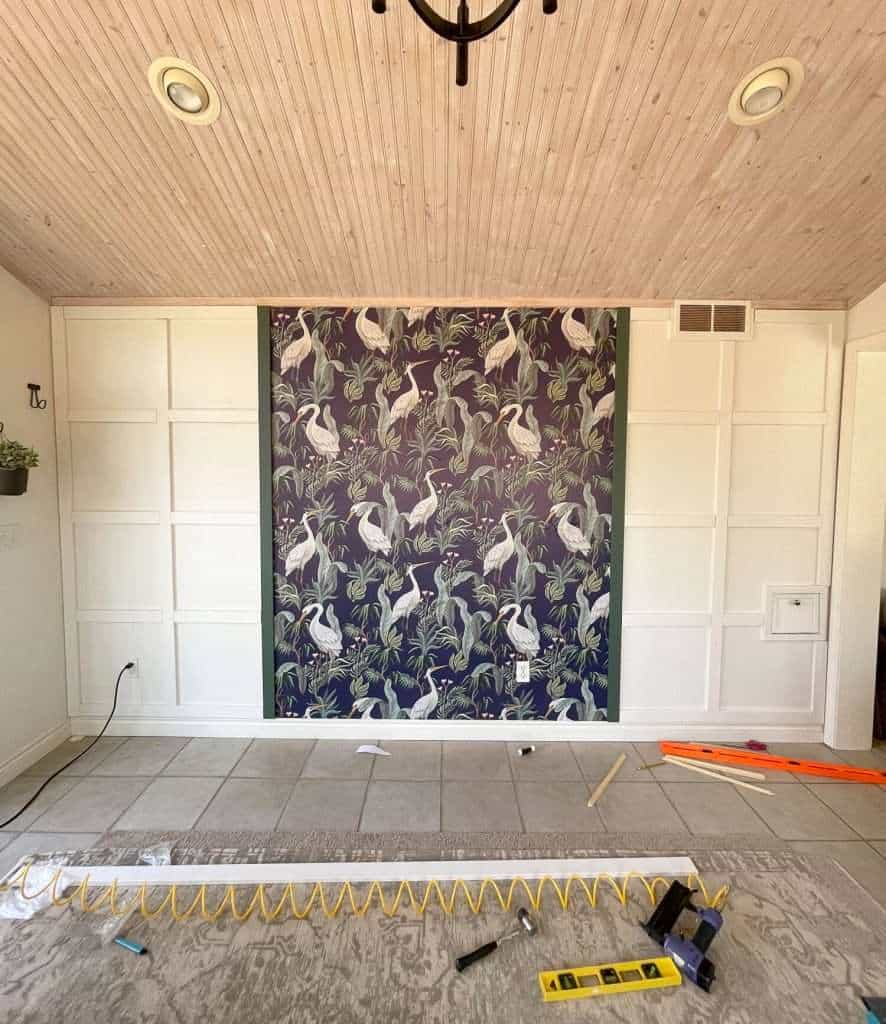
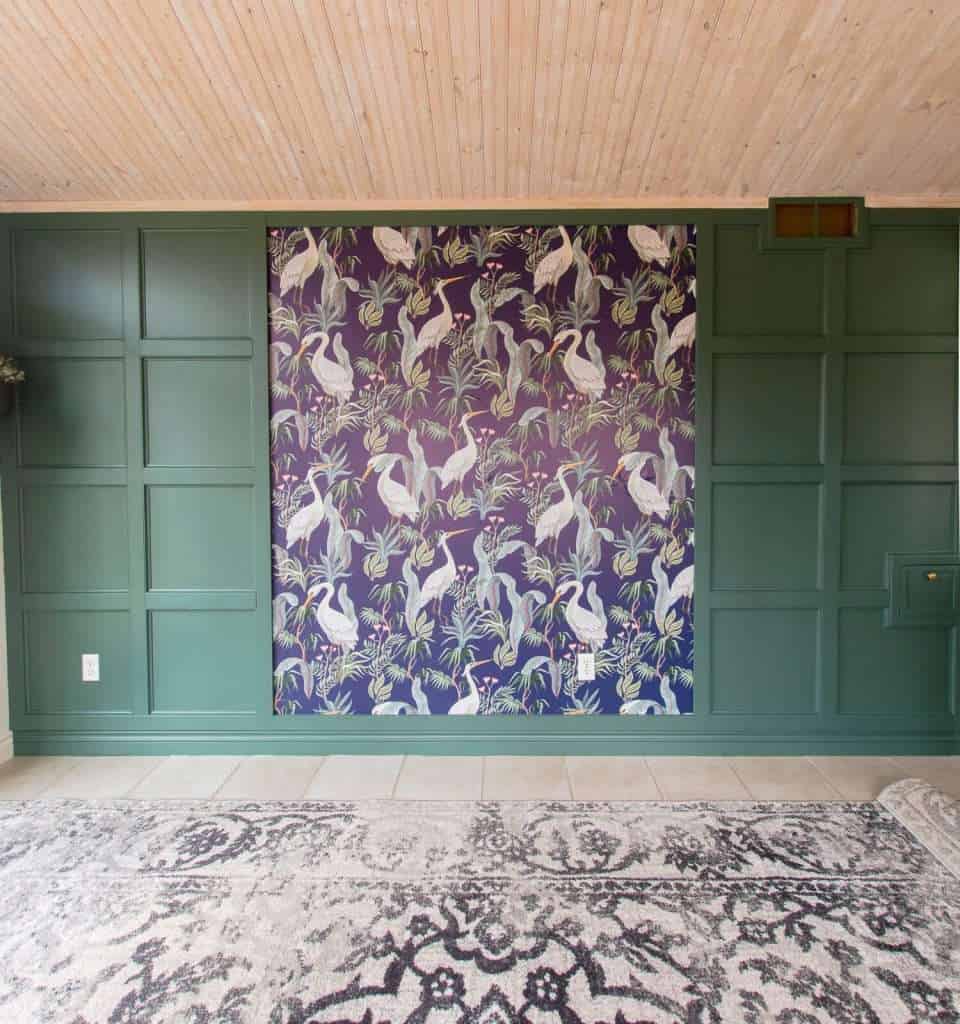
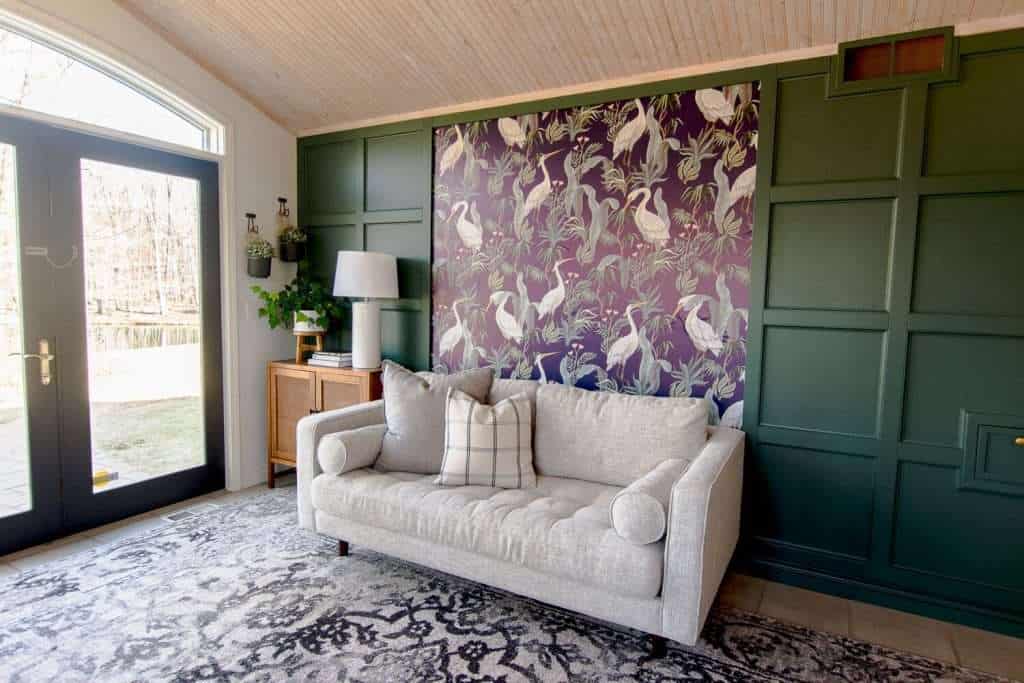
Rather than do a 1/2 or 2/3 height wainscoting, I opted to build out a full wall wainscoting that frames statement wallpaper. This wallpaper holds a special meaning for our family. There is no right or wrong height for wainscoting. As long as you have intentionality in your design, you can build it as high as you want to!
You may want to design your height around a piece of furniture that will go on the wall you are adding wainscoting to. Or, perhaps you need to build it based on how high your ceilings are to help the room feel taller. There are many elements that go into designing wainscoting and each home will be different.
Does wainscoting go over drywall?
I have used Woodgrain products on many of my wall treatments and immediately went to their products again for this project! They offer high quality wood products that have made my building projects go so smoothly. I love that I can rely on their products to be well made, with straight boards and no cracks.
Since I have smooth drywall, I opted to forgo the wood paneling that would traditionally be included with wainscoting. Instead, I simply built my battens and Woodgrain moulding directly onto the drywall.
This is a huge time and money saver when installing wainscoting. If you have smooth drywall and prepare it properly, you can get a beautiful finish to your full wall wainscoting using this method rather than wainscoting panels.
Can you put wainscoting on textured walls?
That begs the question for many people who do not have smooth drywall, can you put wainscoting on textured walls? Short answer, yes.
Long answer: Applying battens directly onto textured walls will not give you a traditional wainscoting appearance. The texture will be apparent, so it is completely a preference as to whether or not that bothers you! There are a few options for those with textured drywall:
- Rather than installing your wainscoting directly onto your textured drywall, use traditional wood paneling in addition to your battens. This will give you that smooth finish you desire. However, it will be an additional cost and time commitment. There are a few options for wainscoting paneling: solid wood, plywood, MDF, or plastic.
- If you don’t want to add paneling, you can attempt to knock down your textured walls and sand them smooth.
- If you are skilled, you can apply a skim coat to your low texture and sand smooth prior to installation.
- You can re-drywall and finish with a smooth texture.
As you can see, all of those options are more labor intensive and costly than the method I used. So it is up to you, as the homeowner, on how important it is to have smooth panels on your wainscoting vs. texture.
Is full wall wainscoting hard to install?
So are you ready to install wainscoting? It is not hard to install, once you get the hang of cutting the cove moulding. I would call this a beginner to intermediate DIY wainscoting design. However, if you choose to forgo the cove moulding then it is very beginner friendly.
You can install full wall wainscoting a variety of ways. However, the main two options are:
- Modern with simple 1x flat moulding
- Traditional with flat moulding plus cove moulding on the interior
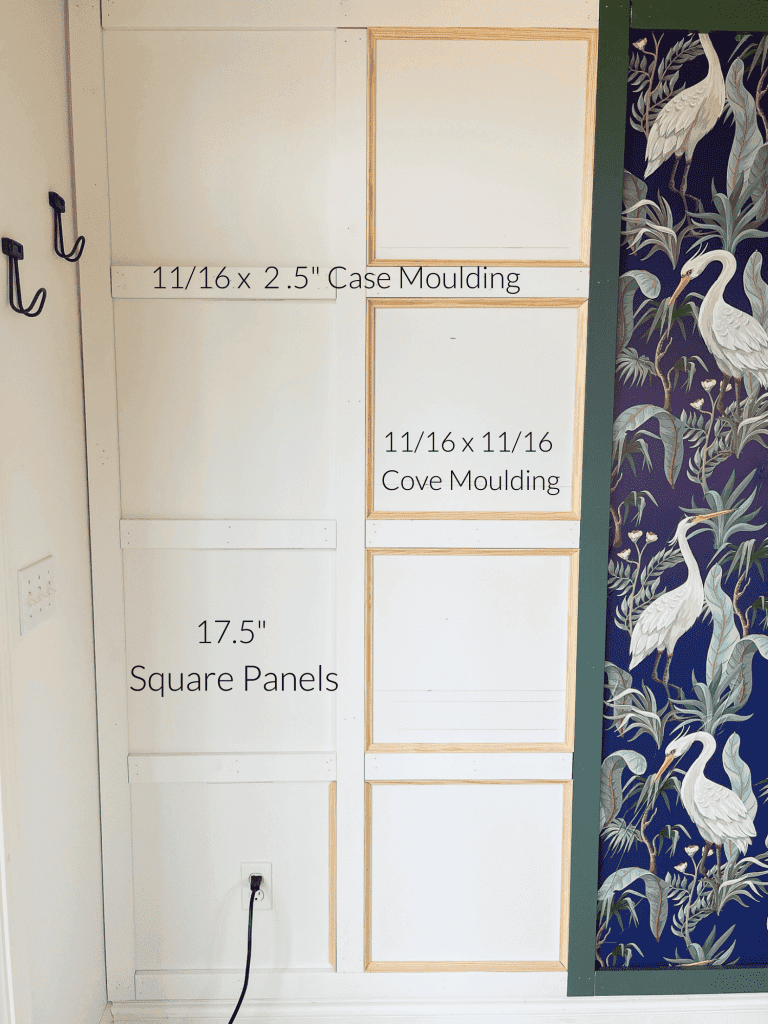
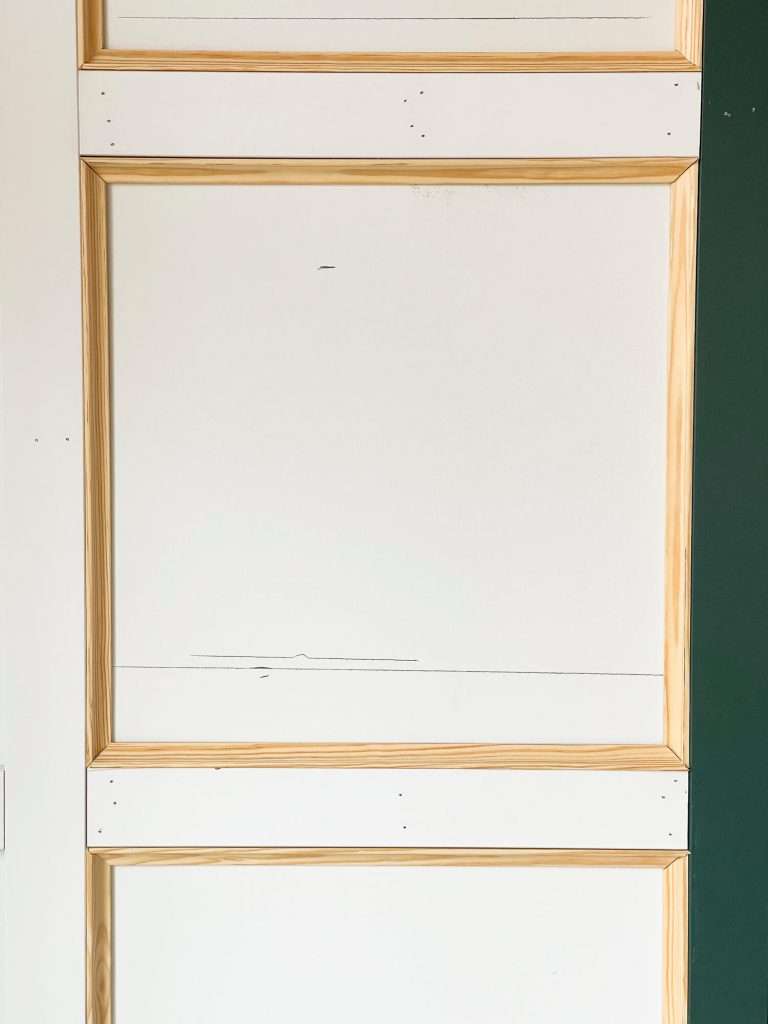
I wanted a more traditional look, so I added cove moulding to the interior of the squares to really finish it out.
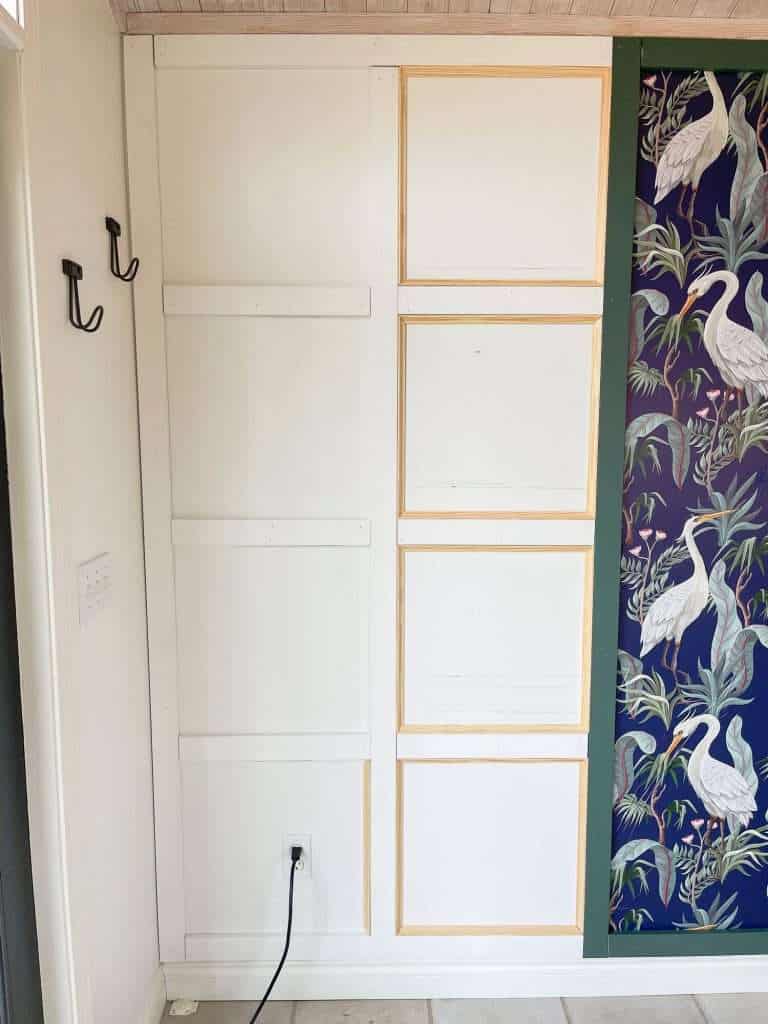
In the image above, you can see the difference the cove moulding makes. The left is a more modern look and the right is more traditional. Either option is beautiful once they are finished out!
Do you glue or nail wainscoting?
As you are installing your wainscoting, you will want to determine whether or not to glue and nail, or just nail your mouldings. Personally, I prefer not to glue my wood paneling for the simple fact that I tire easily of things! I moved a ton growing up so I frequently make drastic changes in my home when I get the itch to switch. By nailing only, I can remove wall treatments will less damage to my drywall.
If I were to also glue, the wall treatments would be a much more permanent fixture as removing them would likely cause extensive drywall repair or replacement. If you choose to install directly on drywall like I’ve done, nailing is adequate.
How long does it take to install wainscoting?
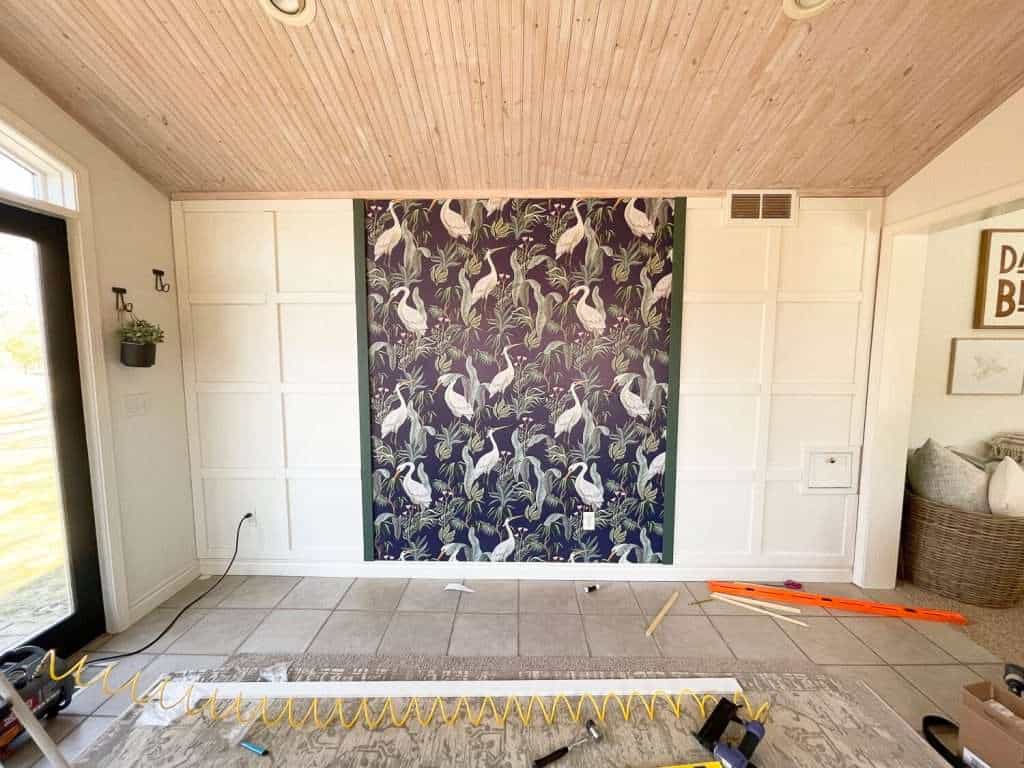
Since this is a beginner project, it can be done by one person. I installed my full wall (13 x 8 ft) of wainscoting solo, and it took me approximately 4 full days from start to finish.
However, wainscoting installation time is determined by quite a few factors:
- How many people are working on the project.
- How large your area is that you will be installing the wainscoting.
- How high you install your wainscoting (full wall v. 1/2)
- If you choose to add wood paneling or install directly on drywall.
- If you choose to trim out your moulding with a detail trim like cove moulding.
All of these factors will impact how long it takes to install wainscoting. For a single wall with all the detail moulding, you could realistically finish in a full weekend if you have 2 or more people working on the project full time.
How to Install Traditional Full Wall Wainscoting with Cove Moulding
Now that we’ve chatted about some of the different ways to install wainscoting, plus some frequently asked questions, let’s get to the tutorial! This tutorial will be specific to how I’ve installed the wainscoting in my office, so remember that your project will have some variations specific to your space.
Materials Needed for DIY Wainscoting
Amounts, sizes and variety of materials needed will be determined based on your space. For my project, I used:
- 10 Pieces of Woodgrain Timeless Craftsman 25E2 11/16 in. x 2-1/2 in. x 96 in. Primed MDF Casing Moulding
- 16 Pieces of Woodgrain 100 11/16 in. x 11/16 in. x 96 in. Solid Pine Cove Moulding
- 2″ 18 Gauge Finish Nails
- Brad Nailer (Halfway through this project I purchased this cordless brad nailer and will never go back to corded!)
- Miter Saw
- 1-2 tubes of paintable caulk (I used 1 tube for this wall)
- Paintable wood filler
- Fine grit sand paper
- Tack cloth or my favorite dusting cloth
- Level
- Pencil
- Painter’s tape
- Quality Paint brush (this brush is my all time favorite)
- Primer & Paint of choice
You can find my favorite DIY tools all in one place which you can shop on my Amazon Storefront here.
Step 1: Prepare the Wall
Before you can begin installing your full wall wainscoting, you need to prepare your wall(s). Fill any holes, cracks or dents and then sand smooth. This is especially important when installing wainscoting over drywall.
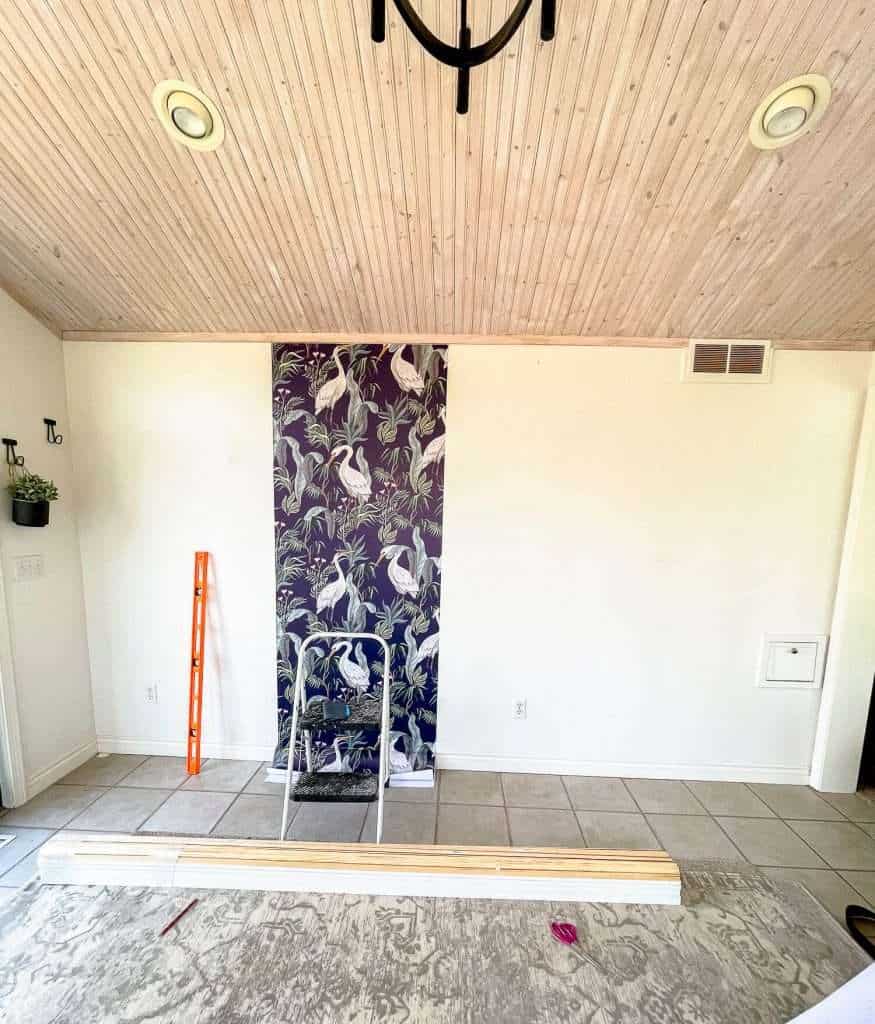
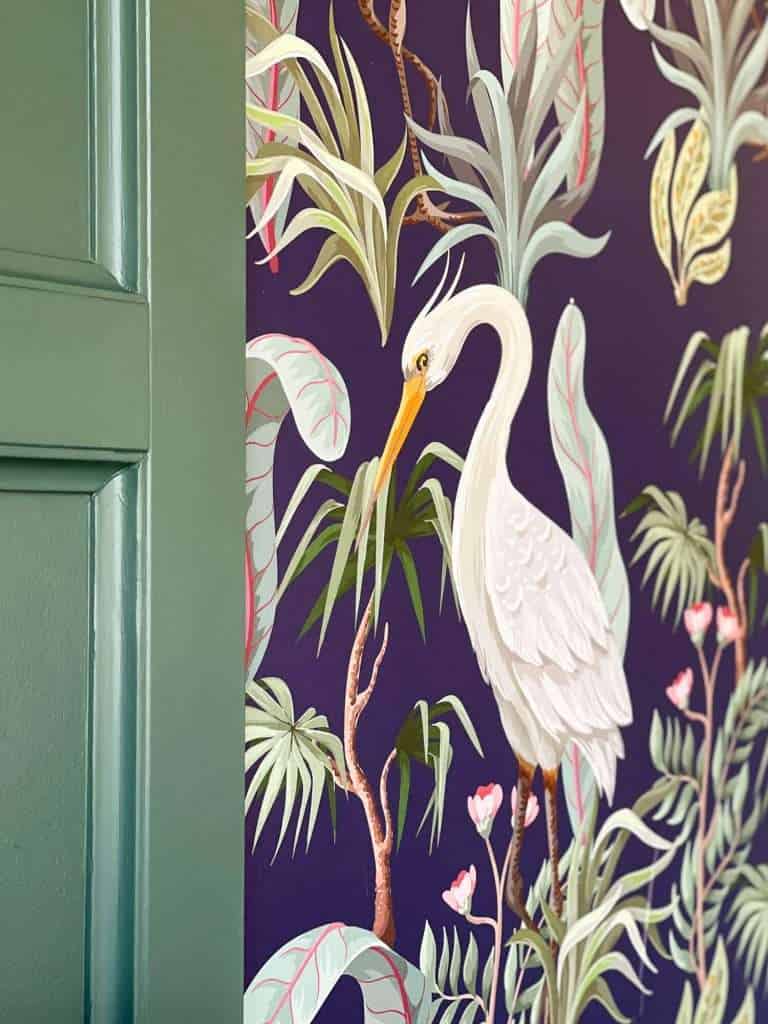
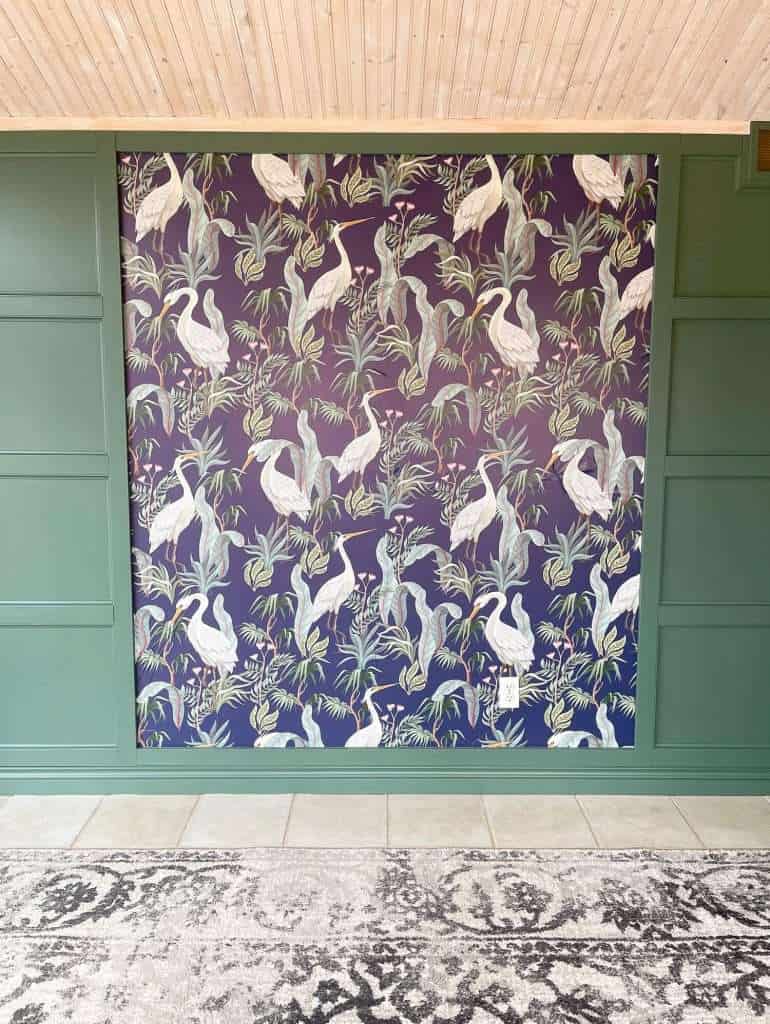
Next, if you are adding any additional design elements to your wall, you can add them before installing the wainscoting if it makes sense to. I mentioned above that I was modernizing my traditional wainscoting design. I did this with a statement wallpaper! These herons hold special meaning of God’s promises and answered prayer for our family. While the wallpaper itself did not install easily, it is a beautiful reminder to our family whenever we see it.
I chose to install the wallpaper in the center of my wainscoting. Adding this first allowed me to frame around it with the wainscoting rather than trying to install a finicky wallpaper inside of the paneling.
2. Measure and Design Your Wall
The next step is the trickiest! You will be doing lots of measuring to determine moulding placement.

Depending on your wainscoting design, you will want to determine your measurements so you have equal spacing. This measurement calculator is useful, but as I was installing my wainscoting I determined that a few measurements were easier to eyeball.
I began by installing the border pieces, top, bottom and sides. Then, I measured for the vertical stiles. Lastly, I measured for the horizontal stile placement. The final step is measuring all four sides of each individual square for the cove moulding.
Step 3: Moulding Installation
Since I chose to install my Woodgrain moulding directly onto drywall, the installation process was fairly smooth. Simply cut each piece of 2.5″ case moulding to length on your miter saw first. Then, use your brad nailer to shoot finish nails into the wood to secure each piece. Make sure to use a level on every piece you install! This is important so each piece that meets up perpendicular to the other can be flush and straight.
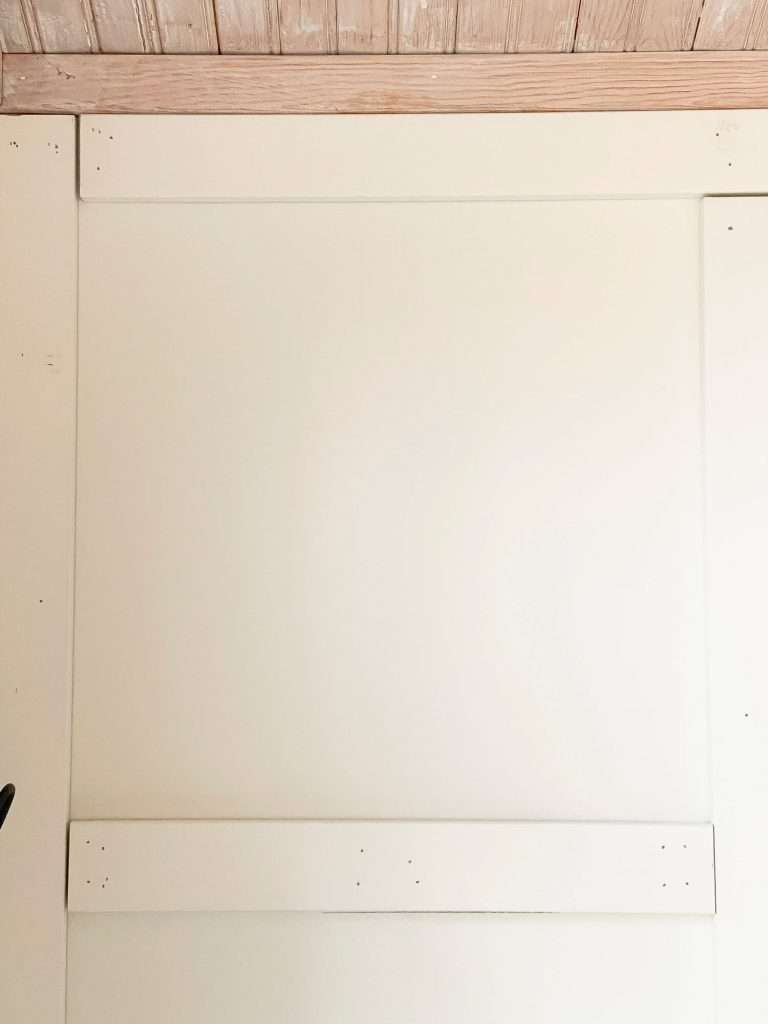
Yes, I see the gaps. Ha! This was the first time I’ve installed this type of wainscoting and the measurements were very precise. My cutting skills? Not so precise. Rather than redo all of my cuts, I left some to be filled in with caulk. This is certainly why the name of my blog is Grace In My Space!
Continue cutting and installing all of your case moulding until you’ve completed your main grid pattern.
Once your case moulding is complete, you can either move on to the finishing steps, or you can add detail trim like I did to each square.
How to Cut Cove Moulding for Wainscoting
The only tricky part to this full wall wainscoting is cutting cove moulding. If you are unfamiliar, cove moulding and crown moulding need to be cut differently than flat trim. Most of the tutorials I found only showed how to cut cove moulding that would be installed on a ceiling.
However, for this project, you can see that you need to be able to cut it for a “ceiling” (top of the square), two different sides, and a bottom. Each cut needs to be done differently to get the correct 90 degree angles to match on each corner.
I found this to be difficult to explain verbally, so make sure to head to my YouTube tutorial to see how to cut cove moulding specifically for square wainscoting panels. This is a great video for visual learners and for those who need to know how to cut cove moulding for wainscoting, rather than a crown moulding installation.
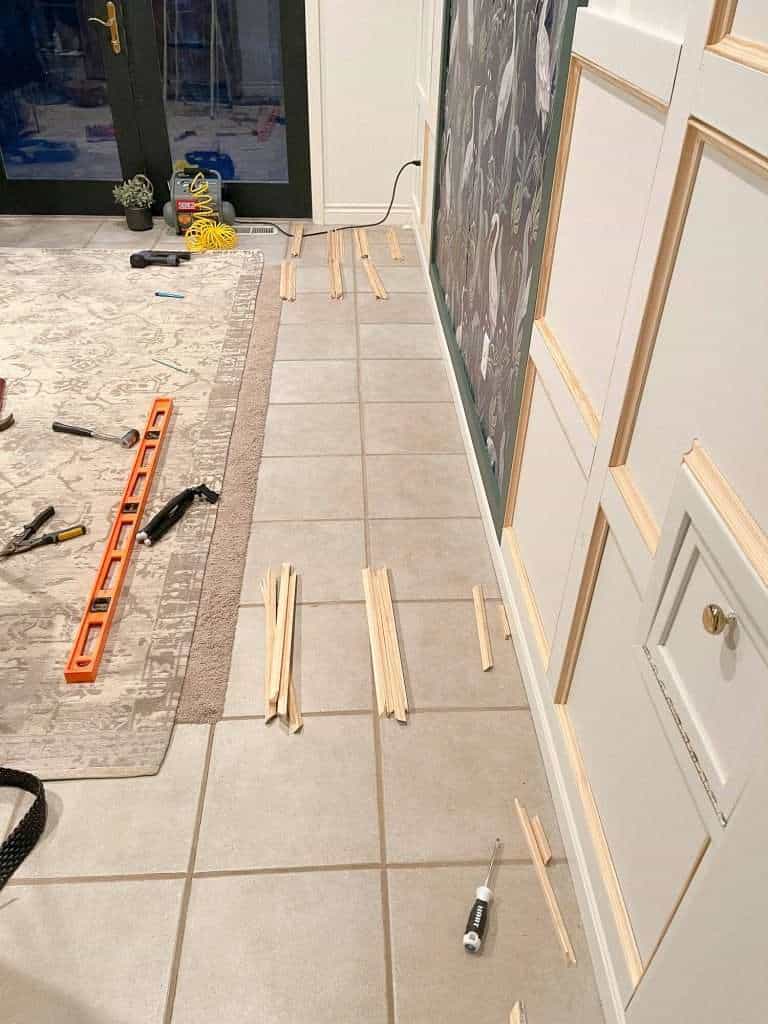
Make sure to label each piece of cove moulding after you cut it (top, bottom, left, right) so that you know the location it should be installed.
Step 4: Caulk and Fill
Once you’ve installed all your wood pieces, it’s time for the tedious part of the project! Fill every nail hole with sandable/paintable wood putty. Let it dry and then sand smooth.

Then, make sure to vacuum each piece to remove any sawdust from your surface. Finish with a tack cloth or dusting cloth to remove all remnants. This is an important step so you don’t get sawdust in your caulk!
Once you’ve filled, sanded, and cleaned each board, it is time to apply the caulk. Ensure that you use paintable caulk or each seam will not accept your paint!

Caulk every seam, including the cove moulding corner seams. This is a messy and tedious process but is the number one way to get a clean finished look.

Step 5: Paint Your Full Wall Wainscoting
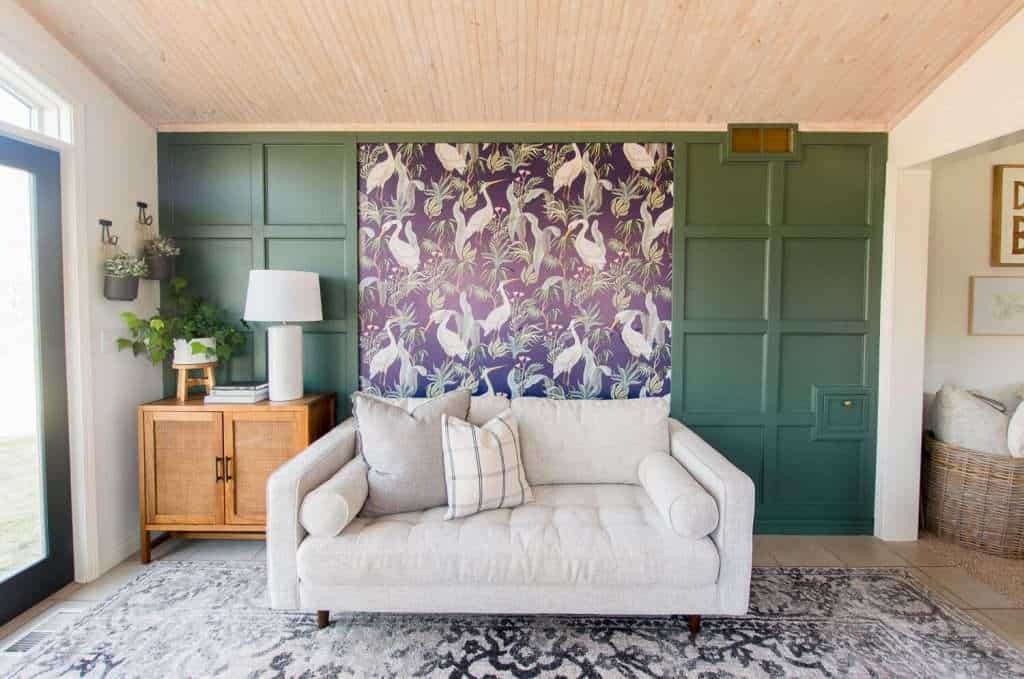
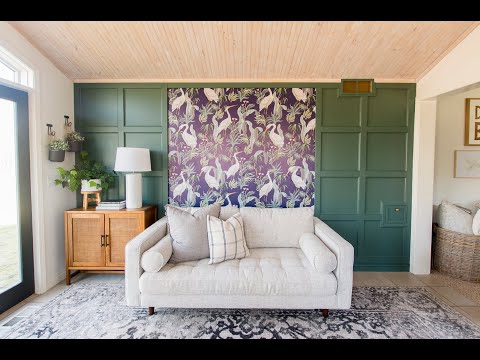
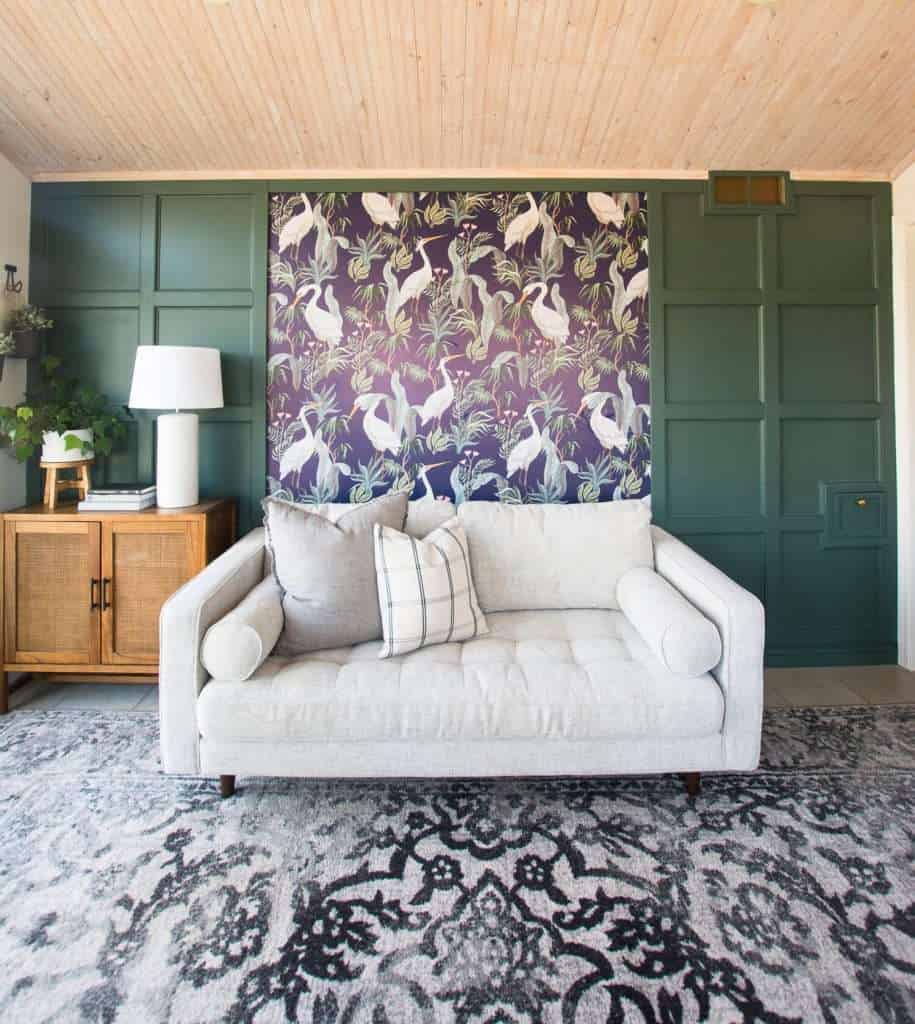
The final step to finish your full wall wainscoting is to paint! I wanted to bring out some of the deep greens in the wallpaper, so I used my ColorReader to give me options. Turns out, the same wall color I have in my bedroom that is so well loved on Instagram was a close match!
Wall color: Regal Leaf by Magnolia Home Paints.
I chose to paint the baseboard the same color as the rest of the wainscoting so it has a fully built in look. I’ve also been toying with the idea of painting the door trim as well. What do you think? Should I paint it green or leave it white?
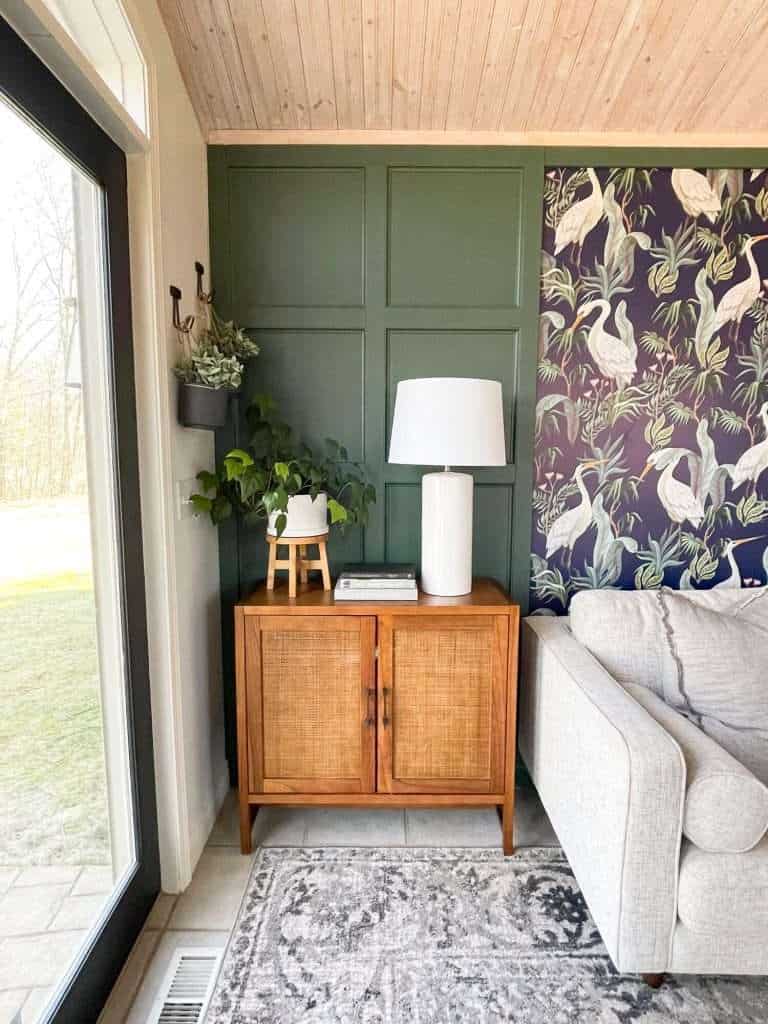
Styling Full Wall Wainscoted Spaces
The entire goal of this office wainscoting project was to provide a comfortable space where my kids could come and read or play while I work. With the pandemic, working from home, schooling from home, and just being home more in general, we were finding that we wanted to be together in this space more often.
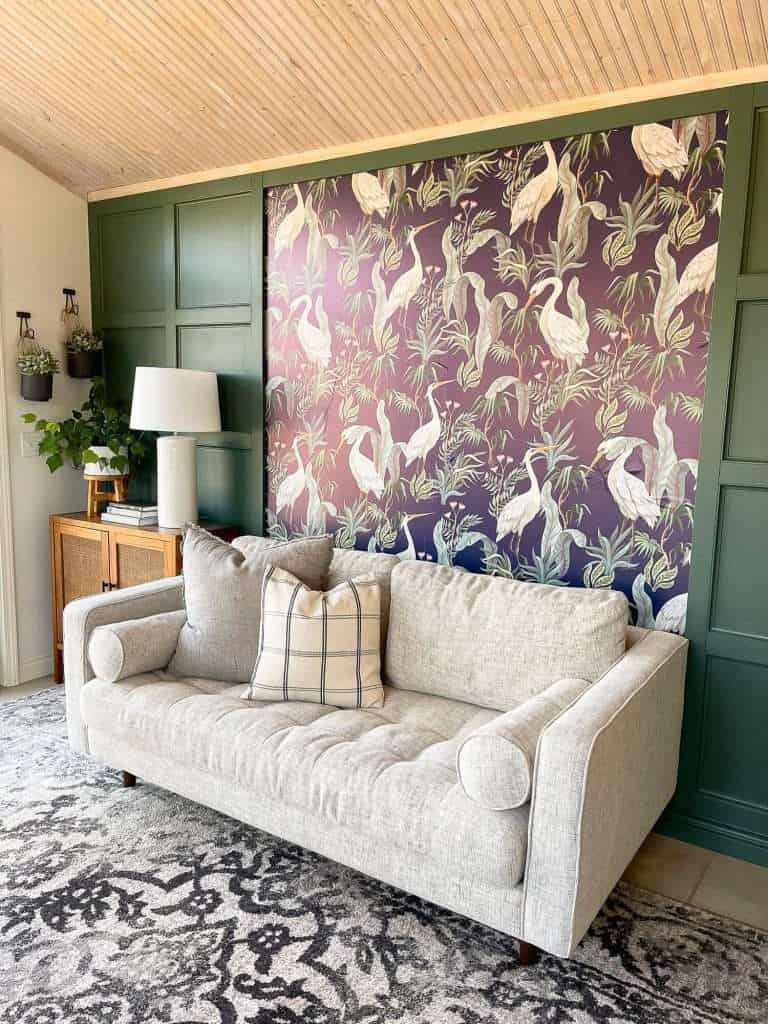
So we brought our smaller sofa up from the basement for some comfortable seating for the kids. Then, I added a small cabinet that serves as a side table and charging station for their computers and tablets. This particular cabinet is always sold out but I’ve linked some similar (almost identical) styles for you to shop here.
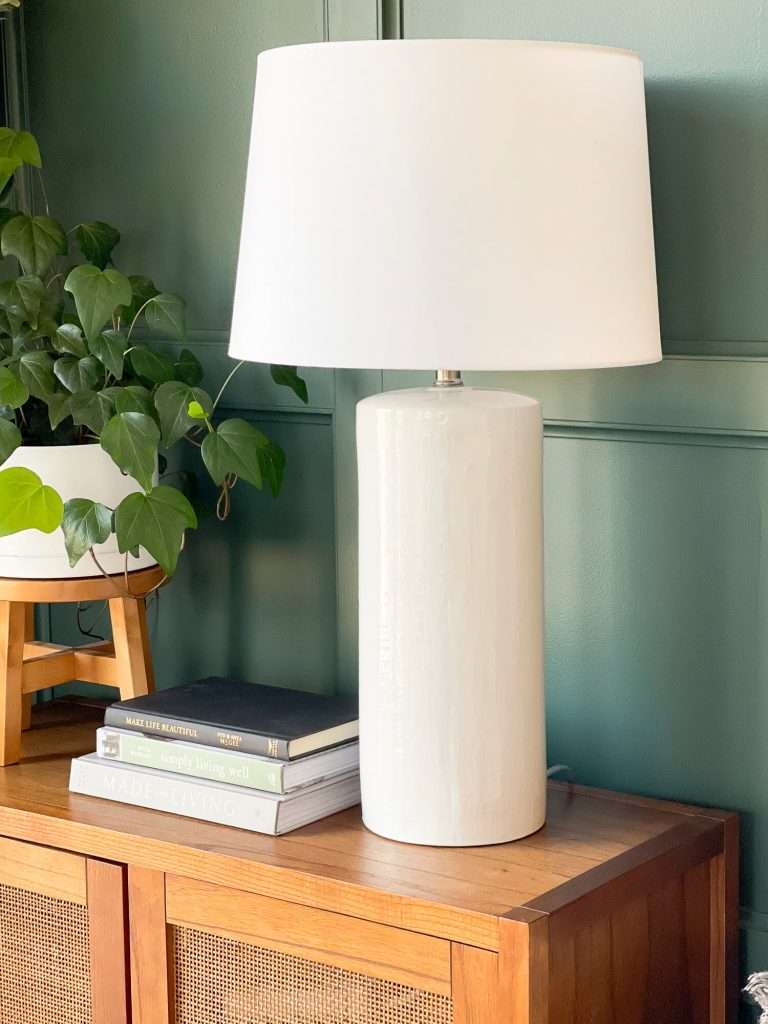
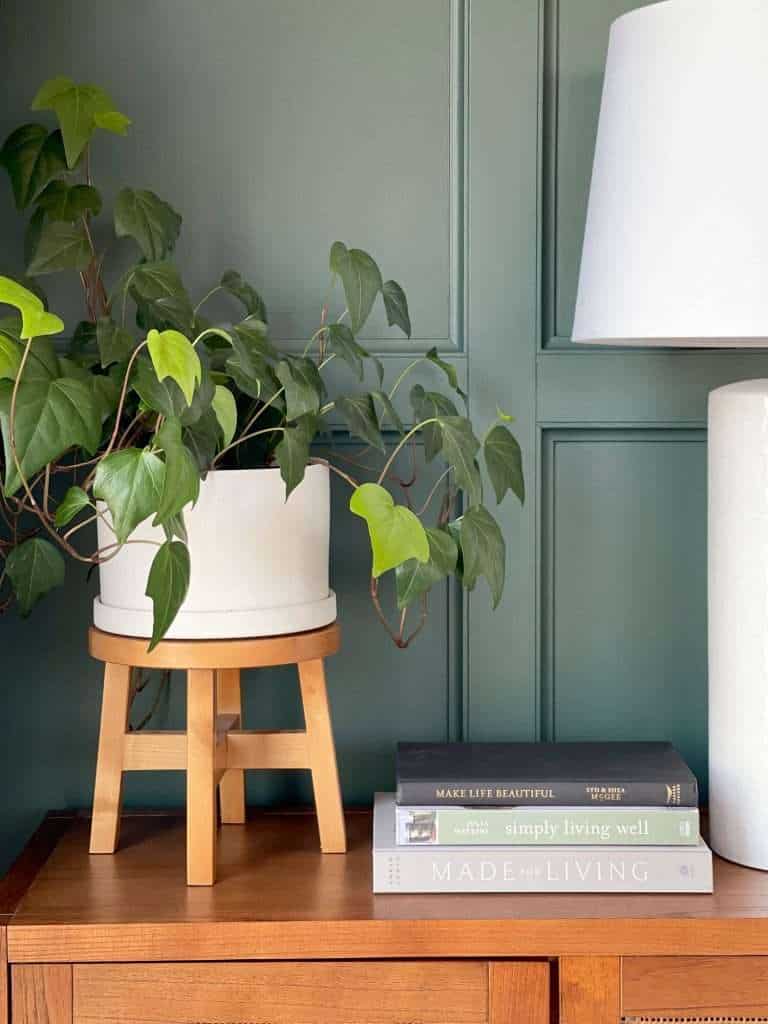
Of course, I always add plants because I find they bring so much to a space. You can learn all about how to use plants as decor, plus amazing tips on caring for indoor plants, in this post.
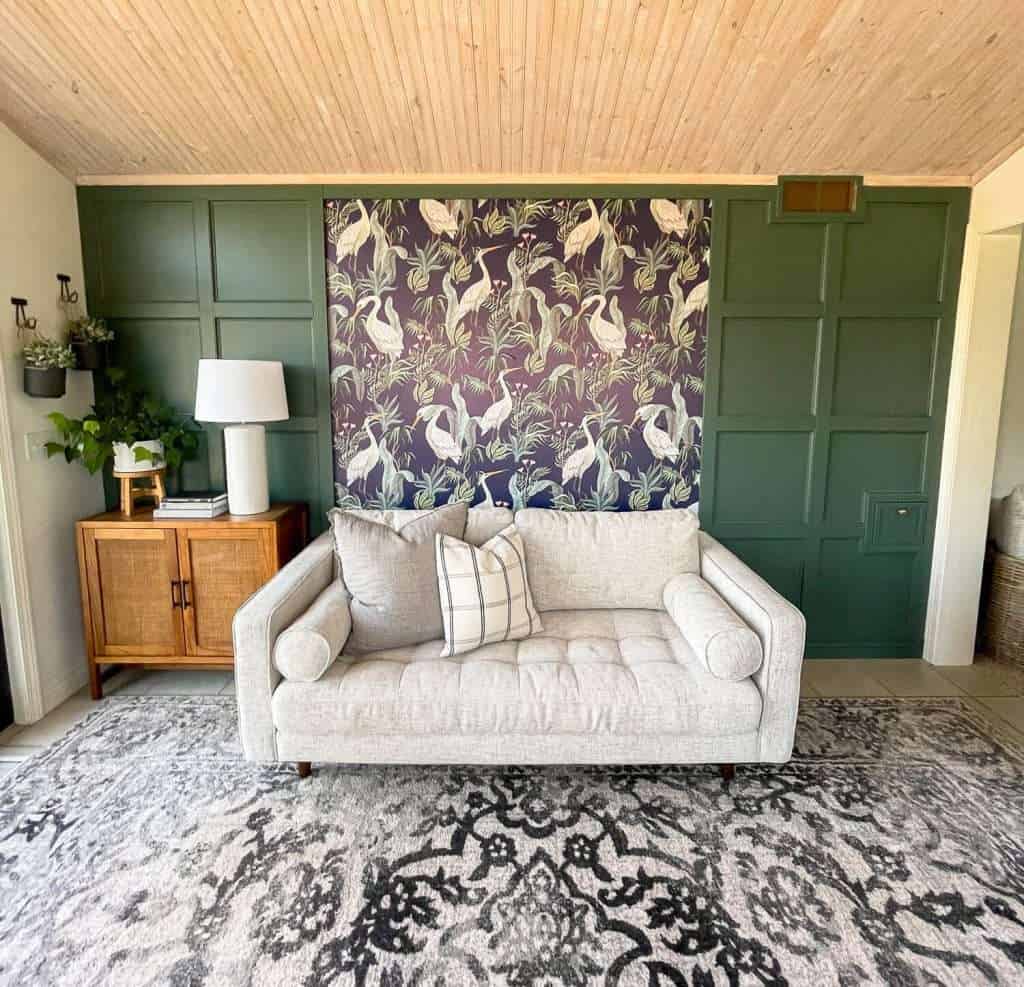
Now we have a comfortable space to all enjoy together, plus a beautiful statement wall that elevates the design of my office.
I love being able to work in a space that is inspiring and cozy at the same time!
Stay Connected
Thanks so much for stopping by the blog today! I hope that this 5 step tutorial for how to install full wall wainscoting with cove moulding was helpful to you. This can be done in any room and is a fairly simple beginner DIYer project! If you’re looking for other beginner DIY home improvement projects, make sure to head to my round up of the 15 best DIY projects for you to tackle!
A big thanks to Woodgrain for supplying their amazing moulding for this project as well! They offer high quality wood products and I will continue to use them for all my DIY adventures!
Make sure to subscribe below to get your free DIY tool kit guide and access to my free printable library! And if you’re looking to follow along with these types of projects in real time, make sure to follow me on Instagram where I show you all the realistic ups and downs of DIYing daily. 🙂


You’re welcome! I’m glad to hear you’re going for the trim pieces!
Thank you! I’m so glad you enjoyed it—your feedback means a lot! 😊
We appreciate reading the data shown here, it is very valid for many of us. Congratulations for the work.
I’m getting ready to do something alike in my kid’s shared room. Do you suggest any specific sheen for the paint? I was thinking about using eggshell. Thank you I will be getting this trim pieces for sure!
Yes! I use eggshell or satin on my walls. 🙂
Great job and truly beautiful! No on the door trim as it appears to be a different wall. I love wainscoting of all styles!
Thank you so much!
Hi Sarah,
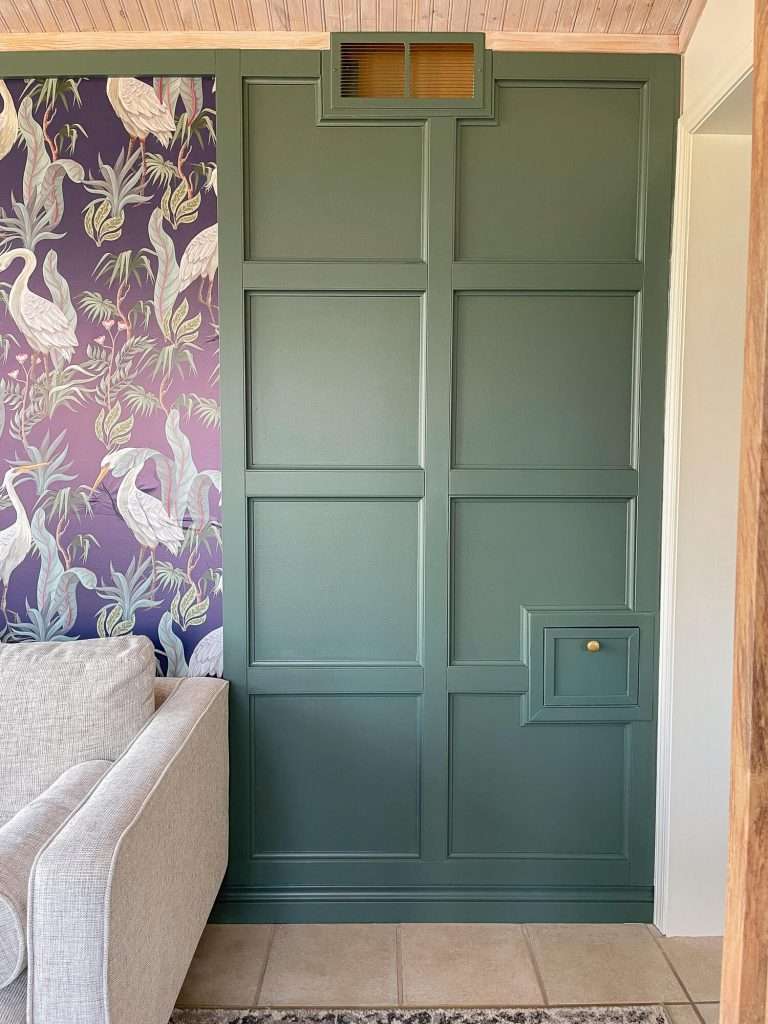
Love your renovations and blog. I too am a Michigander, moved to Florida for many years where I met my husband and gave birth to our son. We retired to North Carolina in 2004. We are currently remodeling a 1974 brick home that has many charming features. I do have a question however and hope you don’t mind me asking…but curiously, what is the little door on your wainscoted wall? I look forward to watching your blog and viewing other decorative ideas you may have……
Wishing you and your loved ones a very Blessed Easter.
Donna
Thanks so much for following along Donna! The little door is a laundry shoot to our basement. 🙂