
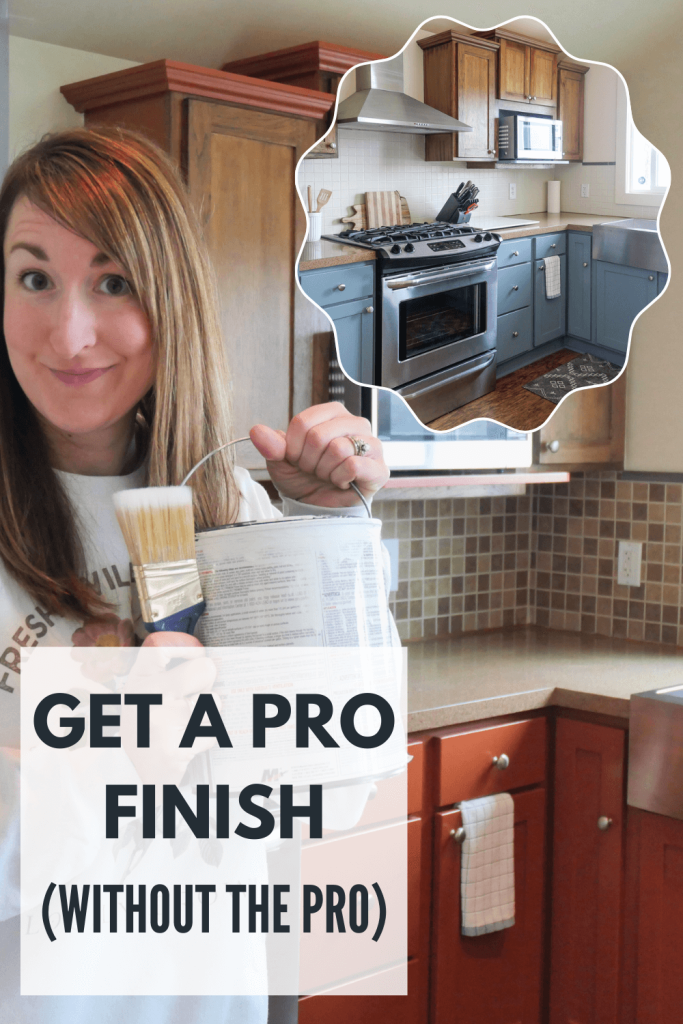
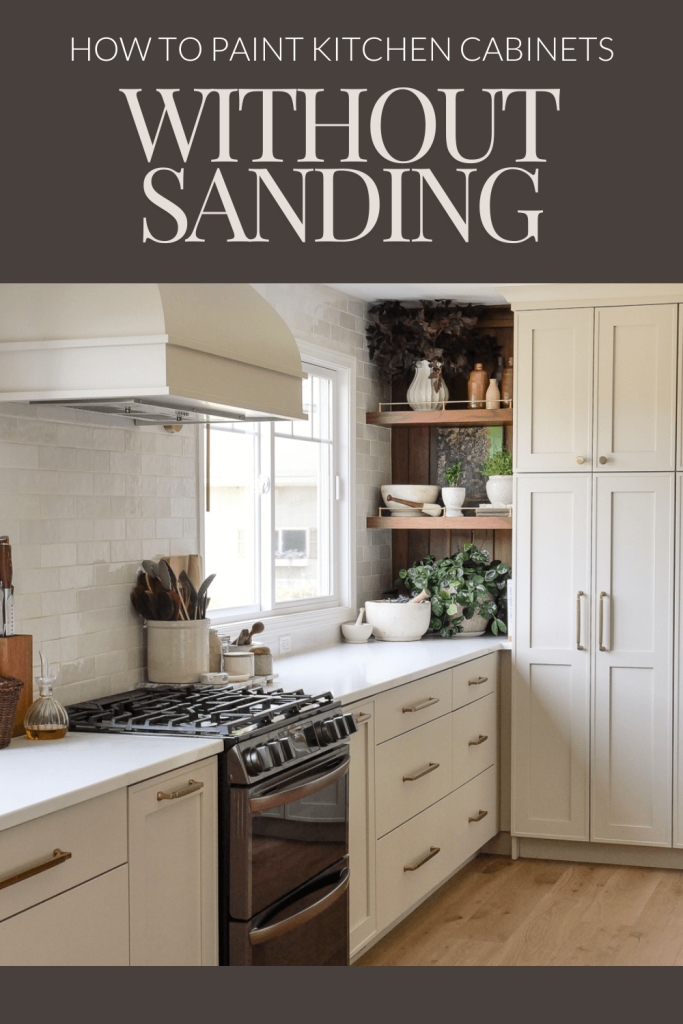
How to Paint Kitchen Cabinets Without Sanding (And No Chipping!)
Have you ever painted cabinetry only to have it chip and peel within the year? After painting countless kitchens myself, this is my tried and true method for how to paint kitchen cabinets without sanding. Follow these steps for a durable and professional paint job that you won’t be touching up every year.
This post may contain affiliate links for your convenience.
How to Paint Kitchen Cabinets Without Sanding
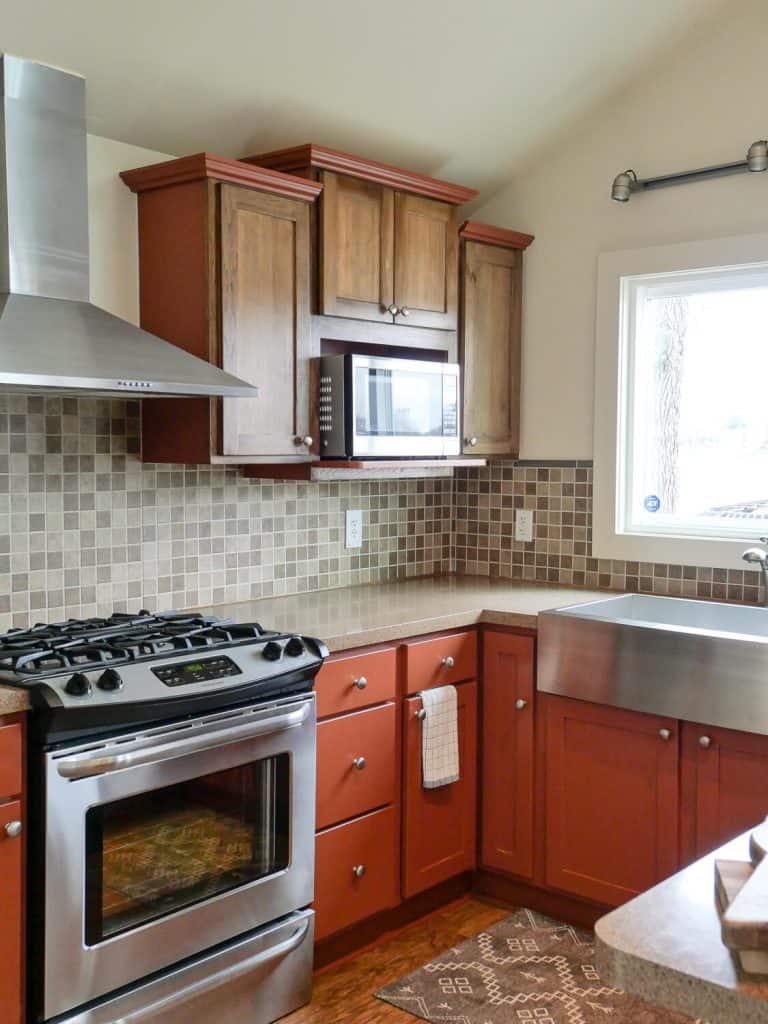
You don’t have to spend thousands of dollars to remodel a kitchen. Paint is truly a miracle worker when it comes to DIY home improvement and I’m excited to share my process to help you create your dream kitchen on a budget.
Painting kitchen cabinets is a straight forward project. However, be prepared for a tedious and time consuming process. It is definitely worth taking the extra time to do it right and avoid a finish that chips and flakes easily.
Here are the basic steps for how to paint kitchen cabinets (without sanding)! I’ll dive deeper into each step with the information needed to get that lasting finish.
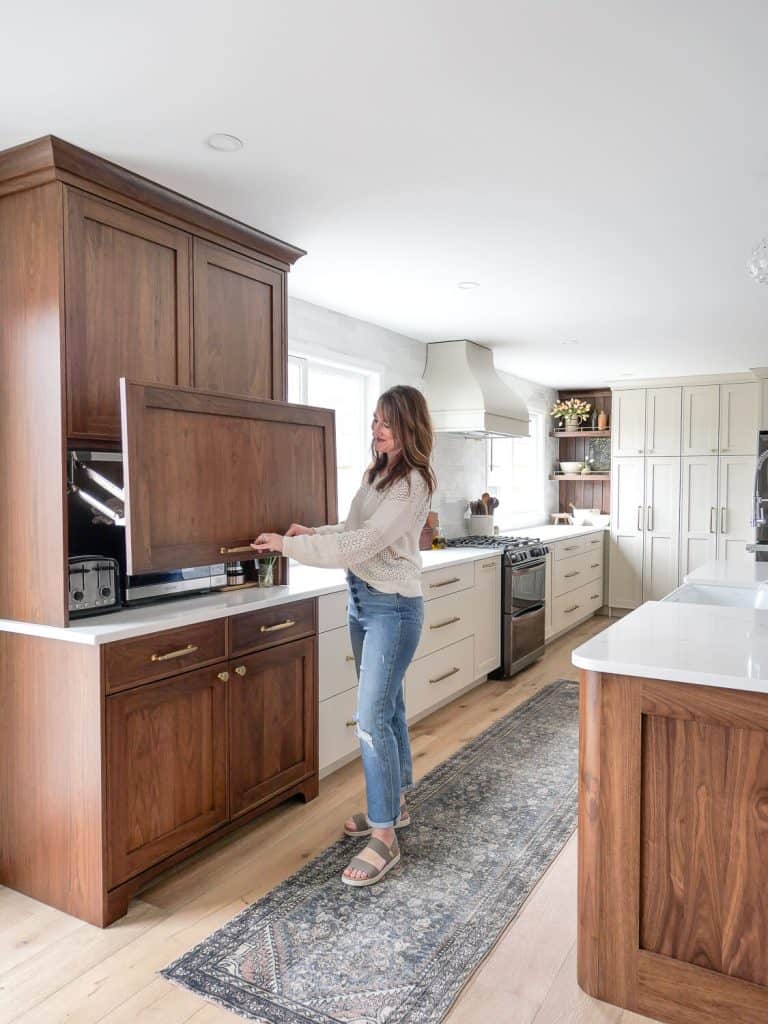
- Remove all hardware and hinges. Number the doors/drawers and place corresponding hardware into a ziploc with the number written on it. This will make it easier to reassemble down the road.
- Clean all surfaces very thoroughly. This is extremely important.
- Use a deglosser to remove slick surfaces and prepare the cabinets to accept paint. This is the step that is vital to take in order to avoid sanding.
- Prime using a high adhesion primer.
- Paint kitchen cabinets using a high quality cabinet paint. Let the paint cure for the manufacturer’s recommended timeframe between coats and before cleaning and full use. This is very important for durability.
Now that you have the basic process for painting kitchen cabinets, let’s dive deeper into the details that matter for success.
Proper Kitchen Cabinet Cleaning Methods Before Painting
Skipping the prep steps before painting kitchen cabinets is where 95% of people go wrong.
Think about oil and water. You can place the two liquids in the same cup but they will always separate over time. Now, consider the type of grime that is typically on kitchen cabinets. It’s usually greasy or a combination of dust and grime.
The majority of paints on the market are water based. So the math is basic. Water and oil don’t mix. And neither does grime and paint. That is why the cleaning step is so important for proper paint adhesion.
The process is simple, but effective. Gather your supplies:
- A bucket
- Dish soap
- Vinegar
- TSP (trisodium phosphate) or a TSP substitute for heavy duty needs
- Heavy duty gloves
- A scrub brush (long-handled is best)
- Microfiber cloths
Remove all hardware to expose grime, which easily hides under hinges. Next, clean all cabinets, drawers and doors with a mixture of water, dish soap, and vinegar.
- Fill bucket with water 3/4 of the way.
- Add 1/8 cup of dish soap.
- Fill the rest of the way with vinegar.
- Stir well so it’s all dissolved, but try not to create too many bubbles.
Scrub down all cabinets with this solution. Rinse, if necessary, to remove any soap reside. Then, dry with a towel.
If you have any caked on grease or dirt, use a razor blade to scrape it off first. Avoid gouging the wood.
If you have particularly dirty cabinets, or old tacky paint, you may need to go the extra mile with TSP. You can see how to do that, and even more details in this post on how to clean cabinets that aren’t coming clean.
Degloss Cabinetry
The next step is vital to prepare your kitchen cabinets for paint.
Sanding is one option. This removes glossy surfaces that can be hard for paint to adhere to. However, sanding is messy and labor intensive.
Instead, I like to use deglosser. Which is essentially, a liquid sandpaper.
The steps are simple.
Use lint free rags or paper towels (I often just rip up my husband’s worn out undershirts) to apply the deglosser directly to the wood. Wipe it down, making sure to cover all surfaces. Simply follow the product directions and let it sit for a few minutes before wiping off any excess.
I would recommend wearing thick gloves.
Apply The Right Primer
Now that you’ve prepared your cabinets, the next step is to apply primer.
Primer is a MUST. Do not assume that a paint/primer in one will suffice. This is especially important because we are not sanding down to raw wood.
I recommend a high adhesion primer. BIN is an excellent option. It is not only quick drying and high adhesion, but it is also tintable. Tinting your primer when working with dark top coats helps get that deep saturation to the color.
(Note: BIN is not recommended to use with TSP as they don’t play nicely with each other.)
Some of my other favorite primer brands are Rust-Oleum and Kilz, though I prefer BIN the most.
Options for Applying Primer and Paint
There are various methods for applying both your primer and paint. Different experts will have different opinions and preferences. However, I’ve found that sometimes the best method is simply the one you are comfortable with and have access to.
- Paint sprayer
- Brush
- Foam roller (not my fave, but some people swear by them)
- Lint free roller
I’ve shared the pros and cons of paint sprayers v. hand brushing in this article.
My personal preference is to use a brush and roller. Simply because the amount of prep and space needed to spray cabinetry is so tedious. You can watch some of my favorite painting methods in this video if you are a visual learner.

I prefer to brush on the paint with my favorite paint brush. This allows me to get into corners and crevices. Then I quickly roll over it with a nearly dry mini roller to remove any brush strokes.
After priming, I give the cabinets a light hand sand with 320 grit sand paper to knock down any high spots.
A quality self-leveling paint will go a long way in avoiding brush strokes and bubbles as well. Keep reading for more tips on that!
The Step Everyone Misses When Painting Kitchen Cabinets
This step is a game changer for a professional finish.
Caulk.
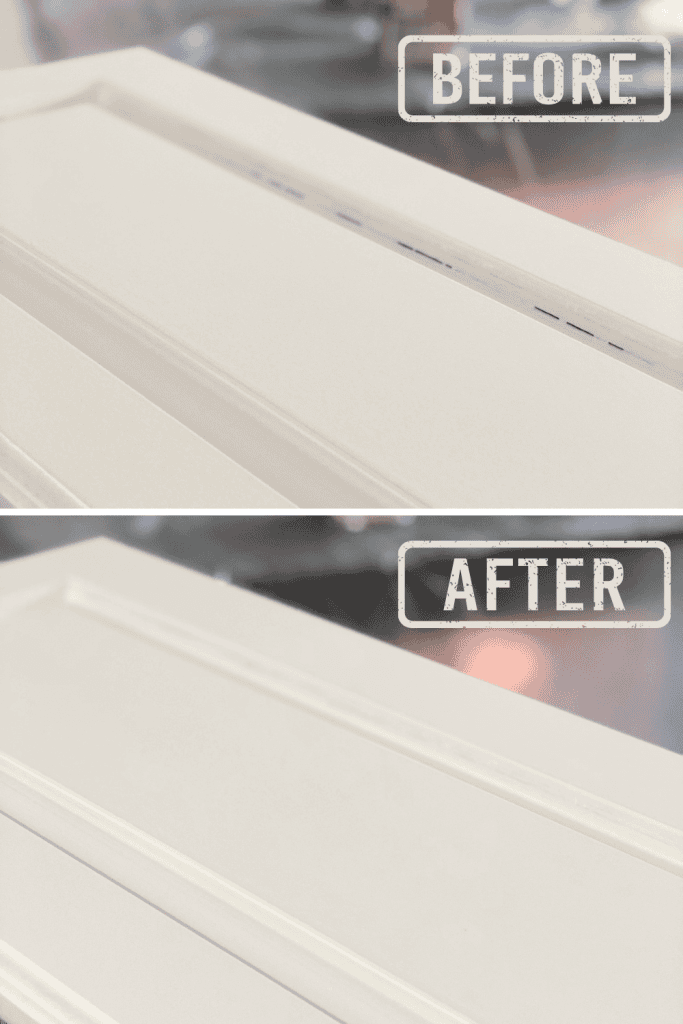
After you’ve painted the primer, you’ll notice where there are seams and gaps in the wood. This is most prevalent on door and drawer fronts where the panels are joined to the rails and stiles.
Apply paintable caulk to any apparent gaps in the doors or drawer fronts and smooth out.
Let the caulk dry fully before proceeding to paint.
The Best Cabinet Paint for Durability
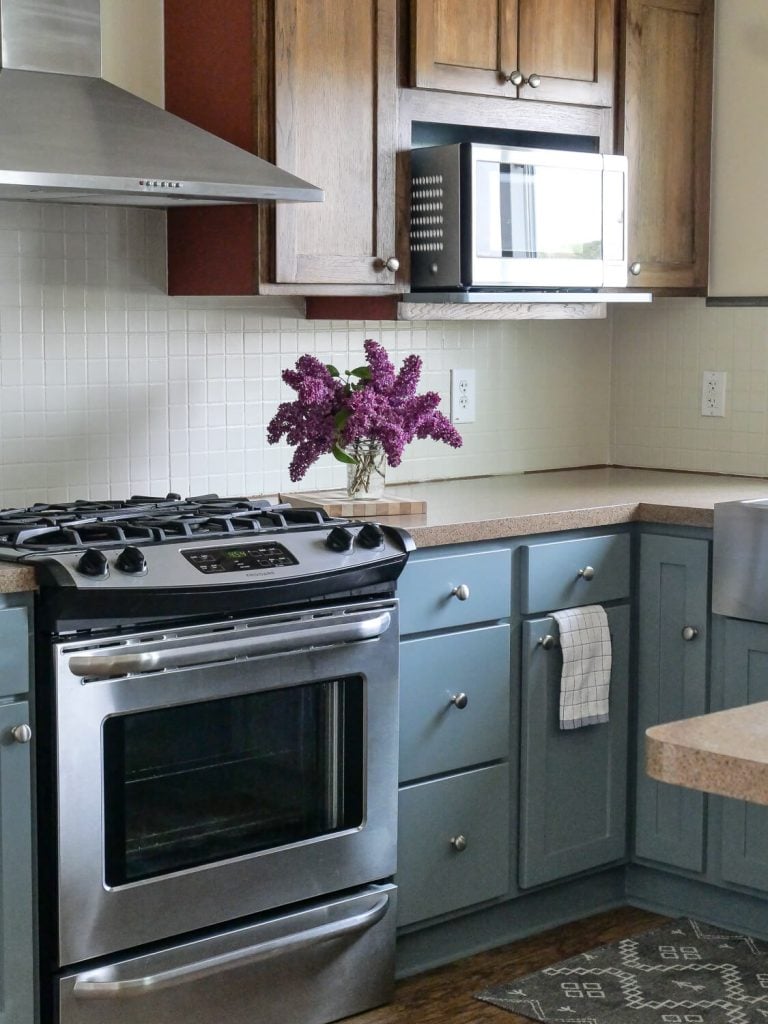
Now, it’s time for the fun part! Applying your paint color that is going to completely transform your painted kitchen cabinetry.

There are many different types of paint that are viable options. You can learn more about the pros and cons of various types of paint in this post on painting trim.
My favorite type of paint to use on cabinetry is either waterborne alkyd paint or enamel cabinet paint.
Use the same process of brushing and back rolling as you did with the primer. Sand lightly with 320 grit sand paper between the first and second coat. Make sure to remove any sanding dust before finishing with the top coat.
You will definitely need 2 coats of paint. However, a third might be necessary if you are covering a dark color with a lighter one.
The Importance of Curing Time
The last and final step that most people overlook is allowing proper curing time.
Some paints require a full 24 hours between coats to properly adhere and cure for durability. If you rush this and try to apply the next coat too soon, it will cause your paint to peel down the road.
SHOP MY KITCHEN

Similarly, some paints require up to 7 days before they recommend full use after the final coat. So if you rush to get your kitchen back together, the chances of it chipping are much higher than if you allow the full curing time.
Patience is key in the process of painting your kitchen cabinets. It doesn’t require any physical effort but it definitely requires fortitude to get through the process of waiting for a long lasting finish.
Should You Use a Top coat?
Top coats are a controversial step for painted cabinetry.
While some paints (like chalk paint or latex) may benefit from a clear polyurethane due to their lack of durability, the cabinet paints I suggested don’t really need it.
Cabinet paints are engineered to have a hard finish. If you use a semi-gloss finish, they are even more cleanable and durable.
The risk of using a polyurethane on white or light cabinets, is that the top coat can yellow over time and cause your paint to discolor.
For that reason, I simply choose a high quality cabinet paint and skip the top coat altogether. This also makes it much easier for touch ups in a few years if they are needed.
What Paint Finish is Best for Kitchen Cabinets?
You want your kitchen cabinets to be as durable as possible. Choose a satin or semi-gloss for your paint finish as these two options are most cleanable.
SHOP THE LOOK
Satin will have a low lustre while semi-gloss has a mild sheen.
For high impact cabinetry, opt for high gloss. Just note that this shows imperfections most heavily and can be difficult to avoid brush strokes. High gloss is best sprayed on.
Best Paint Colors for Kitchen Cabinets
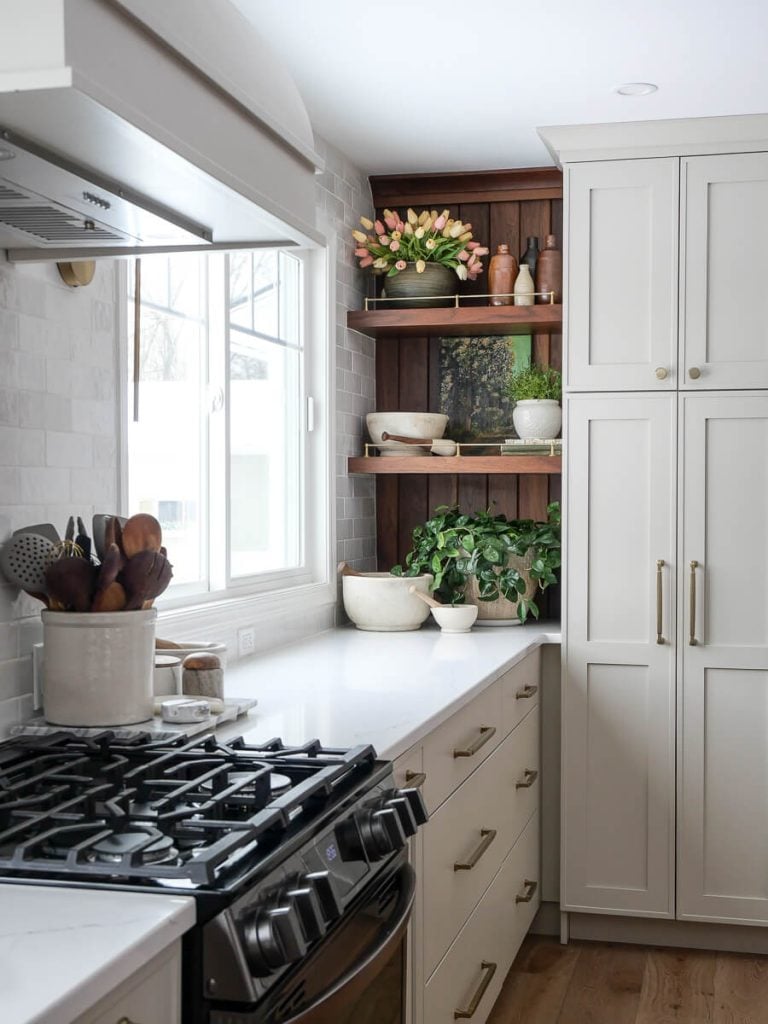
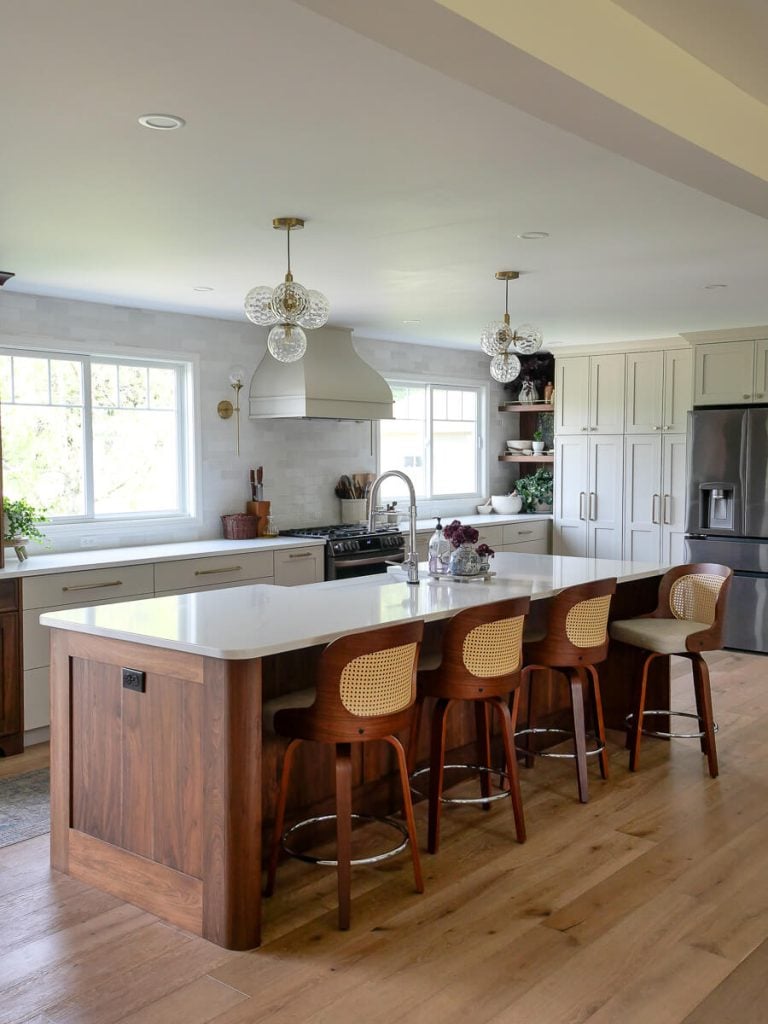
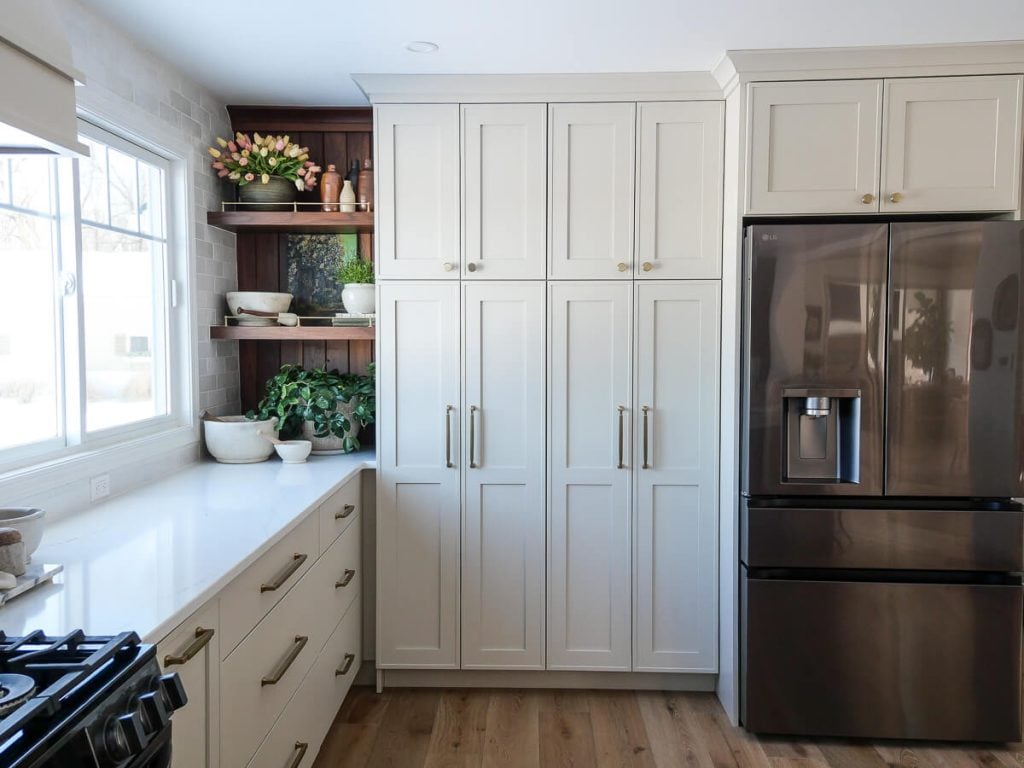
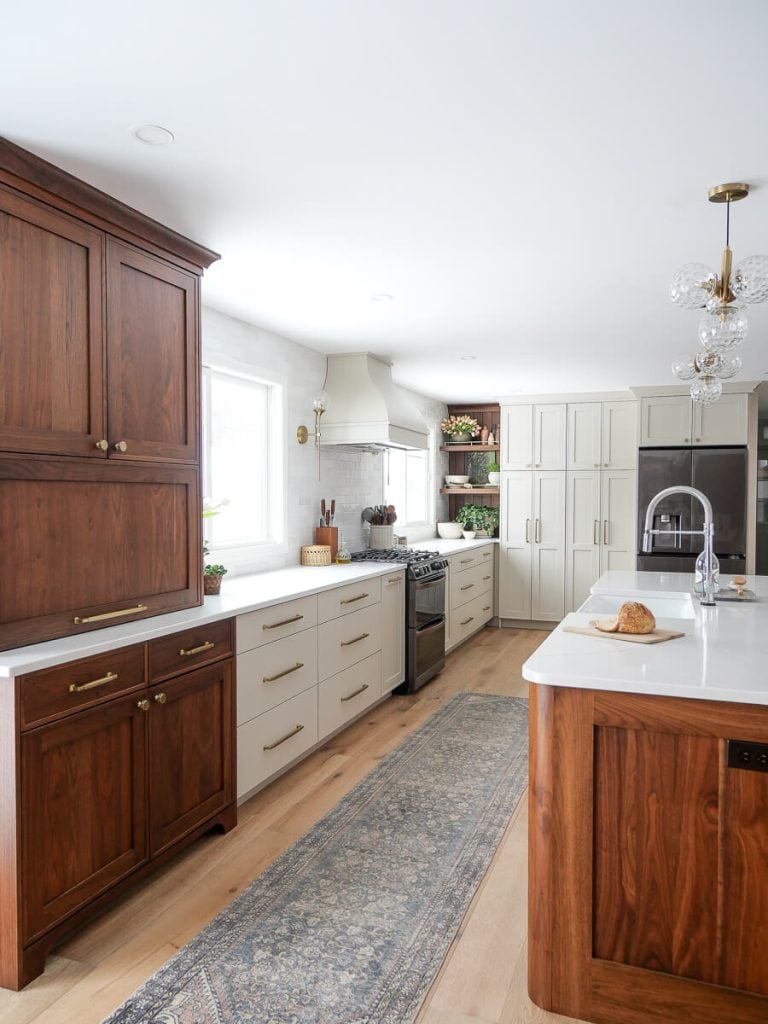
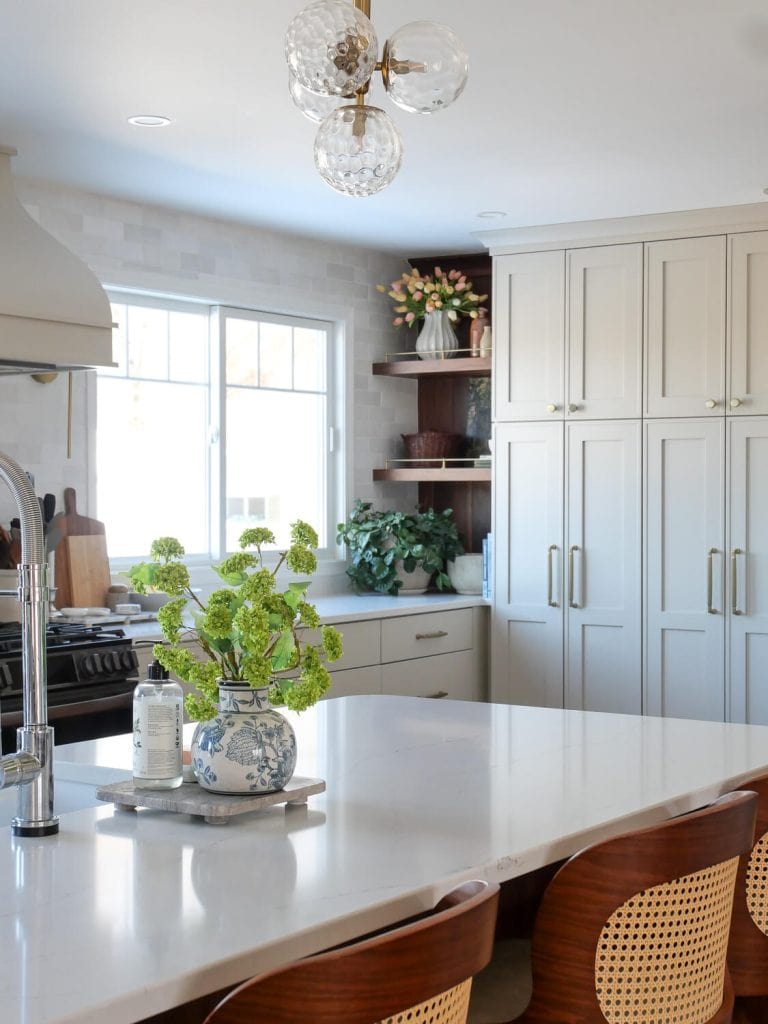
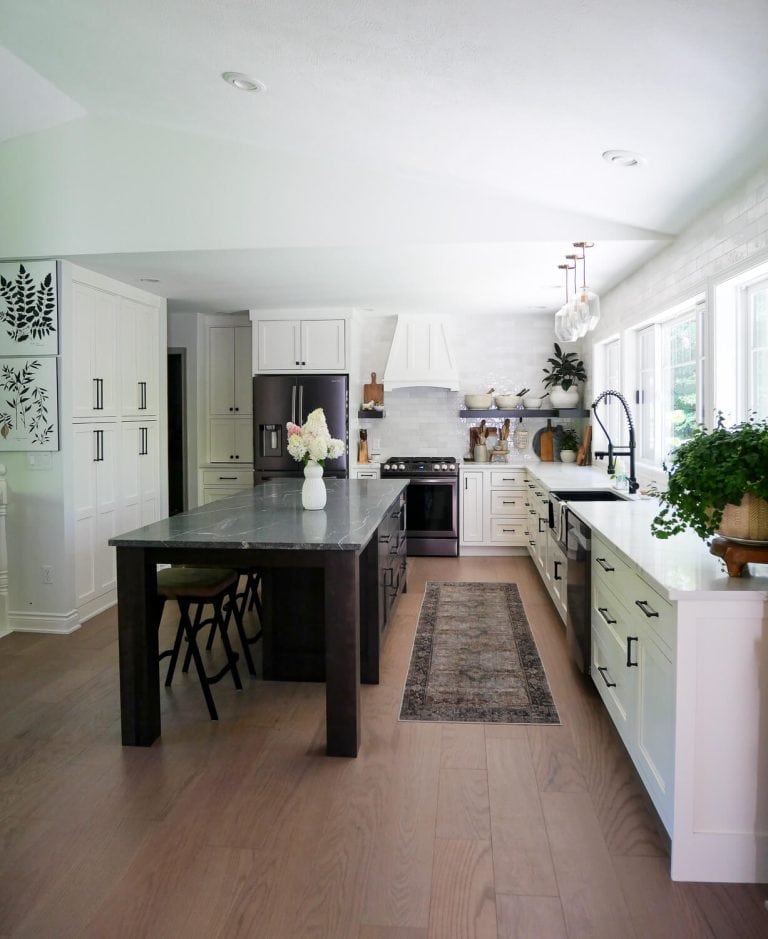
I’m a sucker for a neutral kitchen with pops of bold woods. My last two kitchen remodels both had white or taupe painted cabinets paired with dark wood tones.
However, I also personally love yellow, blues and greens in a kitchen.
My top 10 favorite kitchen cabinet paint colors are:
- Benjamin Moore White Dove as seen in my previous kitchen
- Benjamin Moore Revere Pewter as seen in my current kitchen
- Sherwin-Williams Fawn Brindle
- Benjamin Moore Midnight Oil
- Sherwin Williams Steamed Milk as seen in my laundry room
- Benjamin Moore Char Brown
- Benjamin Moore Hale Navy
- Sherwin Williams Night Train as seen in my bedroom
- Benjamin Moore Van Courtland Blue
- Benjamin Moore Intrigue as seen in my previous bathroom
What is your favorite color for kitchen cabinetry?
Now that you know how to paint kitchen cabinets without sanding, is this project on your list?
Kitchen Design Resources
Kitchen design is where my true passion lies. There are so many customizations you can do, details to design and functional upgrades to add. If you are looking for more kitchen design resources, make sure to check out my full archives on kitchen design and remodeling.
I hope this article on how to paint kitchen cabinets without sanding has been helpful to you!
Thanks so much for stopping by the blog today!
Make sure to subscribe to Grace In My Space to get access to my free printable library!
And, you can follow along with more DIY projects, home styling tips, easy recipes and more on my YouTube channel and daily on Instagram!
~Sarah
Every time I read your blog, I get a new dose of inspiration. This article has once again proven how professional and attentive to detail you are. Your advice is clear and easy to implement. Thank you so much for creating such valuable and thoughtful content!
pp quality is impressive for its size. Lightweight yet powerful in features. That balance is rare.
This sounds amazing!
Thank you for laying this out step by step! I’ve seen so many “quick fix” tutorials for painting cabinets, but they never hold up. Your method makes sense, especially the part about priming properly.