
How to Clean Cabinets Before Painting: Ultimate Guide with Pro Tips
Get pro-level advice on how to clean cabinets before painting! This article covers everything from the right tools to use to the best techniques for tackling dirt and grime. This guide has everything you need to know for a successful project.

This post may contain affiliate links for your convenience.
How to Update Cabinets with Paint
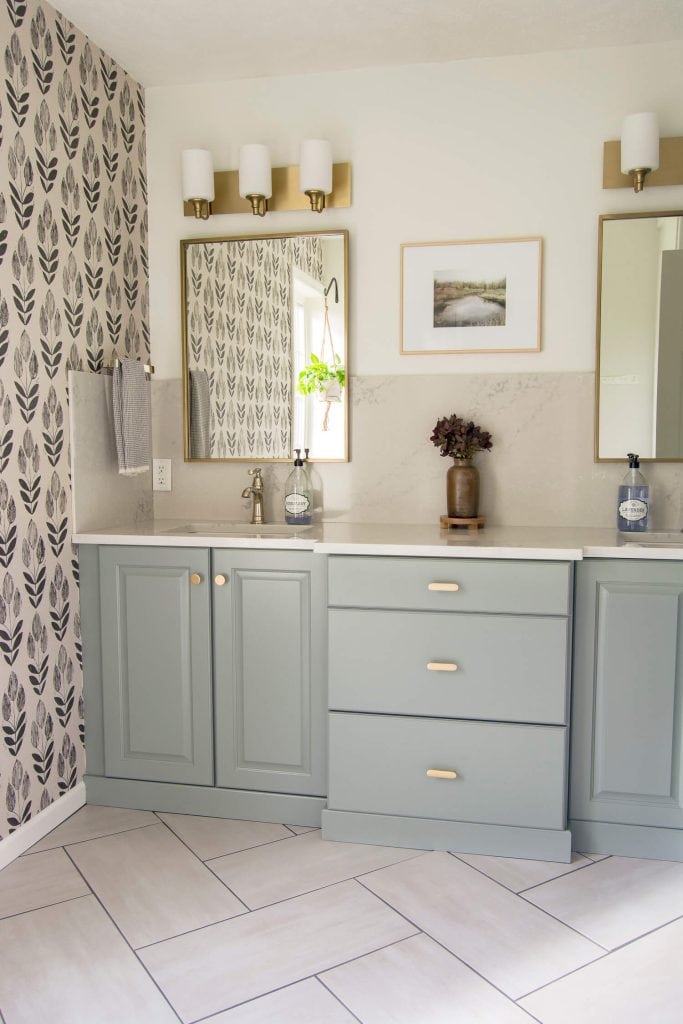
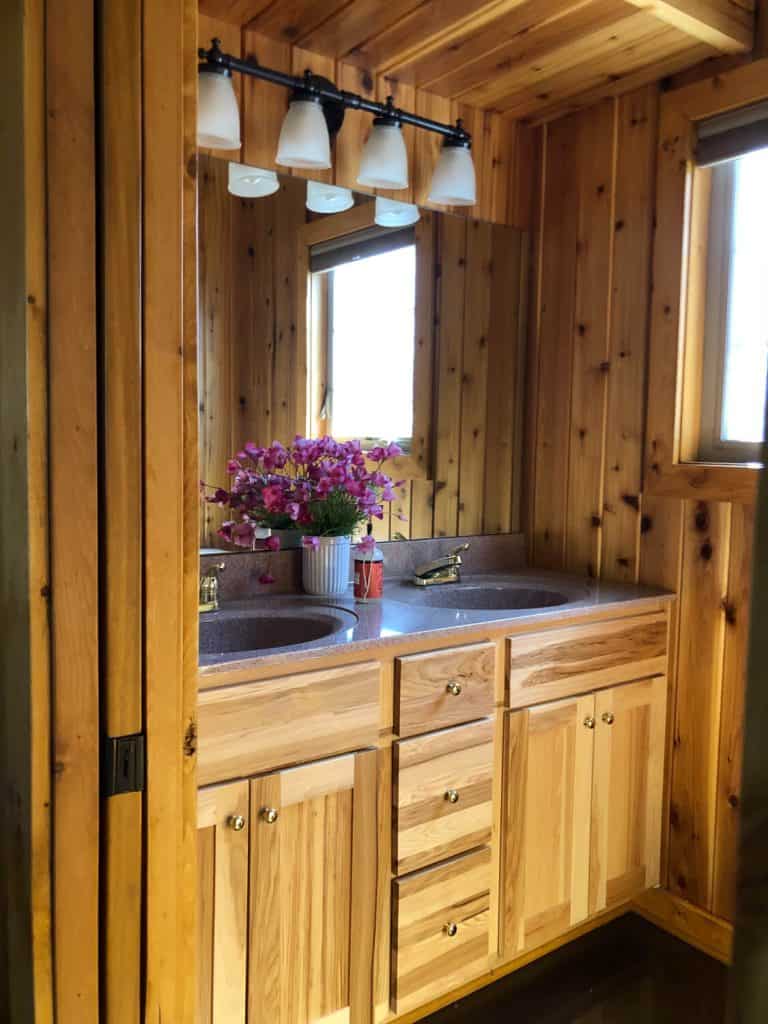
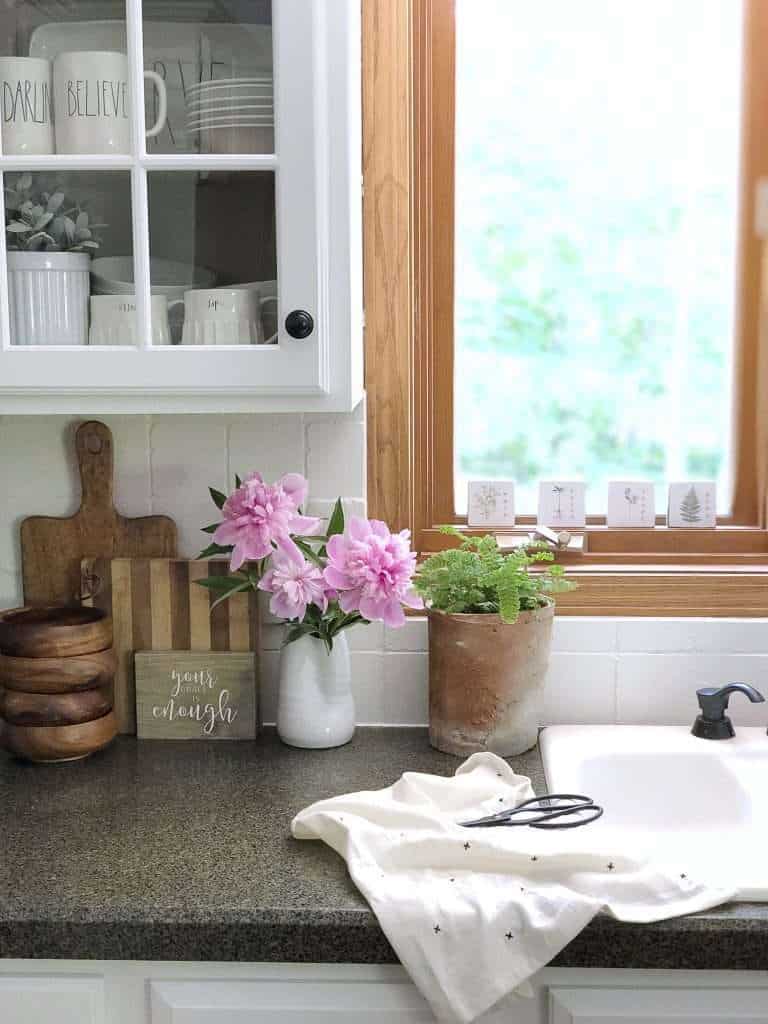
Are you tired of your outdated kitchen or bathroom cabinets?
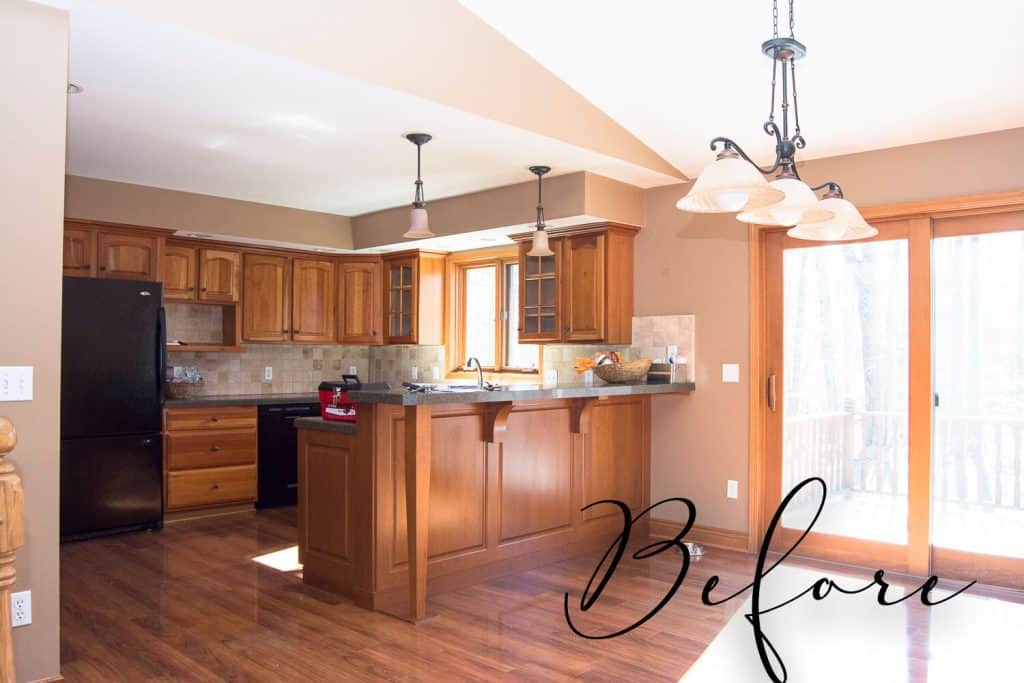
Painting them is an affordable and easy way to give your space a fresh new look. However, the key to a successful painting project is in the prep work, and properly cleaning your cabinets is crucial to achieving a smooth, professional-looking finish.
I’ve painted countless bathroom and kitchen cabinets over the years and have some great resources on the blog for you to peruse after you finish this article. Check them out at the end of this post.
In this article, I’ve detailed a complete guide to how to clean your cabinets like a pro. From gathering your supplies to tackling tough grime with a variety of cleaning options, I’ll guide you through each step of the process. So let’s get started and transform your cabinets into a work of art!
Ultimate Guide: How to Clean Cabinets Before Painting
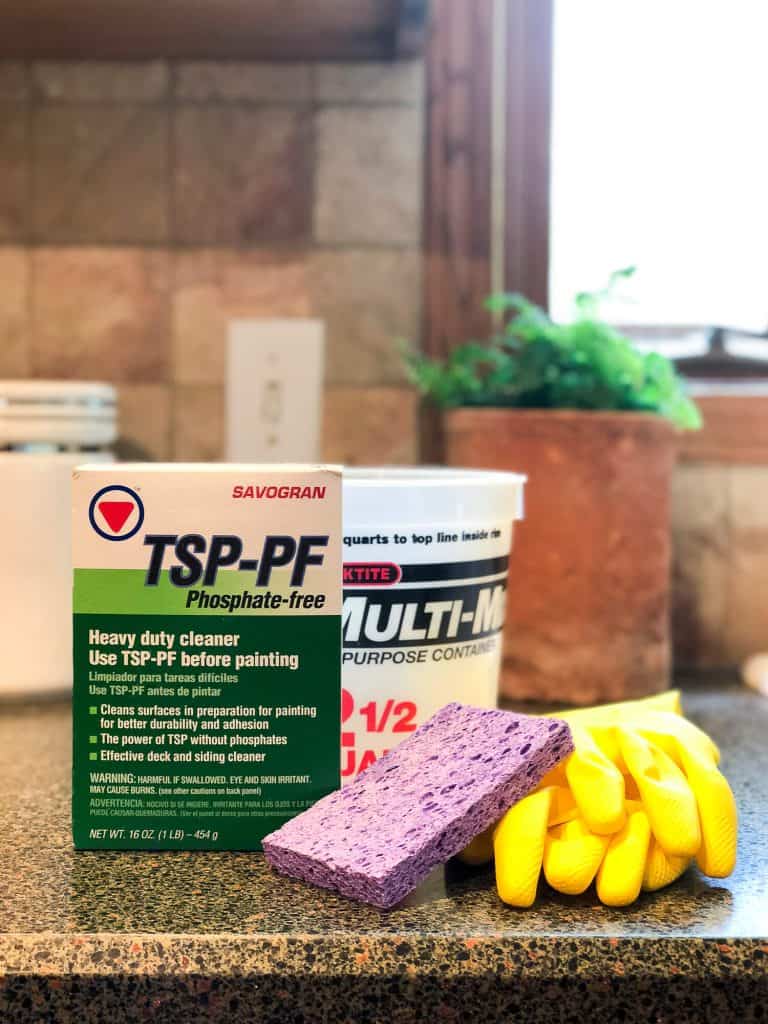
1. Gather Your Supplies
Before you start cleaning your cabinets for painting, it’s important to gather all the supplies you’ll need. You don’t want to have to run back and forth to the hardware store or make do with subpar tools halfway through the job.
Here’s a list of what you’ll need:
- A sturdy ladder or step stool if you have upper cabinetry
- A screwdriver (or power drill if you have lots of screws to remove)
- A bucket
- Dish soap
- Baking soda
- Vinegar
- TSP (trisodium phosphate) or a TSP substitute
- Heavy duty gloves
- A scrub brush (long-handled is best)
- Lint free rags or paper towels (I often just rip up my husband’s worn out undershirts)
- Sandpaper (medium grit)
- Painter’s tape
Once you have all the supplies ready, you can move on to the next step: removing the cabinet hardware and doors.
This is an important step because it allows you to clean every inch of the cabinets and ensures that the hardware and hinges won’t get in the way of your painting.
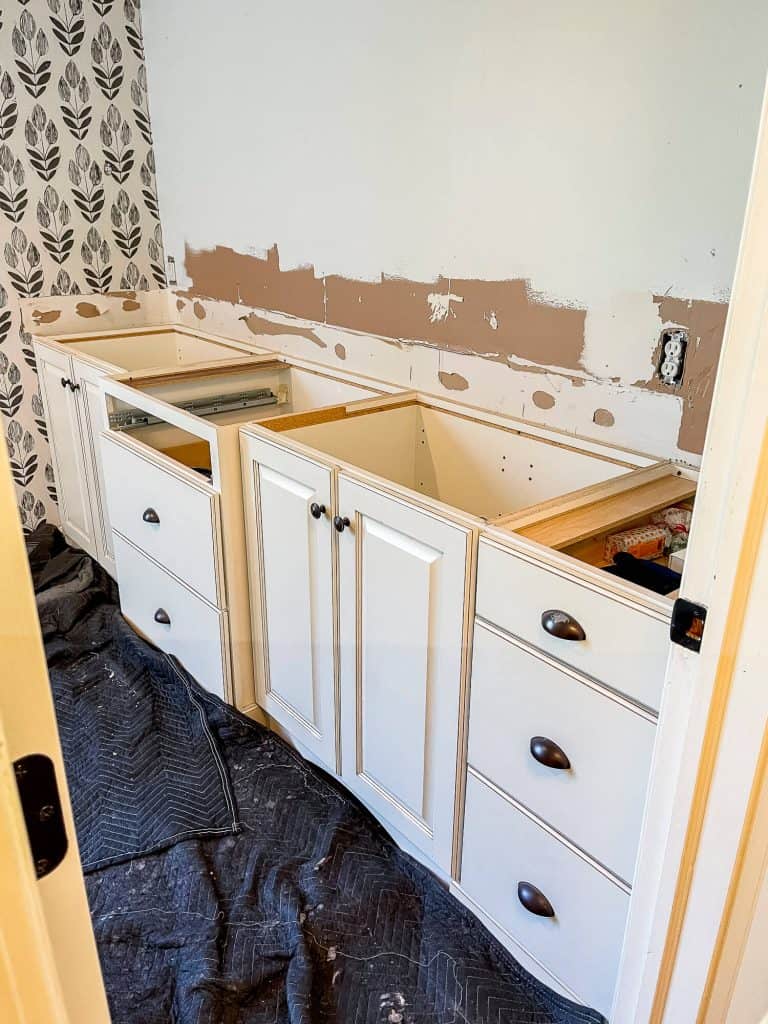
2. Remove Cabinet Hardware and Doors
Once you have all your supplies ready for painting your cabinets, the next step is to remove the cabinet hardware and doors. This will allow you to thoroughly clean and prep the cabinets without any obstruction.
It is important to remove all hardware and doors to ensure a smooth and even paint job. I’ve skipped this step in the past and regretted it. Believe me, it takes more time to tediously clean and paint around cabinet hinges and hardware than it does to uninstall them.
First, start by removing all knobs and handles using a screwdriver. If you are planning on using the same hardware, consider labeling each piece with masking tape to make reinstallation easier.
For cabinets with hidden hinges, use a drill to remove them. For exposed hinges, unscrew them with a screwdriver.
Handy tip: Label!
You’d think all hardware and hinges are made equal, but in reality, you’ll find that you’ll run into issues later if you don’t label which hinge goes with which specific door/drawer. Try your best to label each piece and reinstall into the same door/drawer after painting.
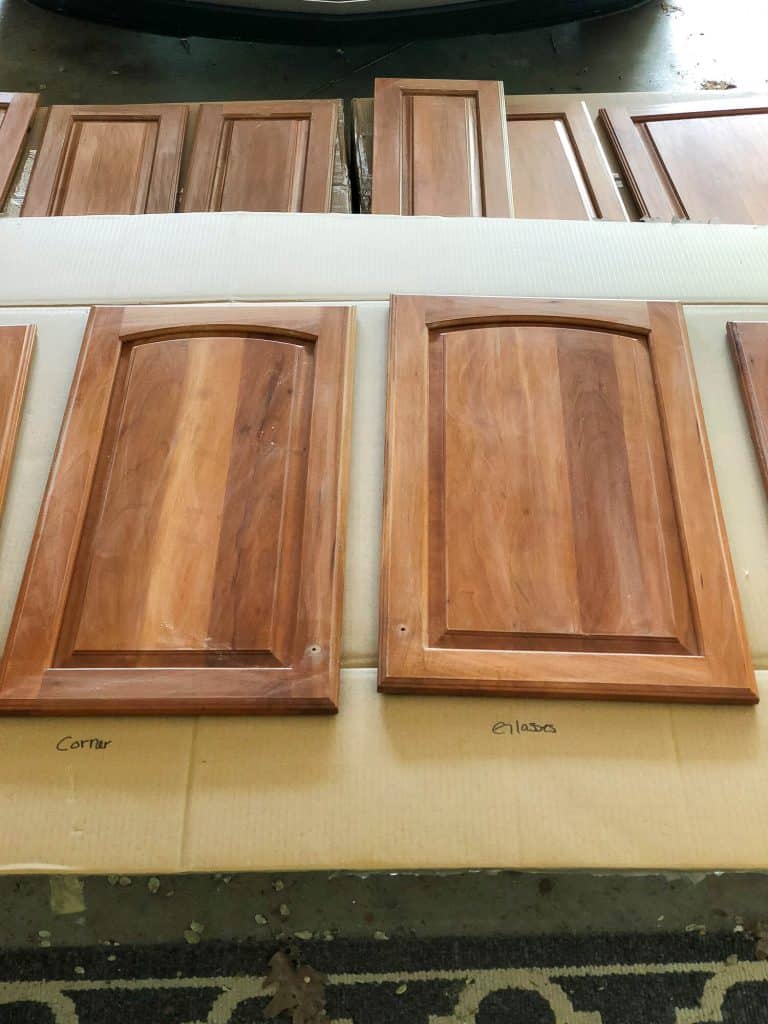
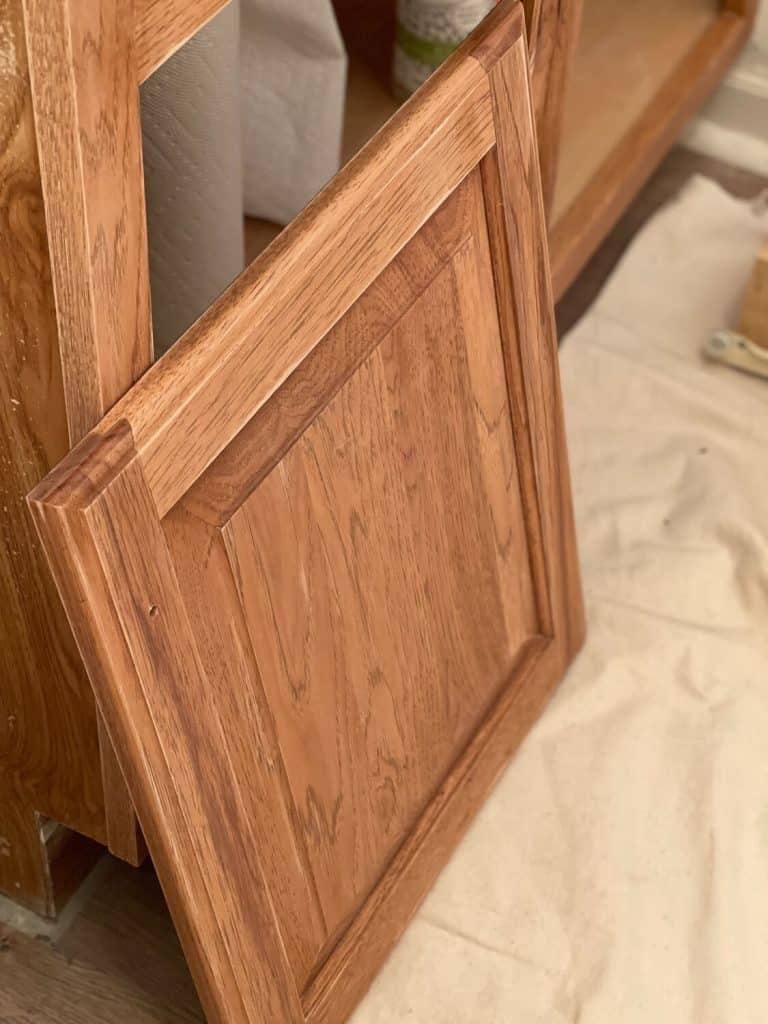
Next, carefully remove the cabinet doors from the hinges. This step may require an extra set of hands, especially for larger doors. Place the doors and hardware in a safe and organized location away from your workspace to avoid damage or loss.
Once you have removed all hardware and doors, you can move on to cleaning the cabinets with the right products. By taking the time to remove these elements, you are ensuring a professional finish that will last for years to come.
3. How to Clean Cabinets Before Painting: Use the Right Products
To achieve a smooth and professional finish on your painted cabinets, it is important to use the right cleaning products. Before using any cleaning chemicals or solutions, make sure to read the labels carefully and follow the safety instructions.
Some popular gentle products for cleaning cabinets include vinegar, baking soda, and dish soap.
Can I Use Vinegar to Clean Cabinets Before Painting?
Mix a small amount of vinegar or dish soap with warm water and use a soft cloth or sponge to wipe down the cabinets. For tougher stains or grime, sprinkle baking soda on a damp cloth and scrub gently.
Baking soda acts as a gentle natural abrasive to help remove dirt and grime.
It is important to avoid using harsh chemicals or abrasive materials that may damage the finish of your cabinets. Always test any new cleaning product on a small, inconspicuous area before applying it to the entire cabinet.
Now that your cabinets are clean, the next step is to tackle any tough grime or stains with chemicals, if necessary.
4. Tackle Tough Grime or Grease with Strong Cleaners
Now that you’ve removed all the surface dirt and grime from your cabinets, it’s time to tackle any tough stains or built-up grease with a stronger industrial strength cleaner.
However, it’s essential to proceed with caution and use the right products to avoid damaging cabinetry.
When it comes to cleaning tough grime, there are several products you can use. If you’re dealing with a particularly stubborn stain, a commercial cleaning solution may be necessary.
What is a Good Degreaser For Kitchen Cabinets?
The top recommended product for how to clean cabinets before painting is TSP. I’ve used this on every cabinet painting project since 2017 and it hasn’t failed me yet!
TSP works well especially to prep kitchen cabinets for paint because it attacks baked on grease better than natural cleaners.
Make sure to follow the manufacturer’s instructions. Wear gloves and a respirator and work in a well-ventilated area to avoid inhaling any fumes.
Sometimes it can be hard to see if natural products cleaned the cabinets well enough. So I like to include this step, even if my cabinets look clean after scrubbing them in step three.
If you skip this step, you will likely have grease splatters that show through on your freshly painted cabinets. The only time I’d skip this step is if you are painting over new cabinetry that hasn’t had time to accumulate dirt and grime.
5. Follow Proper Cleaning Techniques
To ensure that your cabinets are properly prepared for painting, it’s essential to follow proper cleaning techniques.
What is the Best Way to Clean Old Cabinets?
Start by wiping down the cabinets with a soft cloth and warm, soapy water. Avoid using abrasive sponges or harsh chemicals, as they can damage the surface of the cabinets.
If you have especially dirty cabinetry, use a long handled scrub brush with soft bristles. Never use something that will leave scratches or dents on the surface of the wood.
Pay close attention to areas around handles and knobs, as these tend to accumulate dirt and grime.
If your cabinets have any mildew or mold, use a solution of equal parts water and vinegar to wipe them down. Vinegar is a natural disinfectant and can help prevent the growth of mold and mildew.
It is best to place your cabinet doors vertically after scrubbing so moisture can drip off rather than settle into the wood or door grooves.
6. Sand Cabinets to Prepare for Painting
Next, it’s time to sand the cabinets.
This step is important because when you clean cabinets before painting it raises the wood grain due to the moisture contact.
A light sanding will help to smooth out any rough spots or imperfections on the surface.
Use a fine-grit sandpaper and sand until the wood is smooth to the touch.
Use a shop vac to remove any visible dust. Then, be sure to wipe away any remaining dust or debris with a clean cloth before moving on to the next step.
If you have a large amount of sanding dust, consider one more wipe down with a damp cloth to fully remove any particles.
7. Dry the Cabinets
After you’ve finished cleaning your cabinets, take a moment to inspect them carefully.
Make sure there are no remaining stains or debris on the surface, as this could compromise the final look of your paint job.
Use a clean, dry cloth to wipe down the cabinets and remove any excess moisture. This step is very important since moisture is an enemy of a professional paint finish!
Pay special attention to the corners and edges of the cabinets, as these areas can sometimes be more difficult to dry.
Let cabinets dry fully for 24 hours or more, depending on the humidity of your location.
Once your cabinets are completely dry, they’ll be ready for the next step: priming and painting.
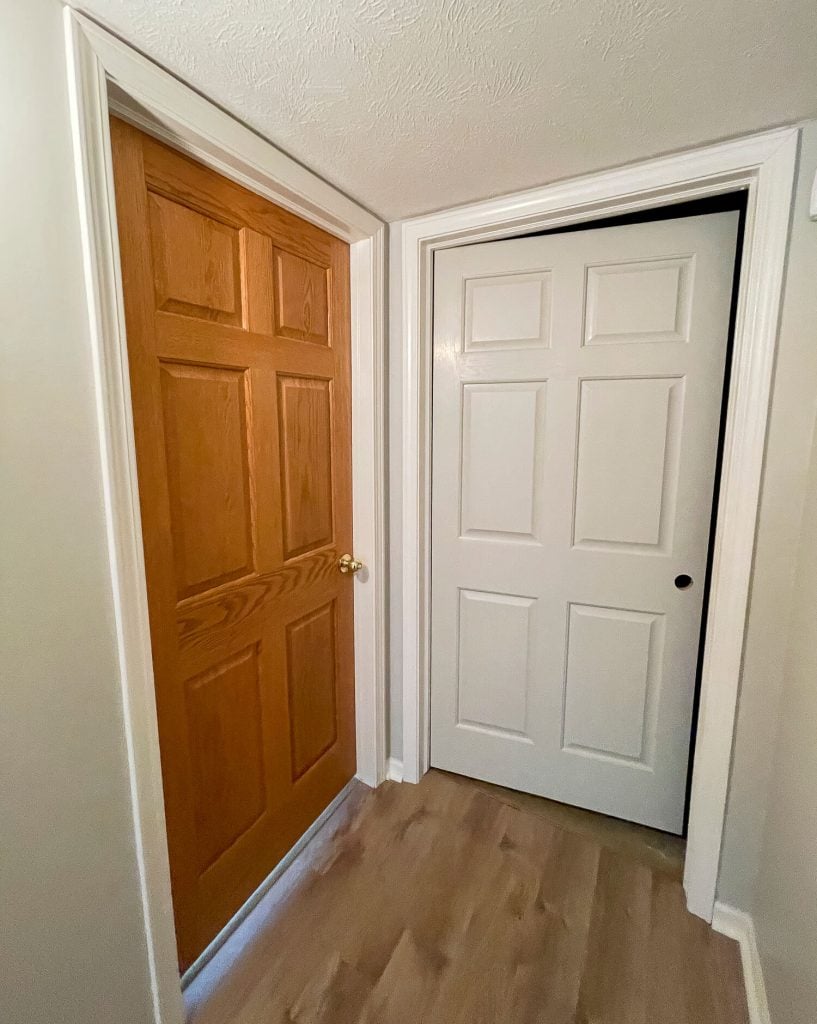
How to Paint Kitchen and Bathroom Cabinets
Now that you know how to clean cabinets before painting, you can head to my next tutorial for painting tips!
- How to Paint Bathroom Cabinetry (Without sanding. Same process applies to kitchen cabinetry!)
- Detailed Tips for Painting Kitchen Cabinets
How to Paint Just About Anything
And since 90% of the DIYs I’ve done over the years have to do with painting, you might also find some of these tutorials helpful!
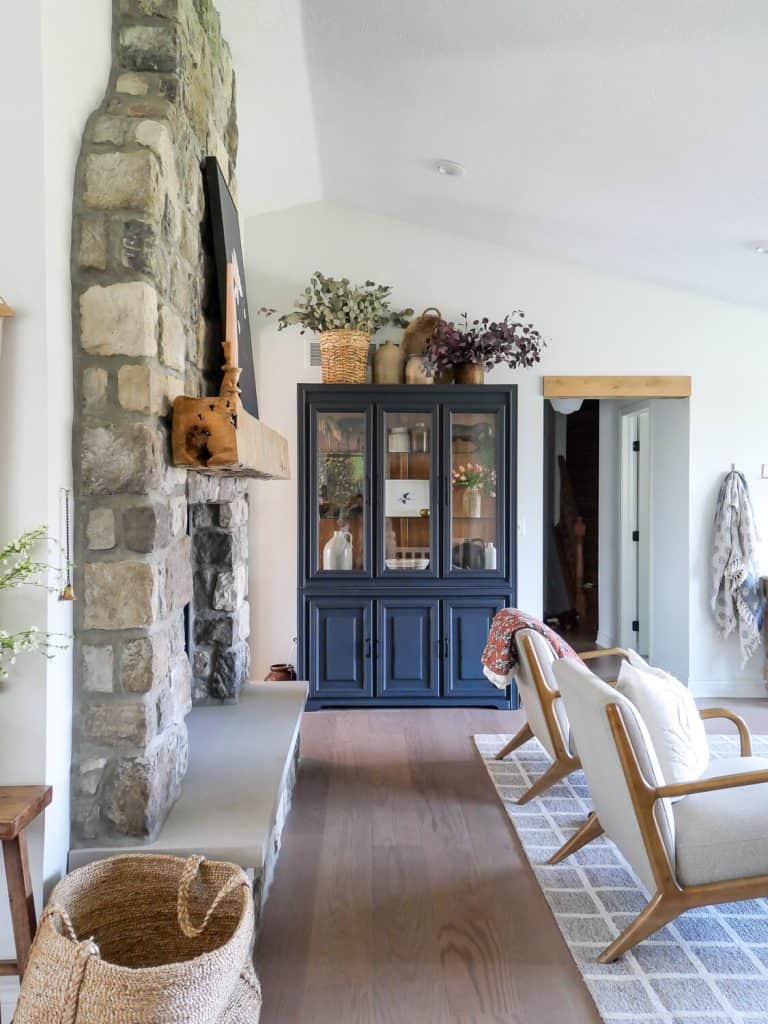
- How to Paint Free Standing Cabinets and Wood Furniture
- How to Paint Trim Without Brush Strokes
- Which is Better: Hand Paint v. Spraying Doors
- Painting Interior Doors with a Sprayer
- How Refinish Furniture with Spray Paint
- How to Paint Window Trim Without Tape
Stay Connected
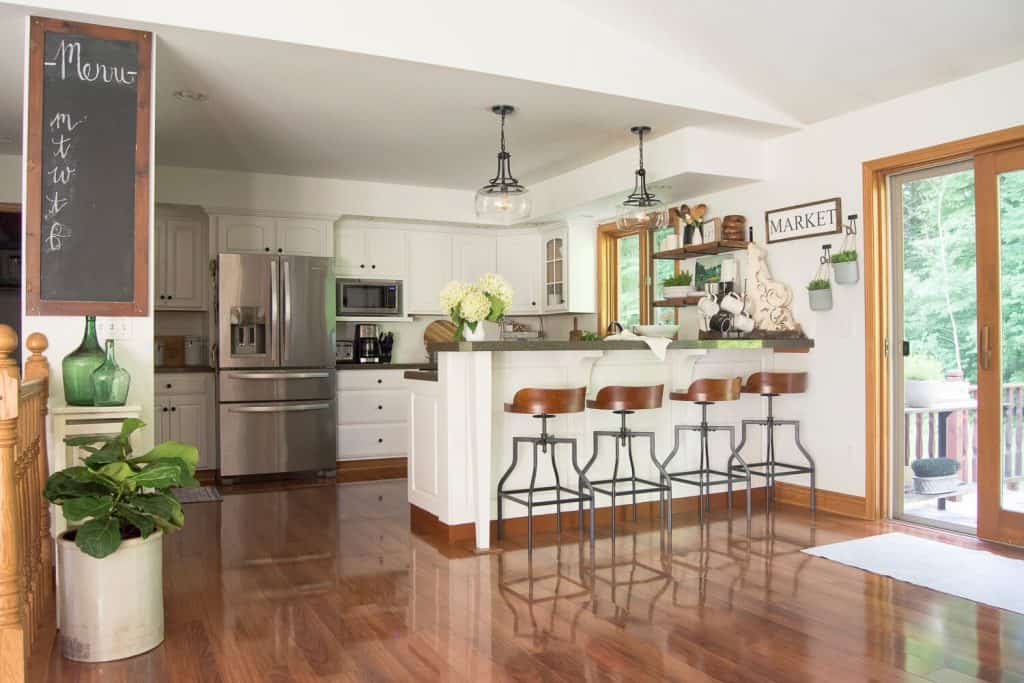
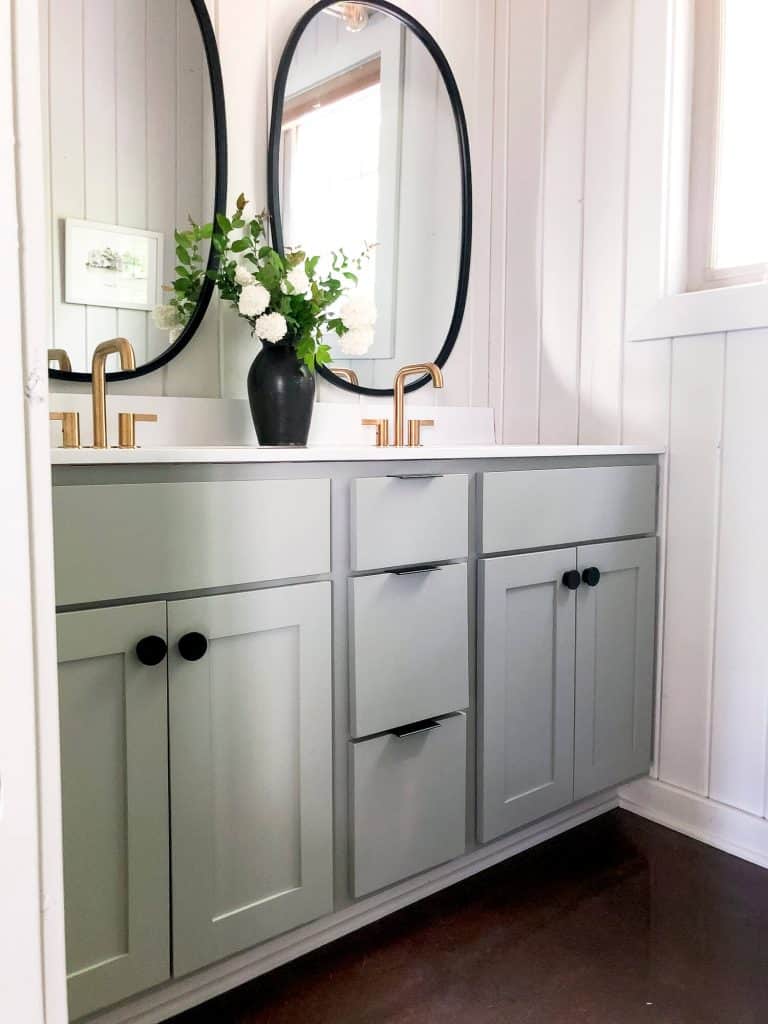
With the insider tips and tricks from the professionals, you’re now equipped to properly clean your cabinets before painting for a successful project. Remember to gather the right supplies, remove the hardware and doors, use the proper cleaning products and techniques, and smooth and dry the cabinets before starting your paint job.
Following these steps will ensure a smooth and professional-looking finish. So go ahead, confidently update your kitchen or bathroom with your newly acquired knowledge and skills.
As the saying goes, “prep work is key,” and your beautifully painted cabinets will attest to that.
Thanks for stopping by the blog today! Make sure to subscribe to get my Grace Notes directly to your inbox and to access all my insider perks. You can also follow along daily on Instagram and weekly on YouTube!
~Sarah


My cabinets have a glossy wood finish and the primer said didn’t have to sand, just make sure it’s cleaned correctly. Well all said and done after 3 days it peals off with my fingers. Please let me know how to get it done right.
If you aren’t sanding, then you do at least need to degloss. Here’s a full tutorial! https://graceinmyspace.com/how-to-paint-bathroom-cabinets-without-sanding/
As a professional painter this article is a terrific read. It makes me happy to see you’ve covered so many of the pitfalls of the prep work required for cabinet painting!
Most gloss over the whole cleaning process, but you’ve created a thorough guide on that alone. Lots of subtle details here that will give people a professional finish!
FYI we also use TSP on our cabinet projects!
If you’re a DIYer, follow this guide by the letter!
Thank you so much Jacob! I really appreciate your feedback.
I wish I would have read this back in august when I painted my bathroom cabinets and didn’t do nearly enough prep work😵💫
The paint has chipped in high traffic areas and I was wanting to fix it up would you recommend any EXTRA steps for cabinets that have already been painted and have small chips in the paint before repainting? Thanks!
Oh no! Well you can always go back and prep and paint again! If you have chipping paint then I would sand those areas down, fill with wood filler, sand smooth again, clean and then proceed to repaint. You may need to prime before your top coat to avoid chipping happening again. Good luck!