Custom Kitchens | Where to Splurge v. Save
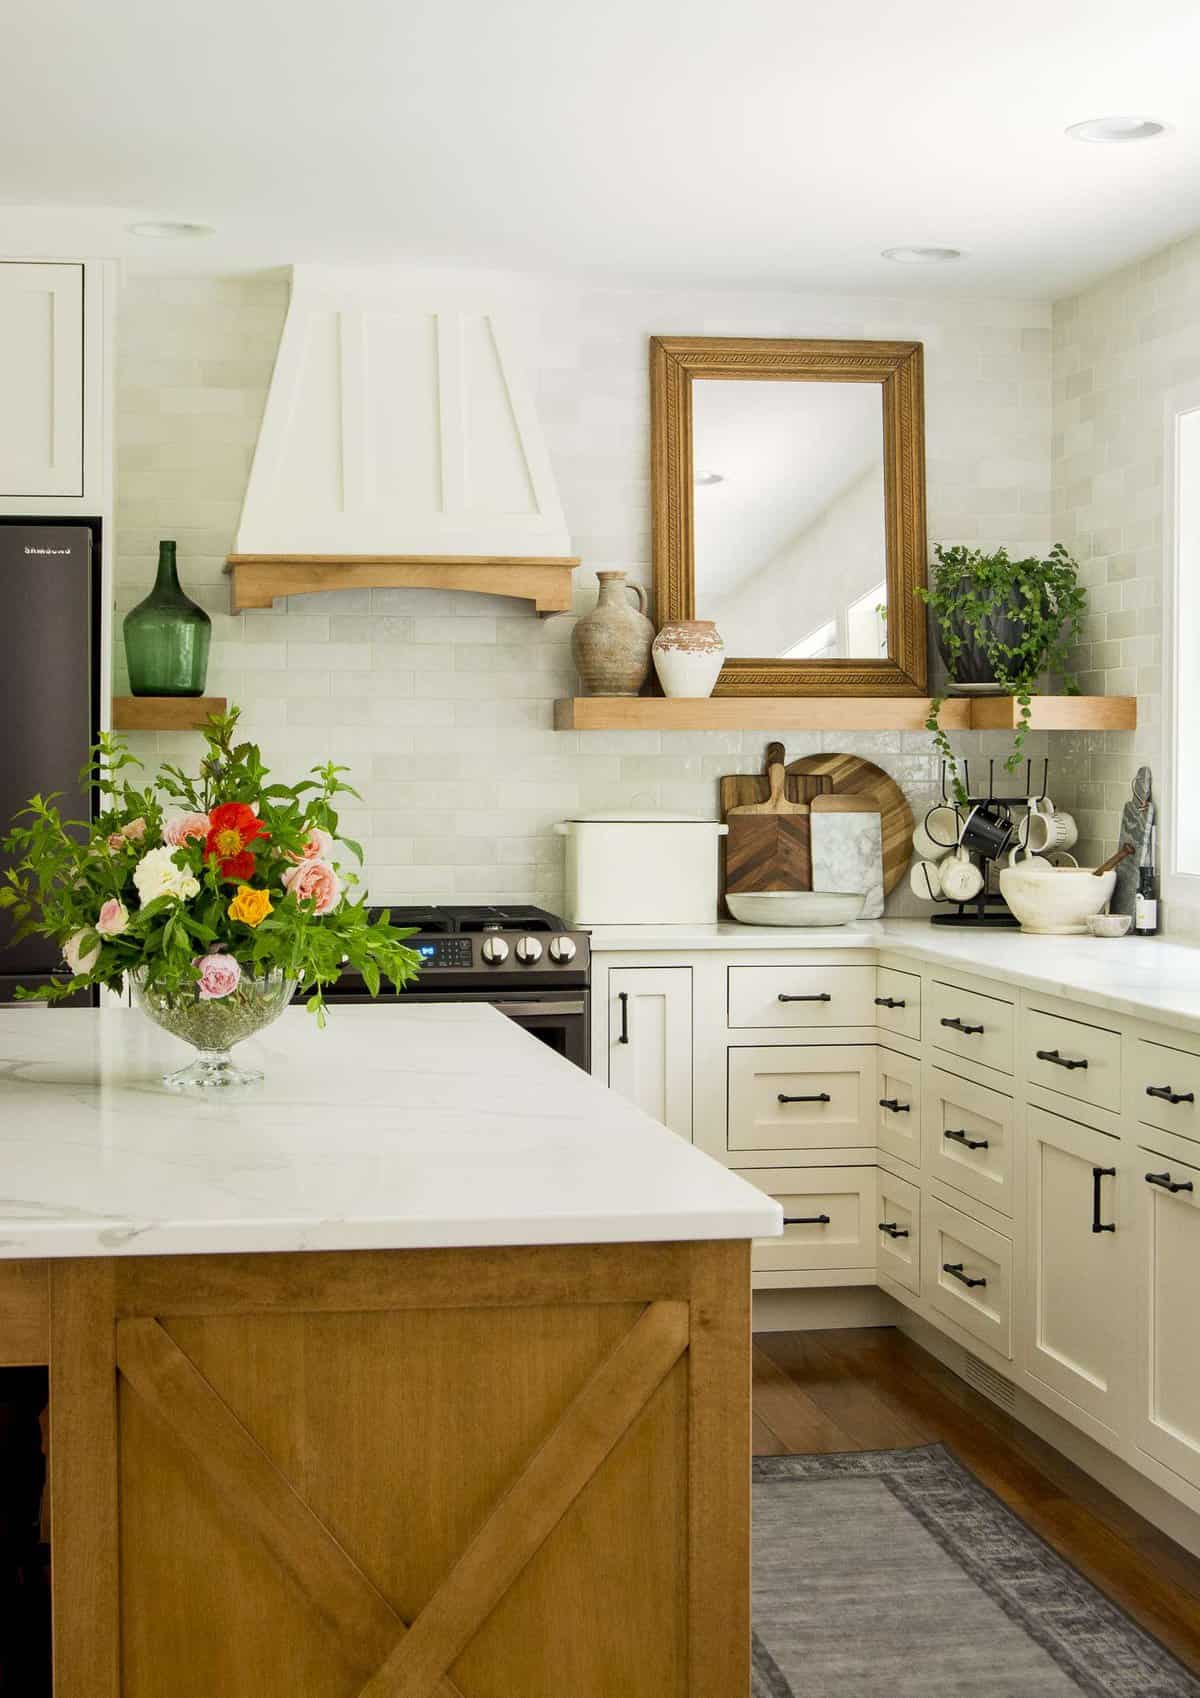
The kitchen is the heart of the home! However, it is also a huge asset for resale. So, after designing two custom kitchens for myself, I wanted to share an easy breakdown on where you can save during your kitchen remodel. Plus, what you should splurge on too!
This post may contain affiliate links where I earn a small commission on your purchases.
Custom Kitchens | Designing with Purpose and Intention
I must preface this post with the caveat that every kitchen should be designed with the goals of the homeowner in mind. Design is a very fluid practice that is extremely subjective and personal! A kitchen remodel should serve to achieve the goals you’ve set for your family, rather than just a pretty design.
In my book, Designing a Life: From House to Haven, I break down how to tackle design with purpose and intention. Designing a home isn’t just about finishes and materials. It is about solving a problem or meeting a goal for your family!
With that in mind, let’s take a look at a couple of ways I’ve done that in my past kitchen designs.
A full source list for my kitchen can be found at the bottom of this post.
My First Custom Kitchen Design
In our previous home, our house fire forced me into designing a custom kitchen. This was my first experience with designing a room from scratch and it is also what made me fall in love with haven making!
You can see more of our last kitchen here, however we moved before I really got into blogging. Oh, how I wish I had more of this space documented!
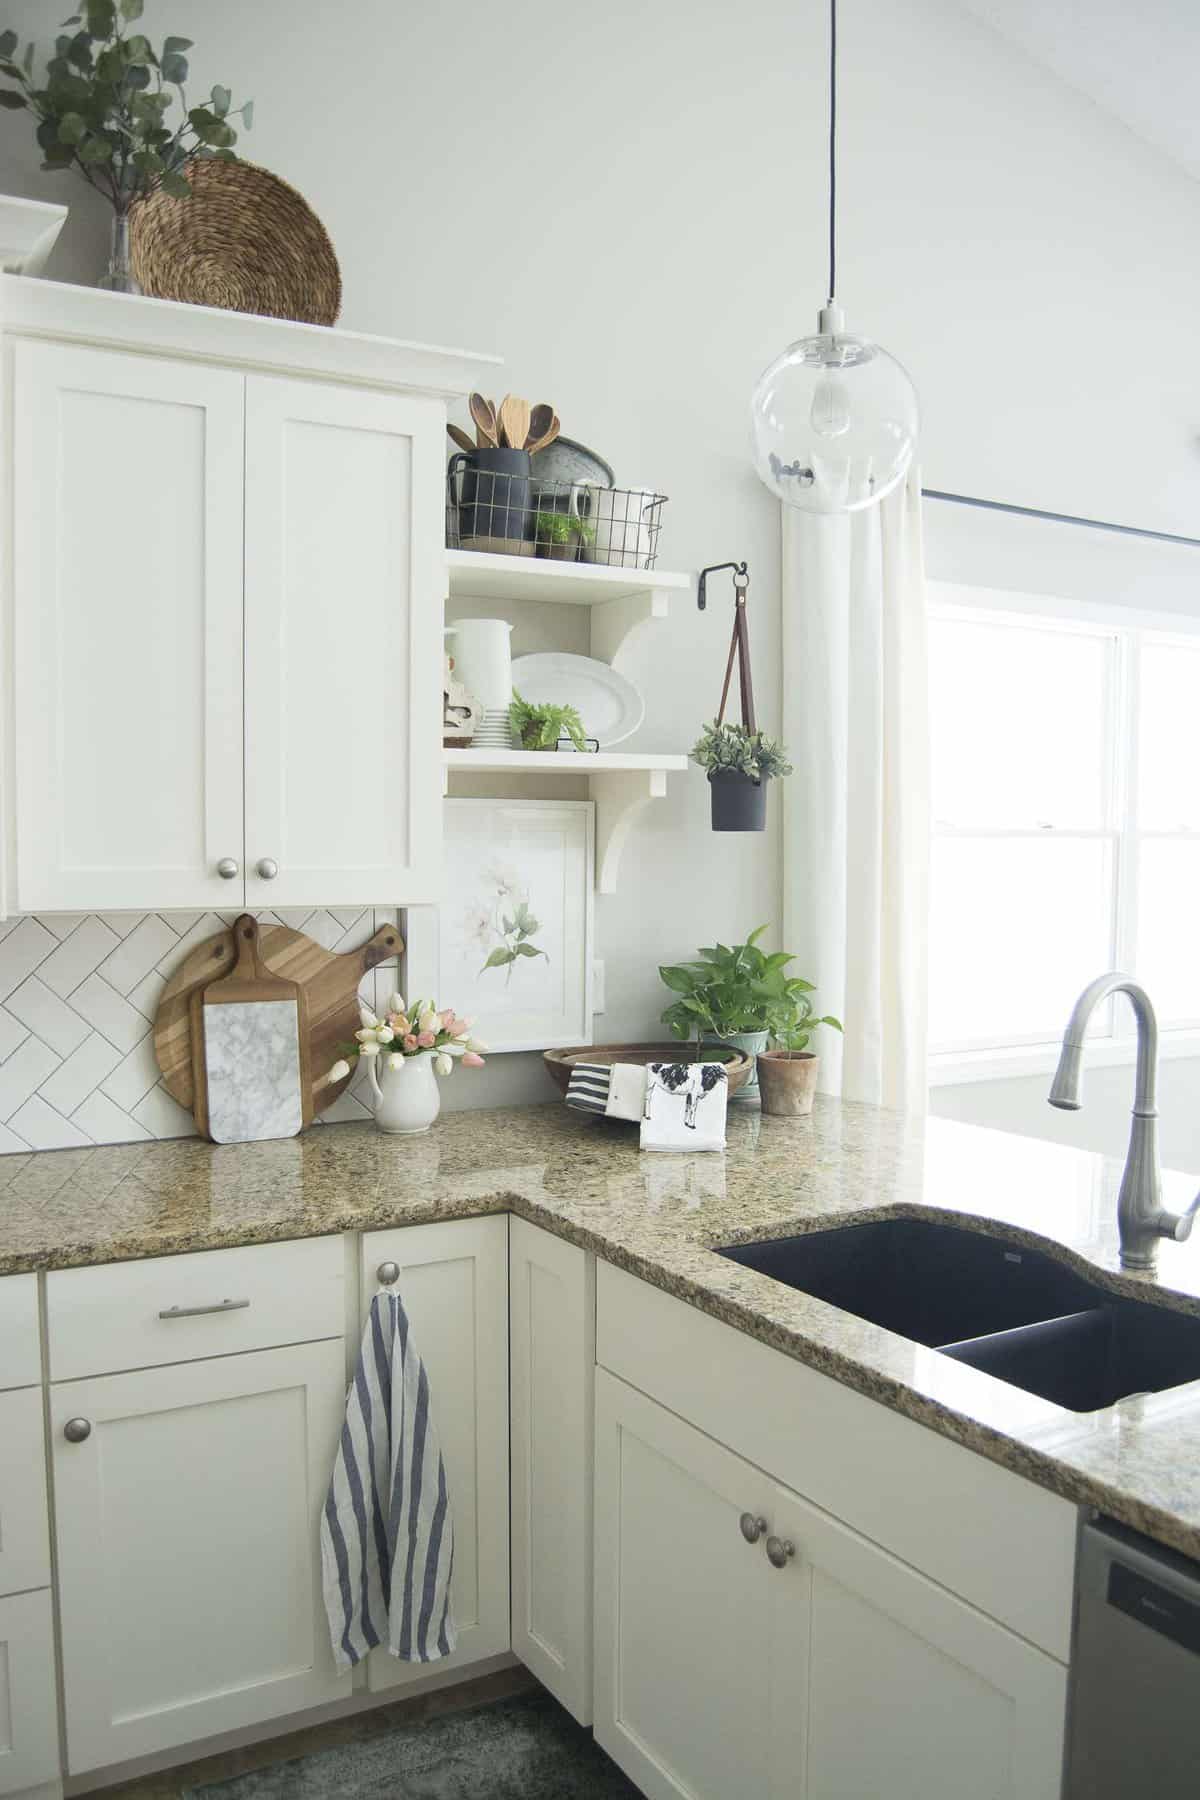
Since a kitchen remodel wasn’t in my plans, I hadn’t been thinking of what I wanted in this design. After the fire, we were staying in an apartment for 6 months while we remodeled the house. That meant that I was making a million decisions, with a job and a 2 year old and newborn in tow.
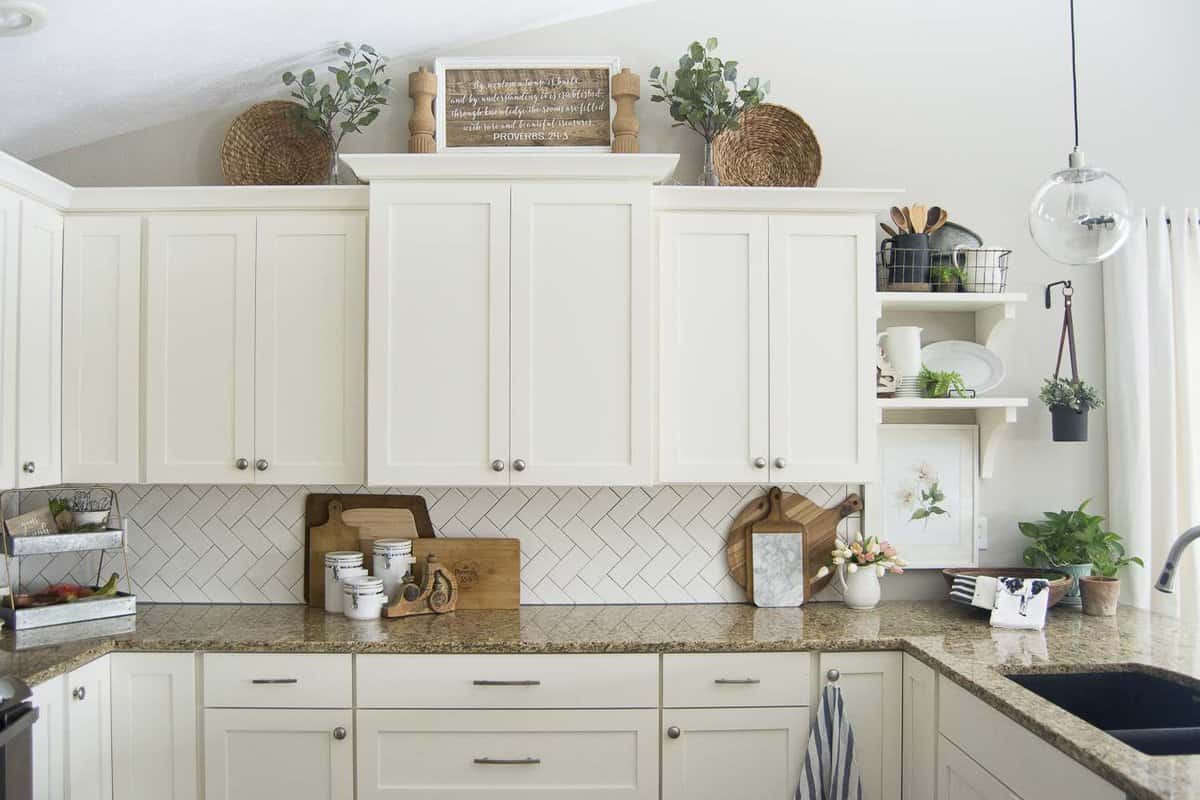
While I do still love most of the design choices I made in this kitchen, there are certainly things I would have changed had I been designing with goals in mind, and had more time to plan.
Where I Splurged v. Saved
Our first kitchen remodel had an extremely tight budget. We were working within the confines of what our insurance company assessed replacement costs at. Which, honestly, was very generous compared to what our kitchen looked like before!
However, since we were strapped on budget, there are a few places that we made intentional choices to stick within budget.
Save
Affordable subway tile backsplash material.
Installed affordable pendant lighting on our own.
Affordable faucet and hardware.
Splurge
Backsplash laid in a herringbone pattern.
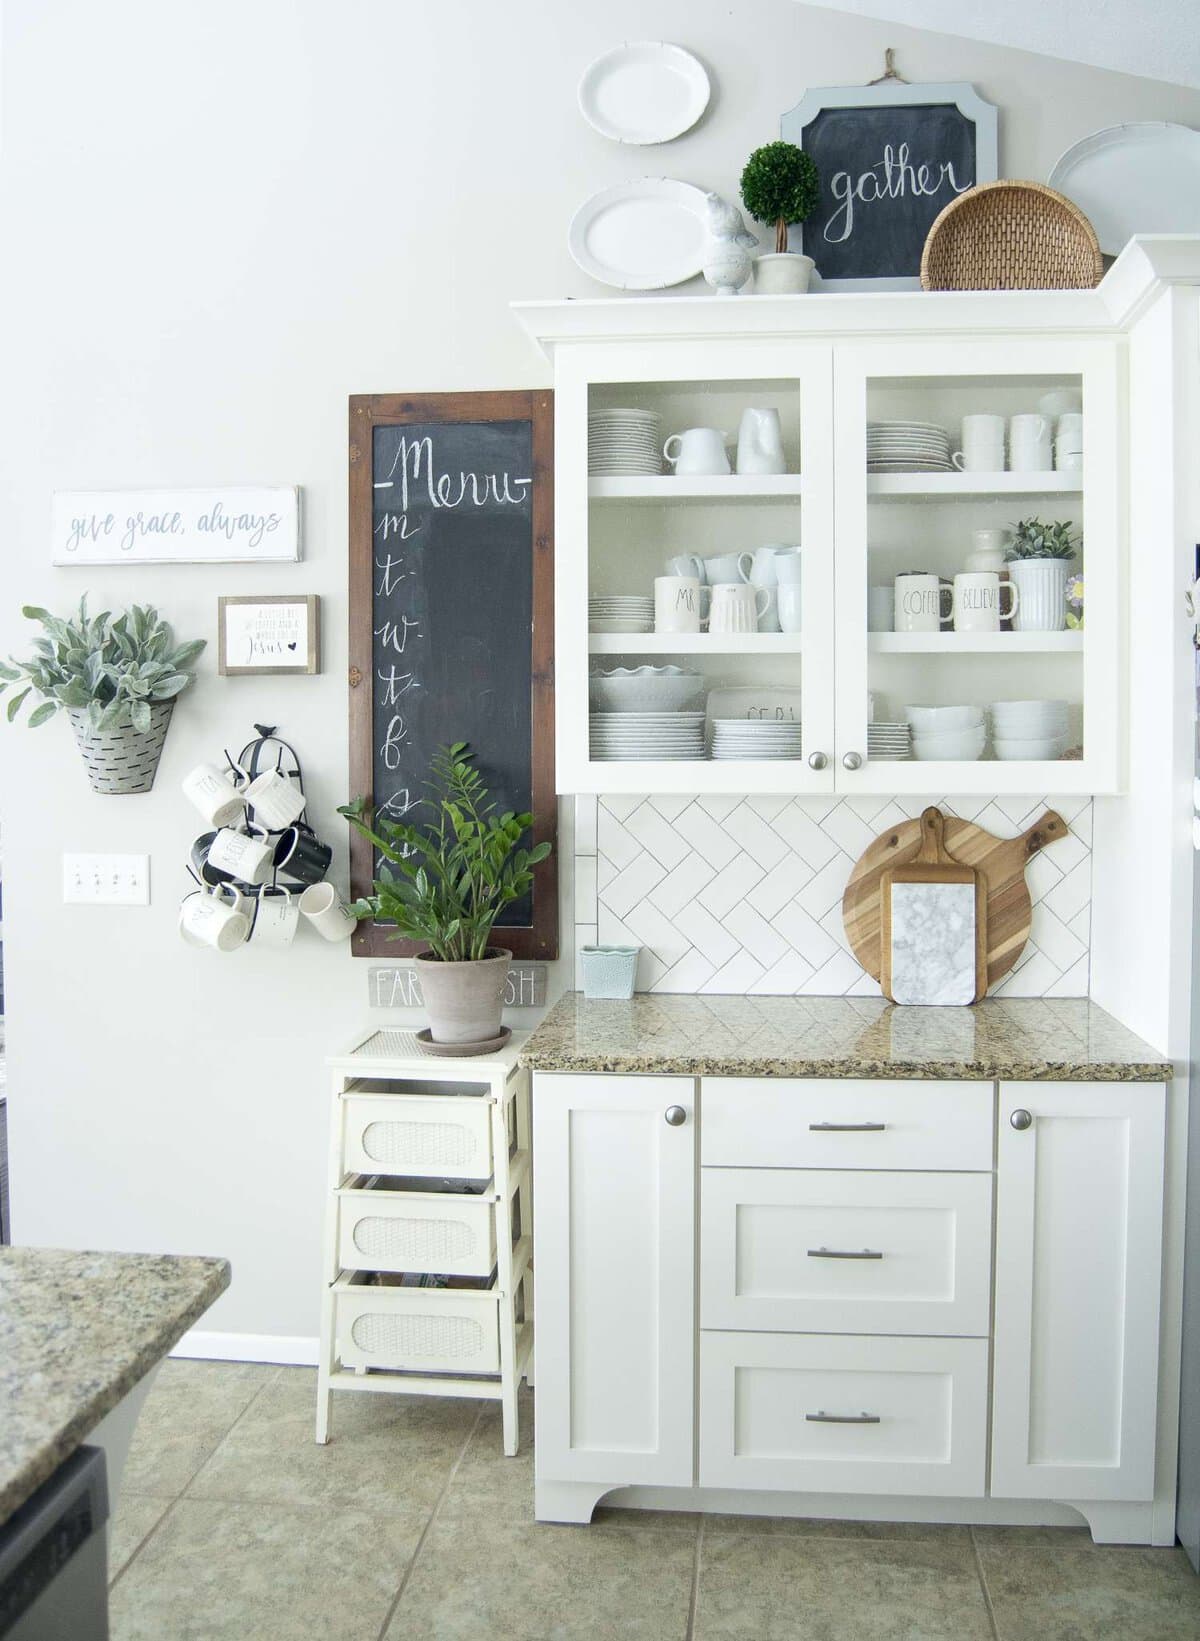
Added beaded glass front doors to one section of cabinets.
Added feet to custom cabinetry for a “furniture” look.
Keep v. Change
Now here are a few things that I wouldn’t change and a couple that I would!
We splurged to add a floor to ceiling cabinet that included an appliance garage (not pictured). I would do that again and again! Including an appliance garage is a must have for me because it eliminates the need to constantly be relocating everyday essentials like the coffee pot or toaster.
I would also choose this amazing granite composite sink again in a heart beat. I’ve had white porcelain, stainless steel and black fireclay sinks and our granite sink in this house has been my favorite. It is the easiest to clean and most durable that I’ve experienced!
A couple of things I would change is our countertop choice and not splurging for a built in trash can. At the time, I thought it would be unwise to install a trash can within the cabinetry because it was more expensive and I would also lose storage space.
However, I often regretted not adding it because it meant our trash was constantly in sight and, it turns out, I didn’t need the extra storage anyways!
Also, we chose granite for the countertops. While granite is still a beautiful choice, my biggest regret is not insisting I see a full slab! We chose the counter based on a 2″x2″ square and the coloring and pattern on the full slab is nothing like what I thought I was purchasing!
Lesson learned: don’t trust small samples for the biggest statement maker in your kitchen!
DIY Kitchen Remodel
In our current home, I started transforming our kitchen almost immediately. We weren’t planning to remodel the kitchen within the first two years, so I completely revamped the existing kitchen, DIY style.
I have an entire DIY kitchen series on the blog of how I took what we had, removed key pieces, added a few DIY shelves and transformed the entire space with paint!
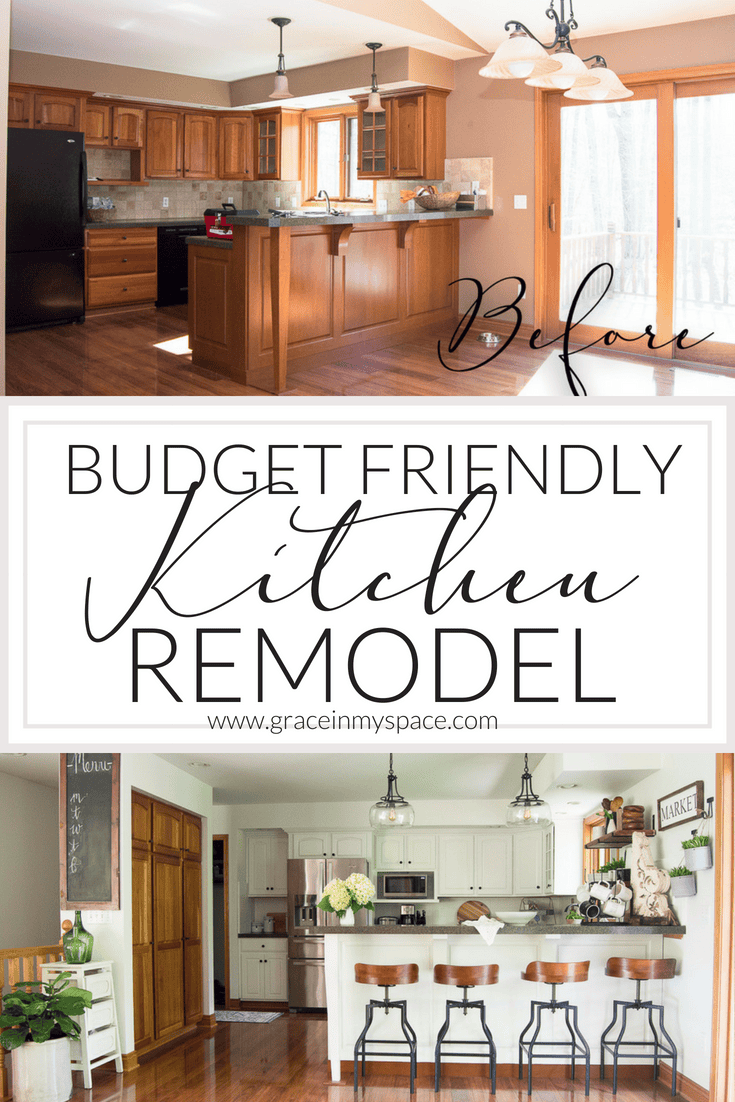
In this DIY kitchen remodel I spent less than $500. It was a labor of love but I created a space I could enjoy until I was able to move forward with my dream kitchen.
My favorite part about this remodel is that 95% of the updates were solely done with paint. I even painted the kitchen backsplash and cabinet hardware, which I would do again in a heartbeat!
My Second Custom Kitchen Design
Now, after spending close to 50 hours remodeling our kitchen DIY style, we had an unfortunate mishap that led to our full kitchen remodel.
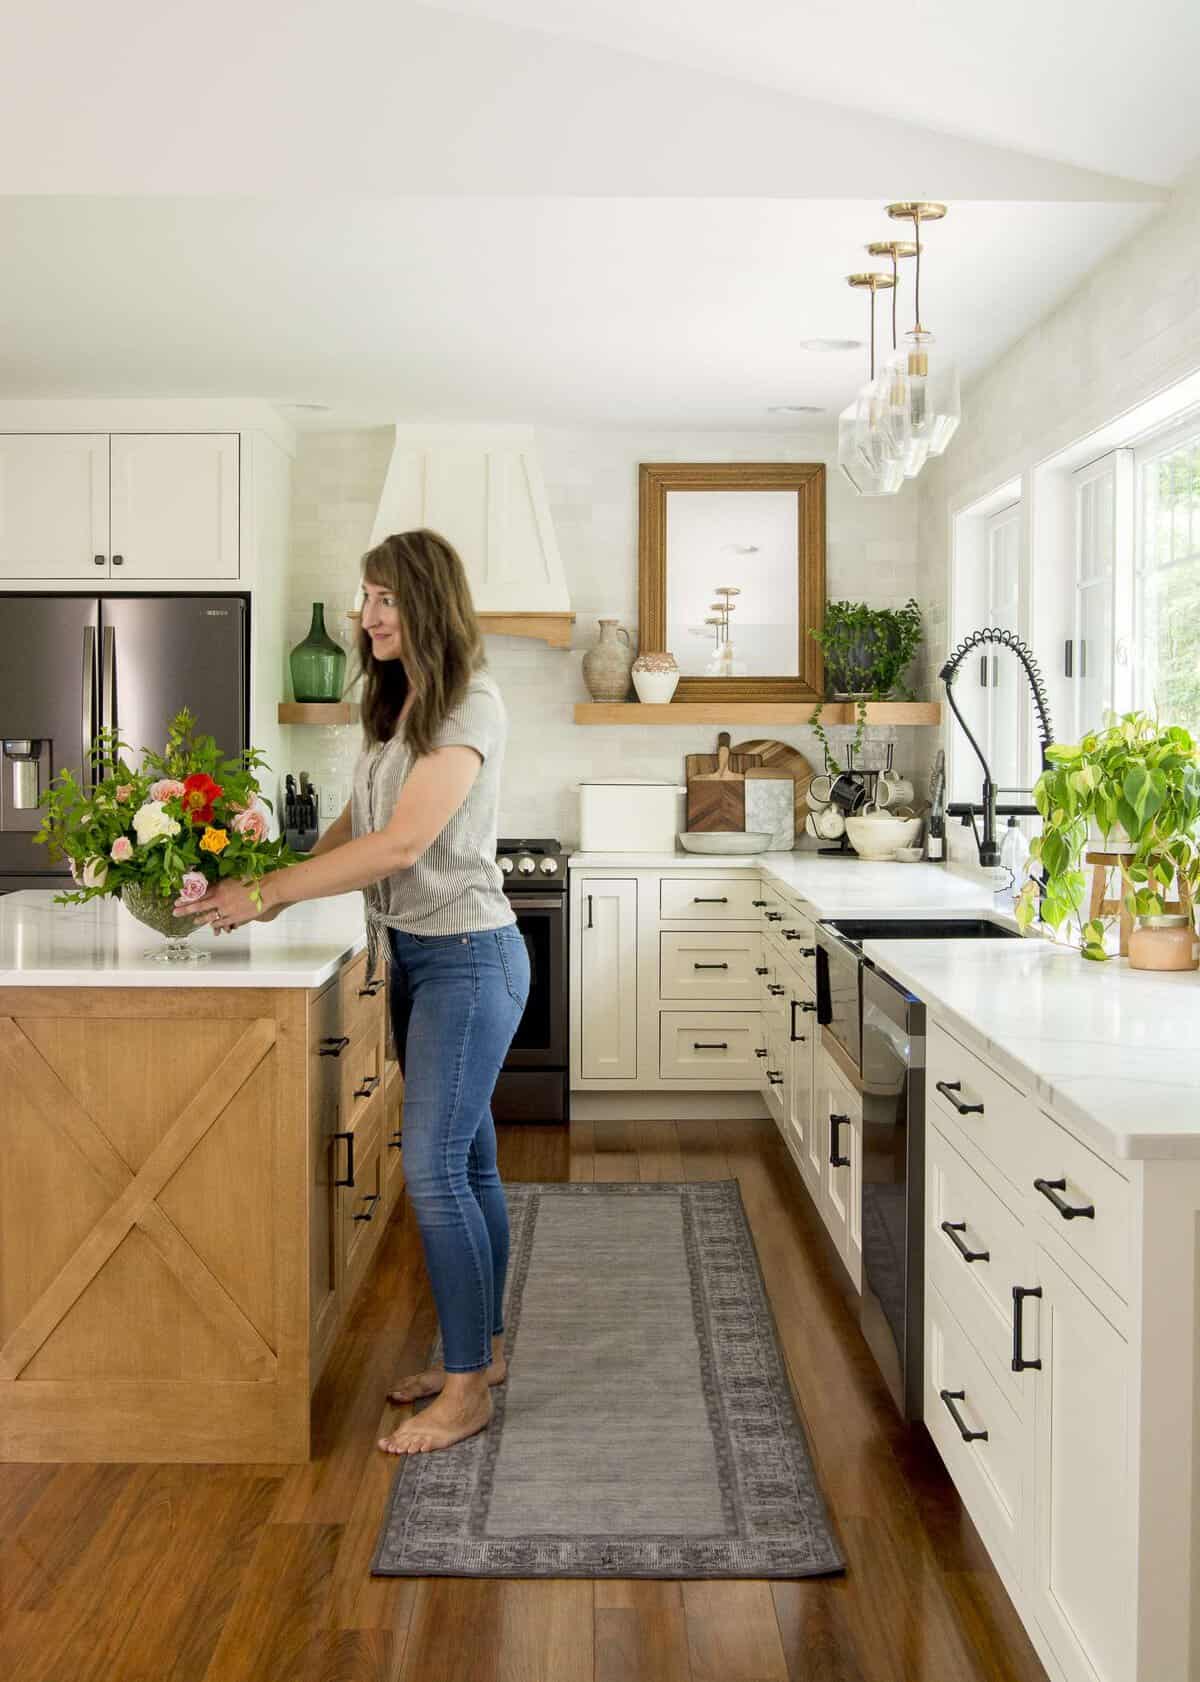
Our dishwasher broke, and the way they had installed the previous kitchen left us unable to remove it and replace it without either tearing up the floor or ripping off the countertop.
Imagine my dismay in thinking that we’d have to damage one of two of the most expensive items in a kitchen in order to replace the dishwasher! We decided that we didn’t want to spend money to replace either item since the kitchen layout isn’t what we wanted for our family long term.
Queue the second unintentional kitchen remodel! This time, we’d already been saving, had an adequate budget, and I took my time in designing the space to meet our family’s goals.
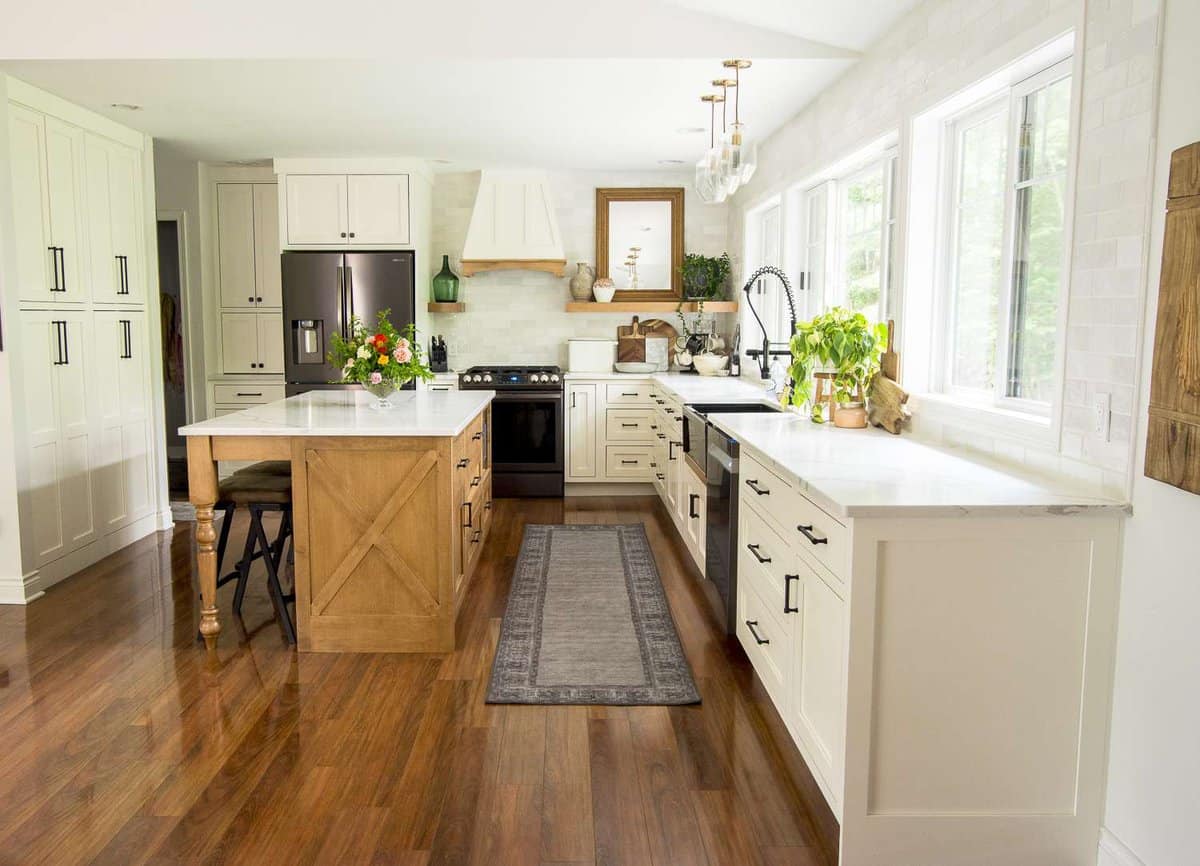
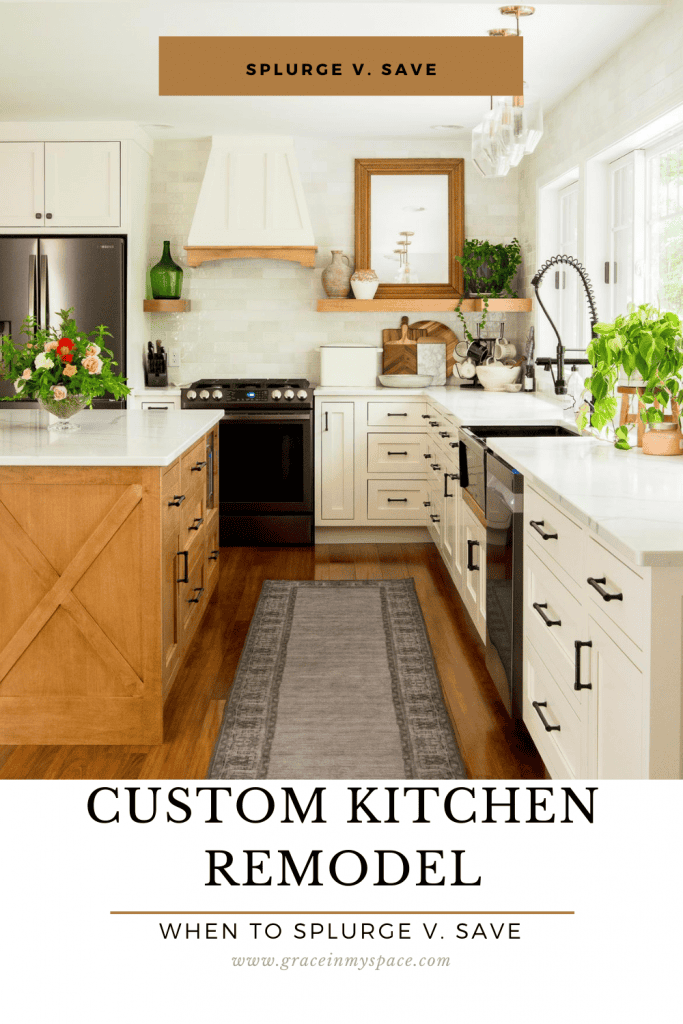
You can see all of the details on our custom kitchen design plans here. As you can see from our previous DIY kitchen to this one, we did a ton of reconfiguration, including adding 15 feet of windows and a center island.
Where We Splurged v. Saved…And would I do it again?
The first and most obvious splurge in this custom kitchen was a complete reconfiguration and structural changes.

Layout Reconfiguration & Structural Changes
- We removed a sliding door to our back deck and patio area (which I just finished remodeling).
- Next, we added a wall of windows.
- Then, we relocated the gas lines for the stove and moved the plumbing over for the sink and dishwasher.
- We also had to move electrical for lighting and for the central island we added.
All of these changes significantly impacted our kitchen remodel budget! They were a definite splurge in comparison to our first kitchen remodel in our last home, where we kept the existing layout and saved significantly.
Would I do it again? YES!
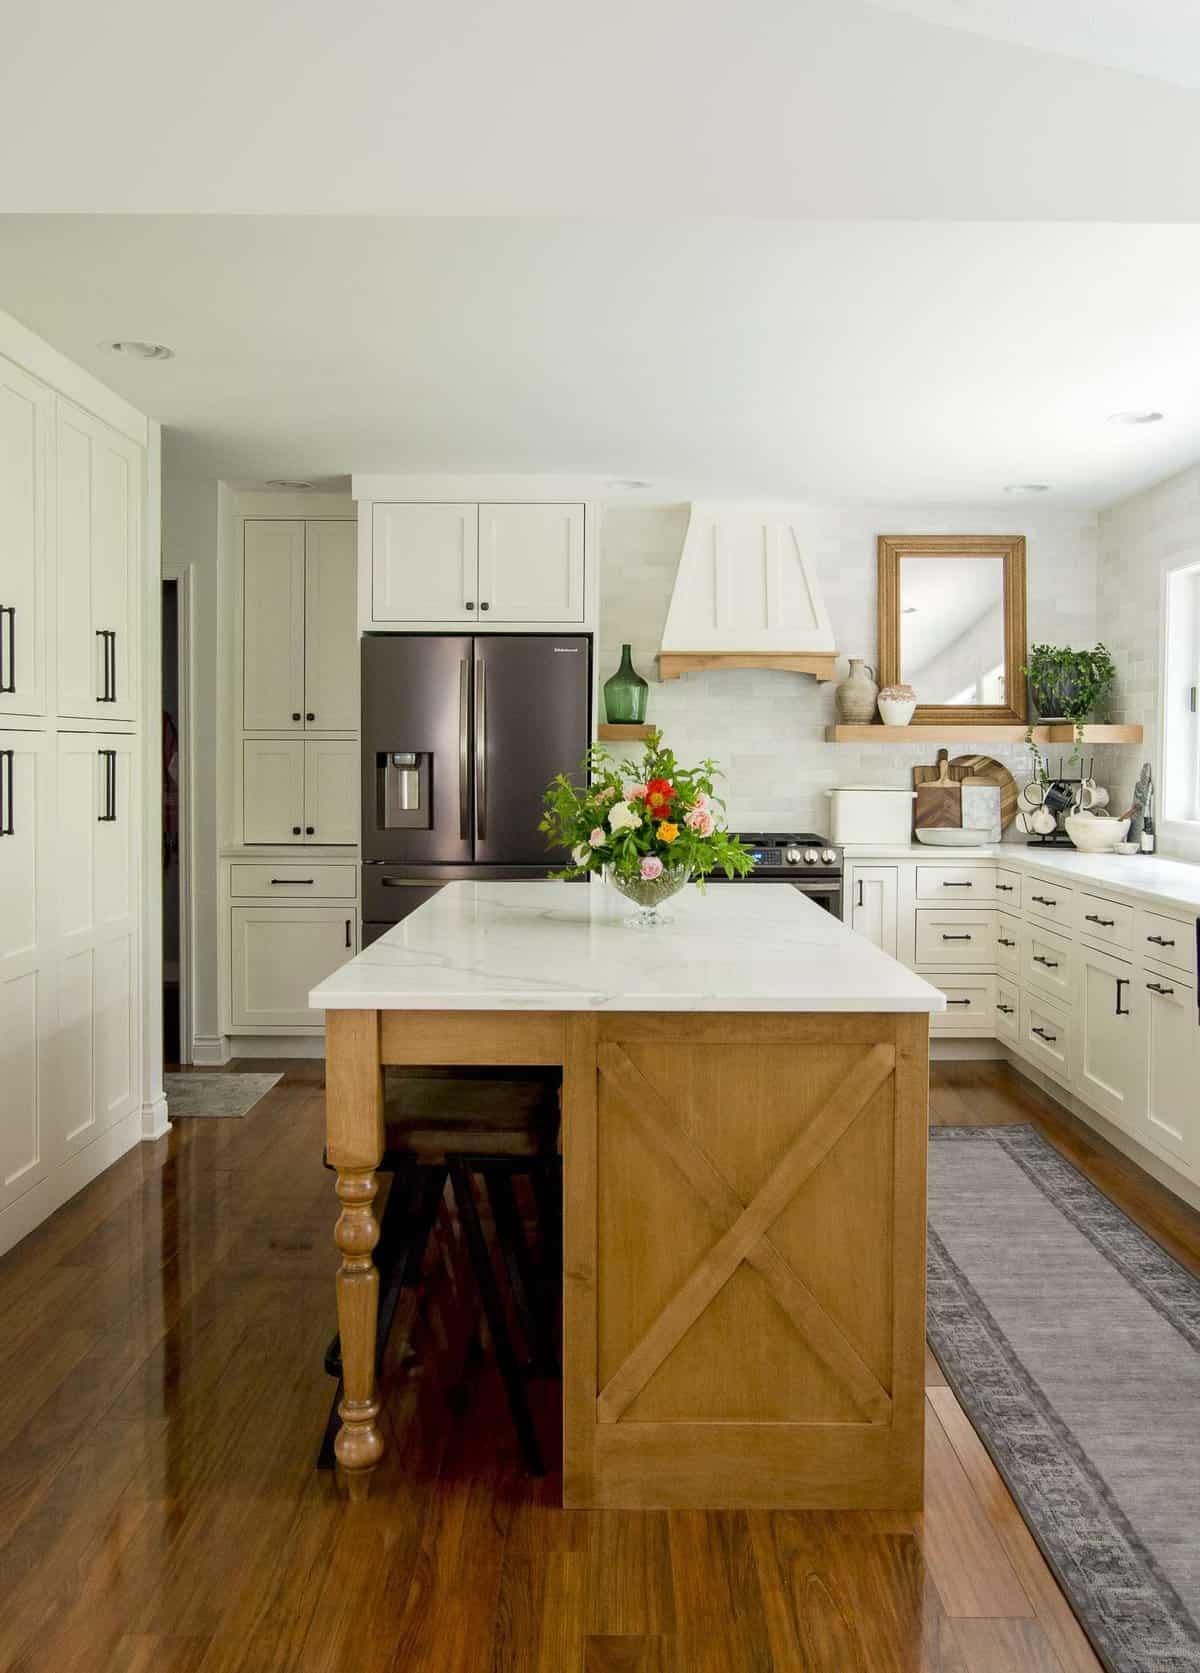
Making these changes met our family goal of having an open space where we can entertain, enjoy family meals, and let the beautiful views of our land into a previously dark kitchen.
Custom Range Hood & Island Legs
The second splurge that we included was a custom range hood and custom island legs. The island legs themselves were extremely expensive! If I remember correctly, it was $700 a leg because of the style I chose as well as the extra support needed for the countertop.
Would I do that again? Depends on my goals! The look of a turned island leg is 100% what I wanted and still love! However, the functionality of it has been lacking.
The extra wood that goes around the perimeter of the overhang to support the countertop can be a hindrance for sitting comfortably because it takes up 3″ of space between the chair and island top.
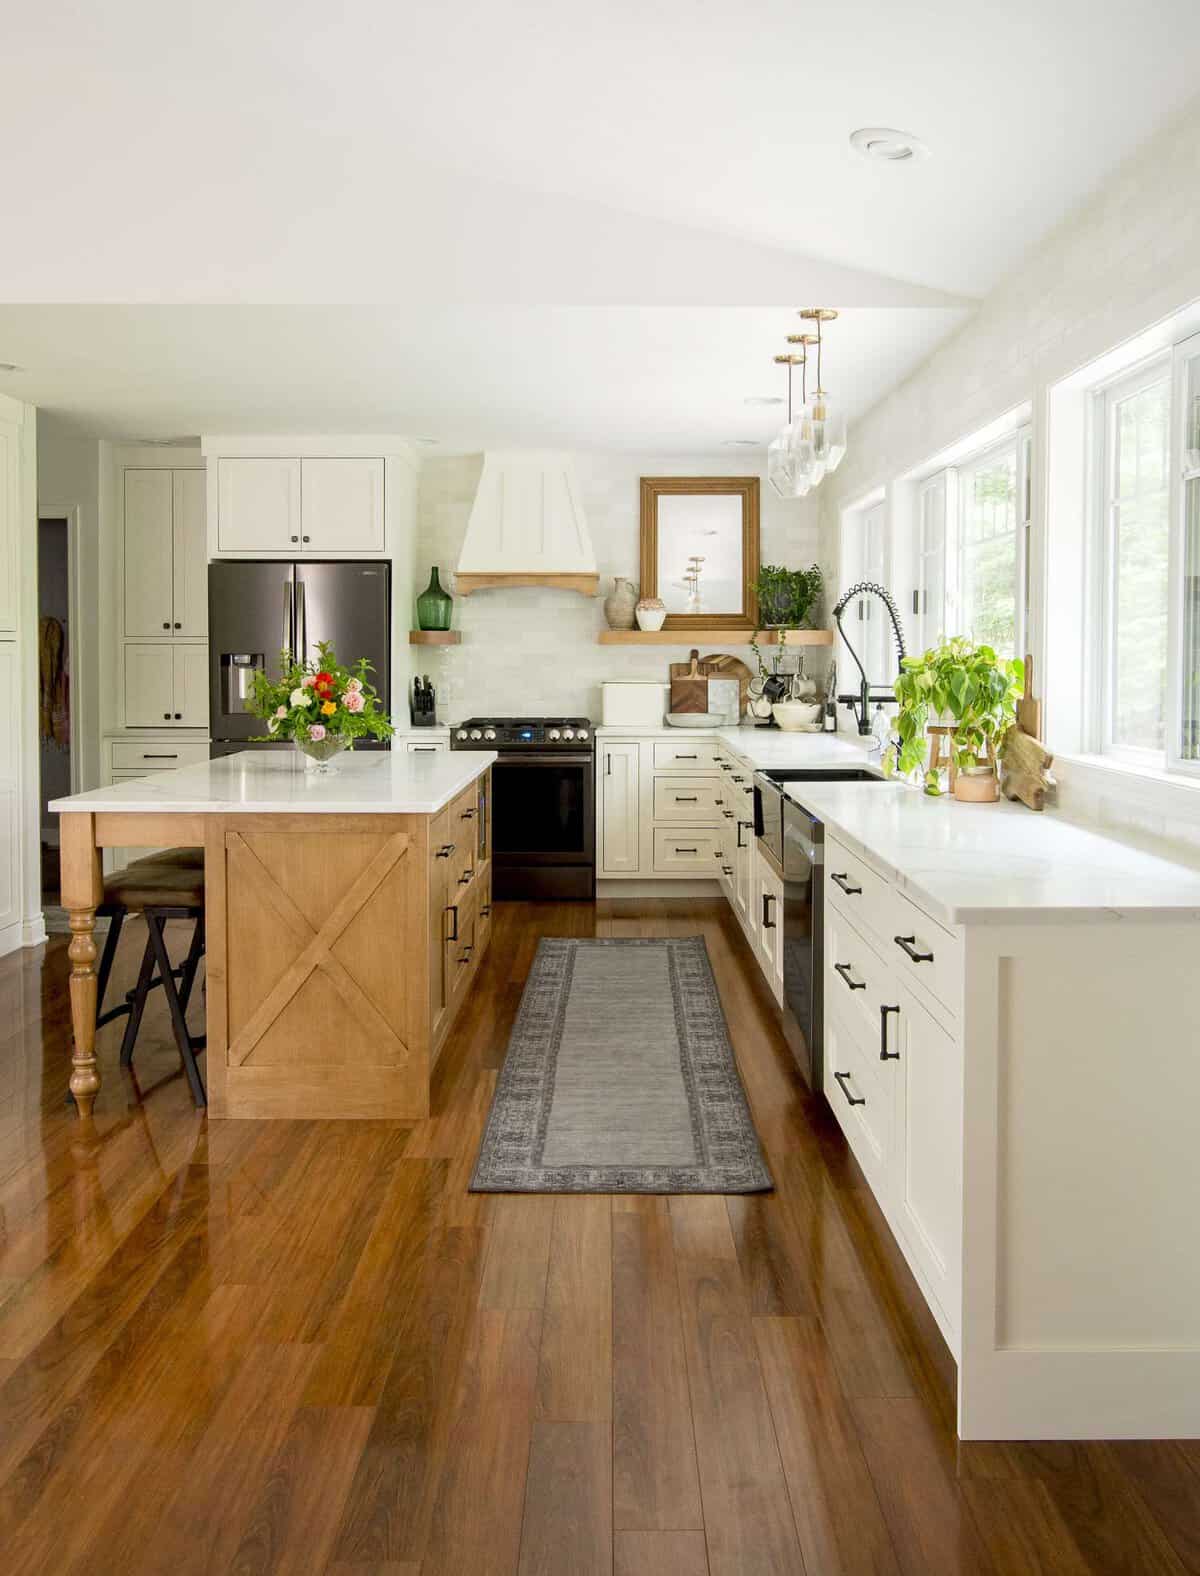
This causes those with long legs (ahem…me and my husband) to have to strategically slide in and doesn’t allow much wiggle room. It also limits the height of our bar stools.
The custom range hood is another favorite design feature of mine! However, I do think that we could have DIYed it after seeing how it came together for much cheaper.
In the long run, I would cut both of these splurges from a future remodel!
Hardware, Sink and Faucet | The Final Finishes
You can find all the sources for our hardware, sink and faucet here. All three of these kitchen design elements were splurges. I would definitely recommend all of them as they’ve held up extremely well and are beautiful additions to a custom kitchen!
The bronze pulls from Signature Hardware are still my favorite. The faucet has amazing functionality. And the sink is stunning!
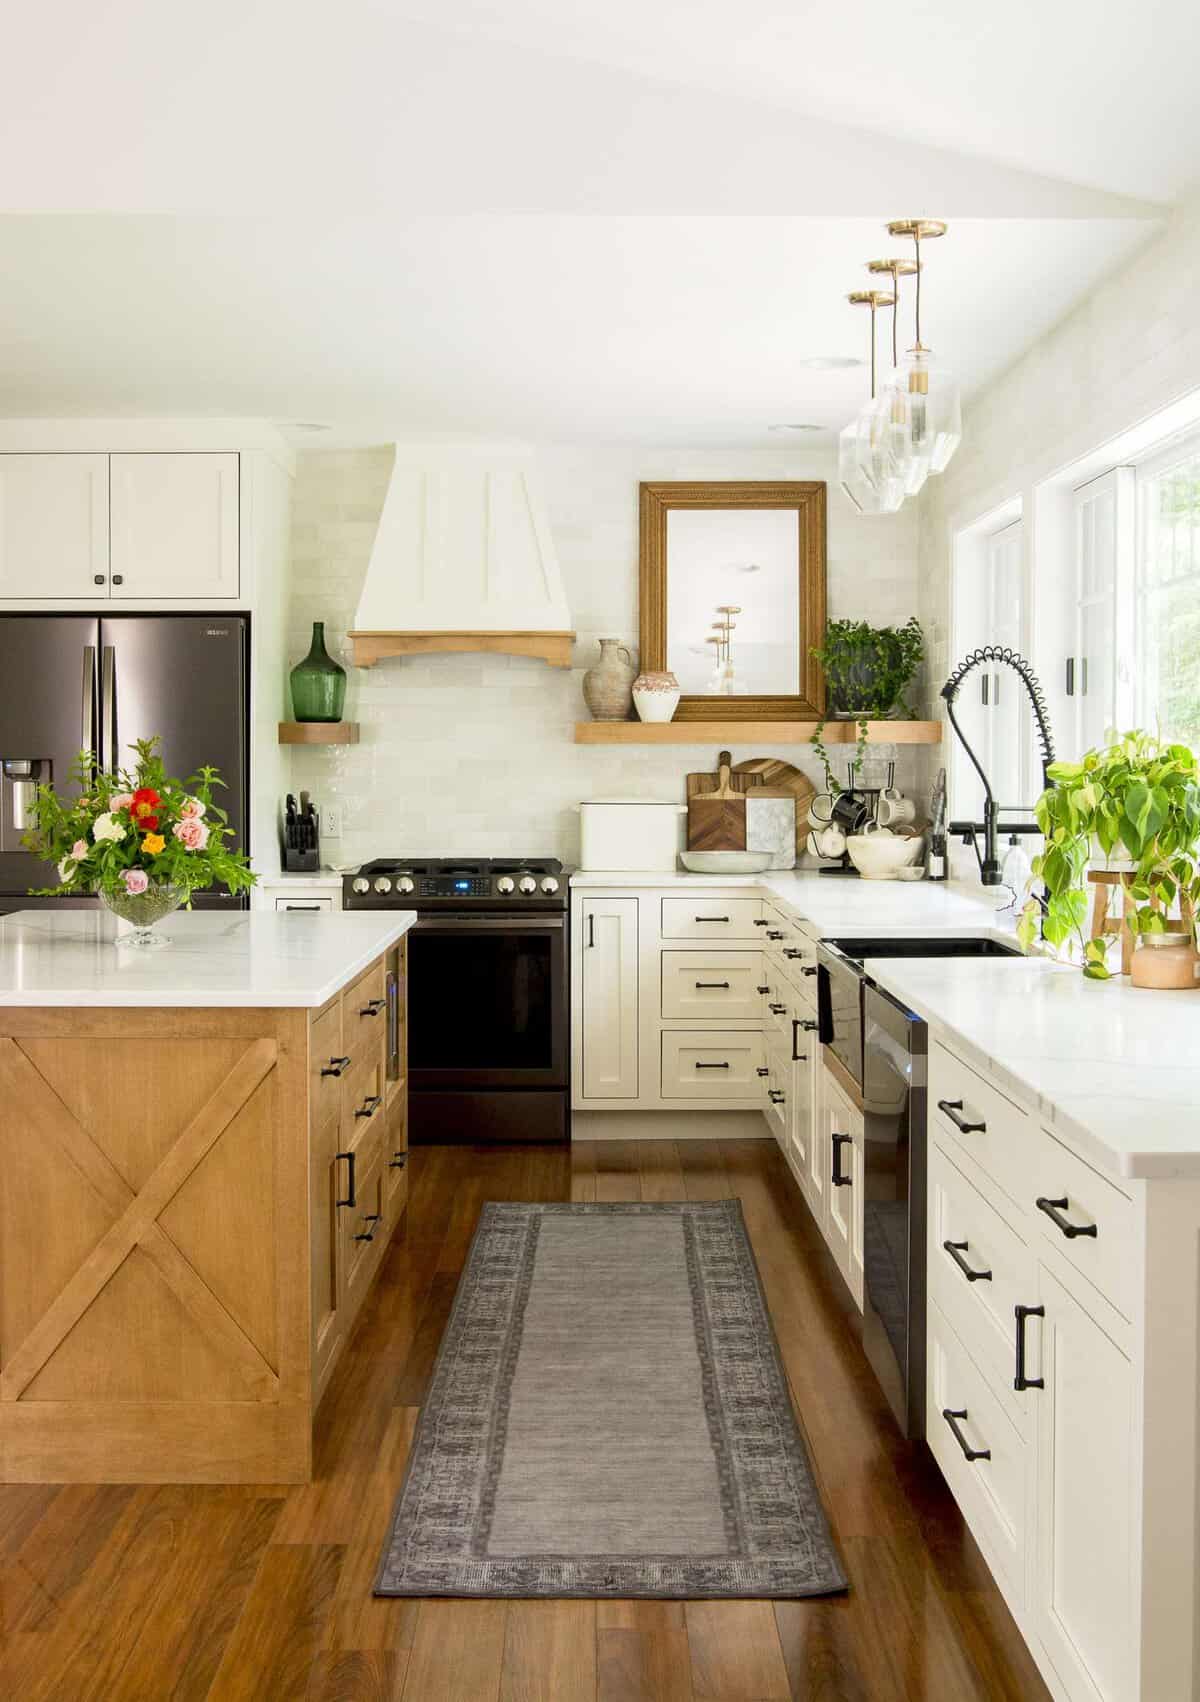
I would 100% spend the extra money on quality pulls in a future remodel. However, in the end, I would revert back to my granite composite sink for easier upkeep and more affordability.
Backsplash & Countertops
Can I be honest, most of this kitchen remodel was a splurge! We’d been saving for some time to be able to build our dream kitchen and we didn’t hold much back.
So, when I saw these beautiful tiles from Bedrosians that reminded me of our time in Portugal, I knew they were worth the splurge!
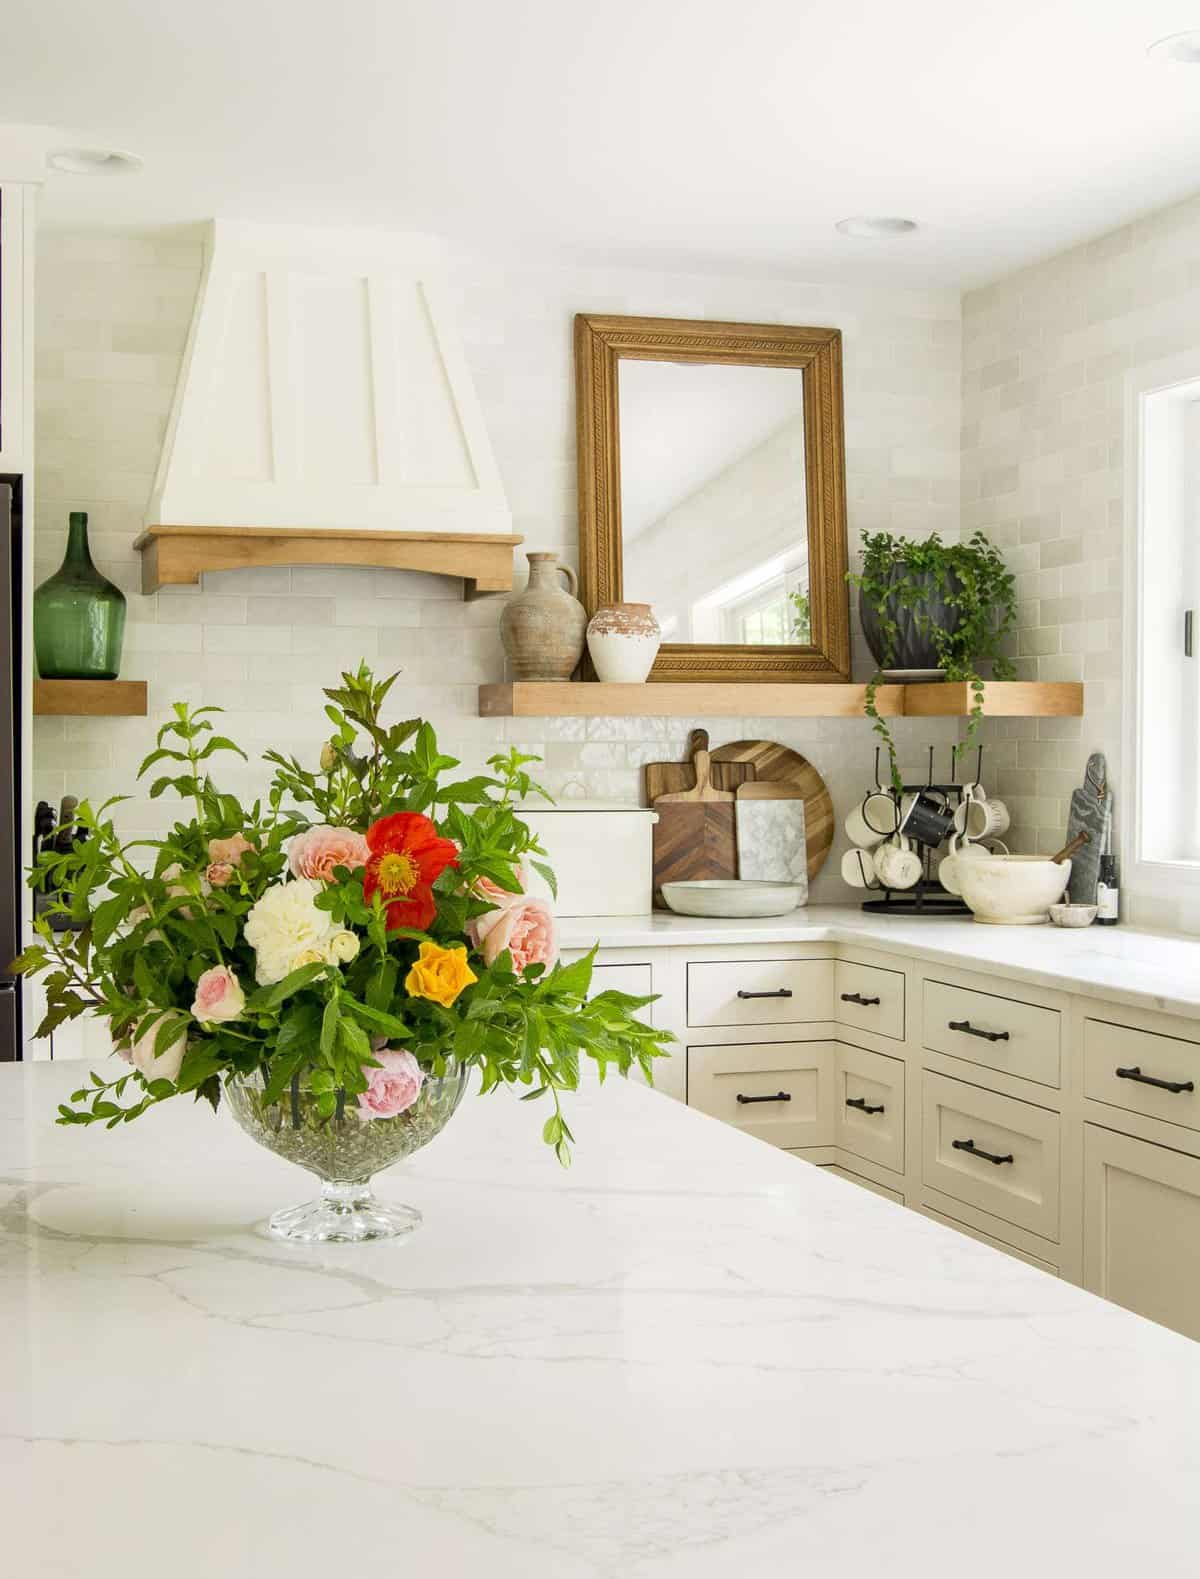
I love how classic the backsplash is so that it is a timeless design, but they still have such an amazing quality and feel high end.
Conversely, our quartz countertops were very affordable! I love the durability of quartz and would choose this material again and again. It was a great savings.
Of course, there are cheaper countertop options; however, this was my dream kitchen! In the long run, quartz is a great affordable solution that also gives a high end look with all the quality you want.
Splurges I would avoid in the future
There were a few additional splurges that we chose to add that I would not do again.
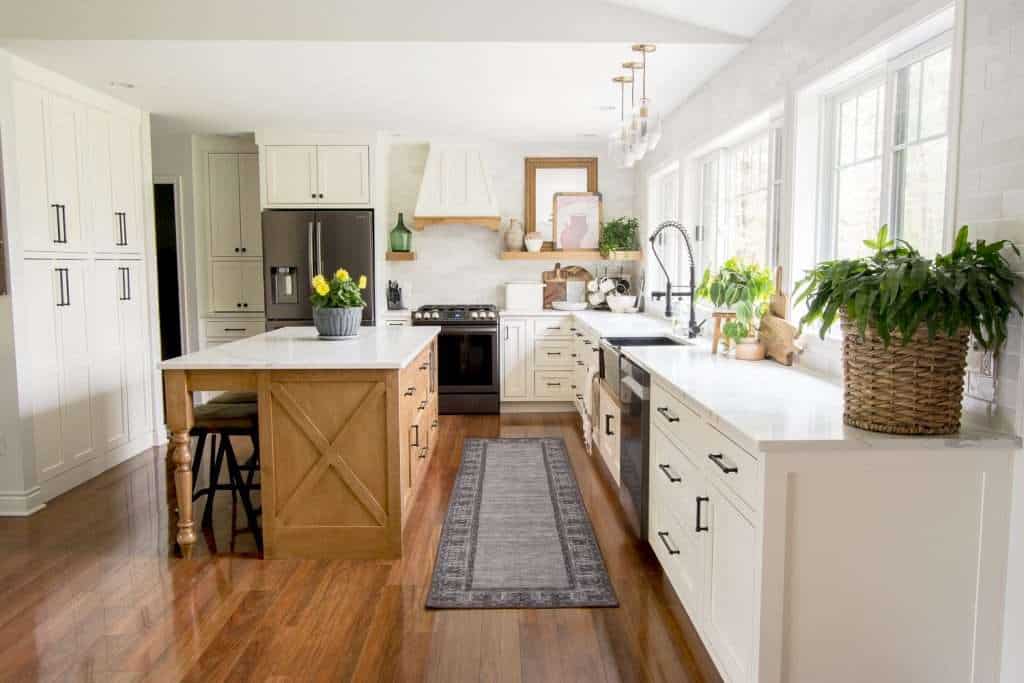
- Custom Drawer Inserts: We added in dividers to our island drawers for plate storage. However, I’ve never used the dowels that we paid for! In the long run, they weren’t necessary.
- Inset Cabinet Faces: I LOVE the way our custom kitchen cabinets look with an inset face. They are classy, high end and offer a seamless design. However, they are not ideal for families with small children. It is very easy for the cabinet frame to get dinged and dented from putting away dishes…etc. A traditional drawer or door face would ultimately cover these issues. Plus, they increased the cost of our custom cabinets significantly.
Splurges I Would Do Again
Beyond the splurges I mentioned above, we also added a few more custom designs to our cabinetry.
- Corner drawers as opposed to a lazy susan. I LOVE our corner drawers. They offer amazing storage and the extra cost is worth it!
- Built in paper towel drawer. I love having a simple dowel built into our island drawer specifically for paper towels. It eliminates extra clutter on the countertop and keeps them easily accessible at all times.
- Custom wood finishes. Keeping our island, hood accent, shelving and sink accent all the same wood tone pulls together the entire design.
Designing Custom Kitchens for YOU
I’ve learned quite a few things over the last three custom kitchen remodels. Each design and experience has taught me something about what we need v. want. They have also taught me what I would do differently if there is ever a next time!
Ultimately, your kitchen design needs to serve your family. Start by creating a list of goals, then a list of needs and finally a list of desires. Next, narrow down what you can and cannot include based on budget and ability. And finally, shop around for contractors and cabinet makers.

Make sure to get multiple bids as well as references! There is nothing worse than spending thousands of dollars to pay someone who produces sub-par work or is not reliable.
Custom Kitchen Source List
Our current kitchen is my most asked about room in our home! Below you’ll find sources and shoppable affiliate links. Thank you for supporting my blog by using my links at no additional cost to you!
- Pendant Lighting
- Runner Area Rug
- Appliances
- Bar Stools
- Cabinet Pulls
- Faucet
- Black Farmhouse Sink
- Backsplash Tile
- Quartz Countertops: Statuario Roma from Lakeside Surfaces
- Cabinetry, Shelf, and Hood are all custom.
- Cabinets are painted Benjamin Moore White Dove
- Island and Wood Accents are Maple stained in Autumn
Click the Images Below to Shop
Stay Connected
Thanks so much for stopping by the blog today! I hope that this article has been helpful to you as you consider designing custom kitchens! Make sure to browse all my kitchen articles for lots of details about the design process as well as how I decorate it seasonally!




Hi! What is the color of your tile/backsplash? Is it the white or cream?
It is called Cloe White by Bedrosians! Here’s a direct link! https://rstyle.me/+7-W0lrFQCgUcxX789aMDOw
Hi, love your kitchen! Can you tell me what stain brand you used in Auburn? I’m having a really hard time finding the stain to get that look. Thanks!
I did a quick look and it looks like it is discontinued. Yikes! But the wood species is maple so you could try a few stains on a maple scrap piece to try to get the same look!
We recently redid our kitchen as well and I’m curious, do you ever wish you’d done a pot filler behind your stove?
I really haven’t! Our sink is very close so it isn’t an issue for us. 🙂