
How to Paint a Deck For Longevity
Giving new life to a worn out wood deck completely changes the look of a home! Our back deck was in desperate need of restoration. So, I tackled the project over 6 weeks, slowly chipping away, and I’m excited to share it with you! Learn how to paint a deck for an amazing transformation.
Post may contain affiliate links for your convenience.
Originally Published 2020, Fully Updated 2025
How to Paint a Deck
These are the basic steps for how to paint a deck successfully:
- Prepare the surface
- Remove old finishes
- Sand, if necessary
- Repair any damaged boards
- Clean the deck (full dry time is essential)
- Time your project to avoid wet weather
- Apply primer
- Apply the paint coating
Now, let’s dive deeper into the details of how to paint a deck for a long lasting finish.
Materials Needed to Paint a Deck
- Leaf blower and/or broom
- Electric belt sander and sandpaper
- Wire brush, if necessary
- Deck cleaner
- Scrub brush and hose
- Pressure washer, optional
- Paint brush, rollers, tape (this is a fantastic painting kit)
- Extension pole, to save your back
- Paint sprayer and plastic tarps, optional (alternative to brush/rollers)
- Exterior deck primer (Recommendations below)
- Deck paint (Recommendations below)
Prepare Your Deck for Paint
The first and most important step is preparing your wood deck for paint.
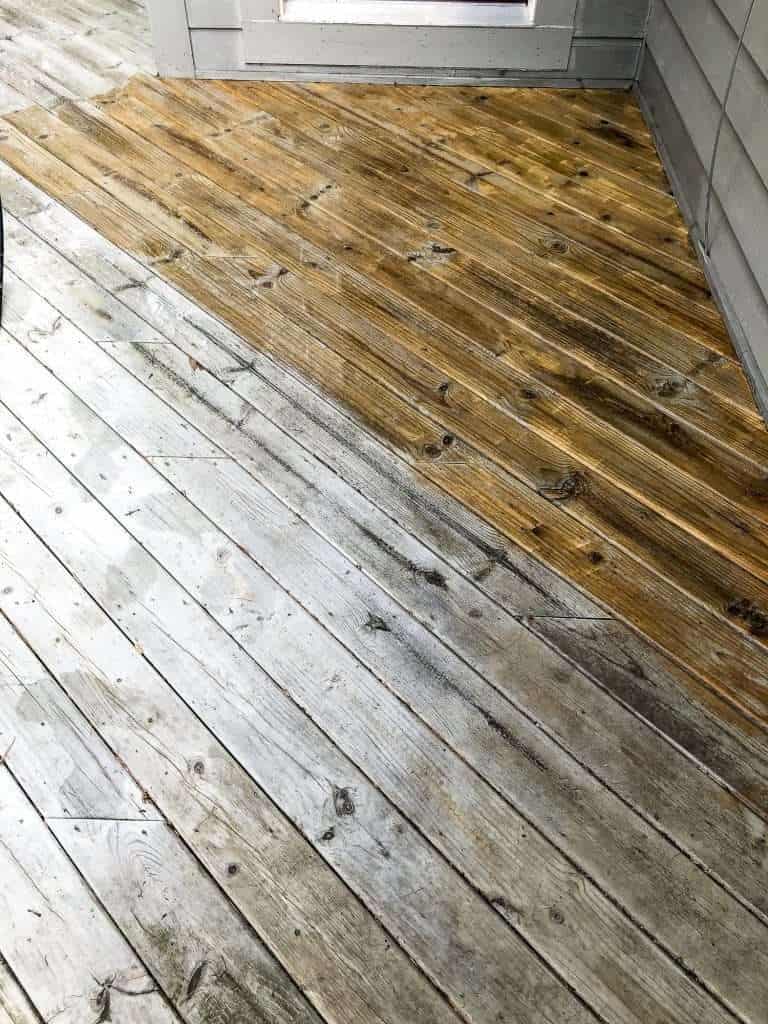
I was able to power wash our deck and it literally took the existing stain right off. However, take precaution with a power washer. Old wood can become damaged if your pressure is too high.
If you have painted wood, you may also need to sand the surface to remove the old finish. This will provide a good foundation for the deck coating to adhere to.
Is It OK To Paint Over Old Deck Paint?
While it’s possible to paint over an existing finish, you will get better long term results to paint directly on a clean wood surface.
Old paint finishes are likely already chipping. If you don’t remove that finish, the new paint will not have a quality surface to adhere to.
Once you’ve removed the previous paint/stain, let your wood dry thoroughly. This step is vital.
Painting over damp wood prevents the paint from adhering properly and can cause chipping down the road.
I let my deck dry for 48 hours after power washing.
Repair Damaged Deck Boards
Once you have removed the old finish and sanded any rough areas, check to ensure that all deck boards are secure and solid.
Replace any damaged boards.
SHOP OUTDOOR

Clean Deck Boards and Rails
The next preparation step for painting a deck is to thoroughly clean all surfaces.
Remove any mildew, moss, dirt and debris.

If you are also painting your railings, go through and clean any spider webs, hornets nests, or other pests and debris from the spindles and rail.
This is my cleaning process:
- Blow all debris with a leaf blower
- Sweep any hard to reach areas or corners
- Apply deck cleaner to the surface
- Scrub debris and remove with a hose or pressure washer set to the lowest setting
- Let fully dry
Study the Weather for a Dry Forecast
I pecked away at my deck painting project. However, if you have the manpower, you can accomplish this project in a week (due to dry time).
Though, this is only possible if you have a dry weekly forecast. It is imperative that you have a fully dry surface prior to priming and as you add your paint coats.
You need a minimum of 24 hours, but preferably 48 hours, before the freshly painted deck contacts water.
Prime Your Deck Before Painting
Your final preparation step before painting your deck is to apply primer.
Primer is an essential step to painting a deck. It has a higher adhesion rate to the wood and offers the best surface for paint to connect with.
Here are some highly recommended deck primers.
Ensure any paint and primer that you use is specially formulated for exterior use.
Applying Deck Paint
Once the surface is clean and dry, apply the deck paint.
The Best Deck Paints
Here are some highly reviewed deck paints:
In addition, you will often find solid surface deck stains that have the appearance of paint. If you choose to go this route, follow the above steps but omit the primer. Some high quality opaque deck stains are:
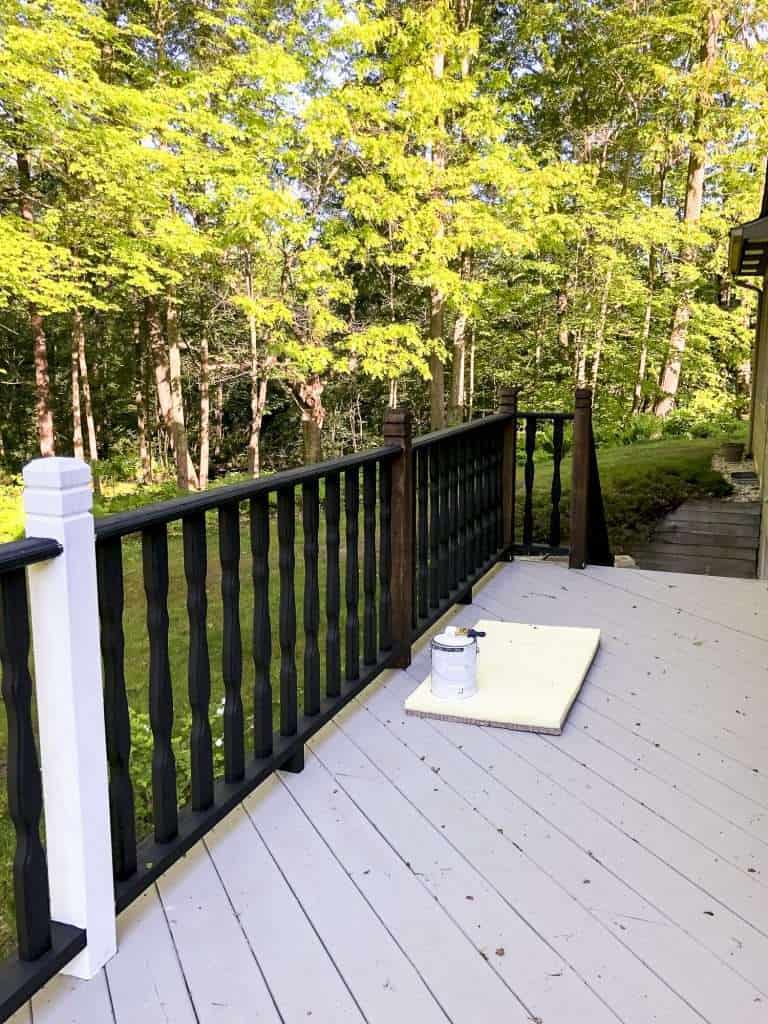
I used a combination of brushes and rollers. We have a large deck with tons of areas that needed trimming. So I started with a brush to trim out the deck, and then followed with a roller.
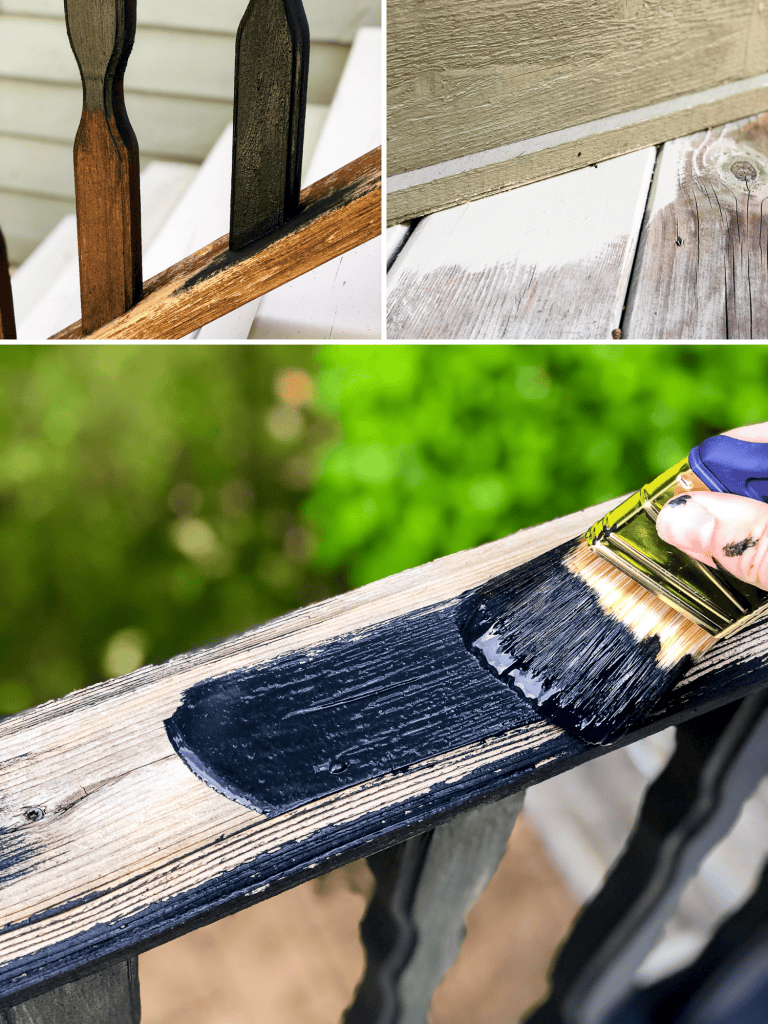
The most difficult part of the process was all of the trimming. With such an expansive set of rails and three different colors, it took a long time to get that first coat on!
I found it was easiest to use a brush to get in the crevices of the decking, and then roll out the topcoat after.
Most deck paints require two coats for complete saturation of color.
Overall, it took me 6 weeks to complete the project. However, that was with weather delays and large breaks. I tended to work on it for a couple of ours at a time when I was able. It was definitely a marathon project!
Painting Railings & Spindles
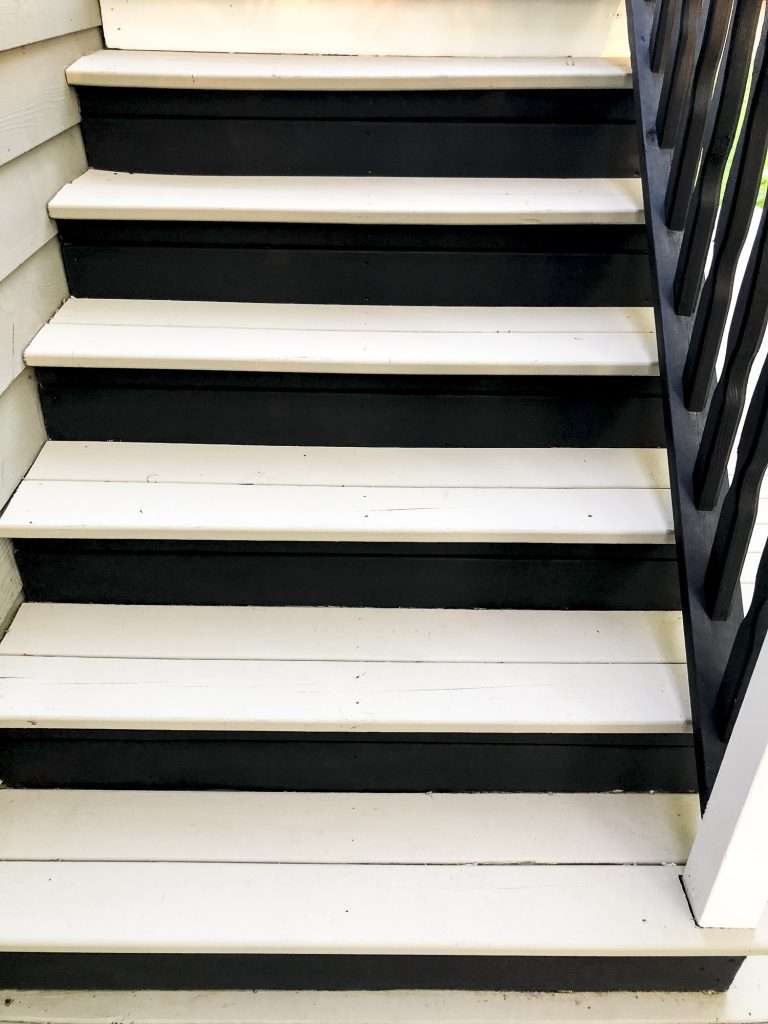
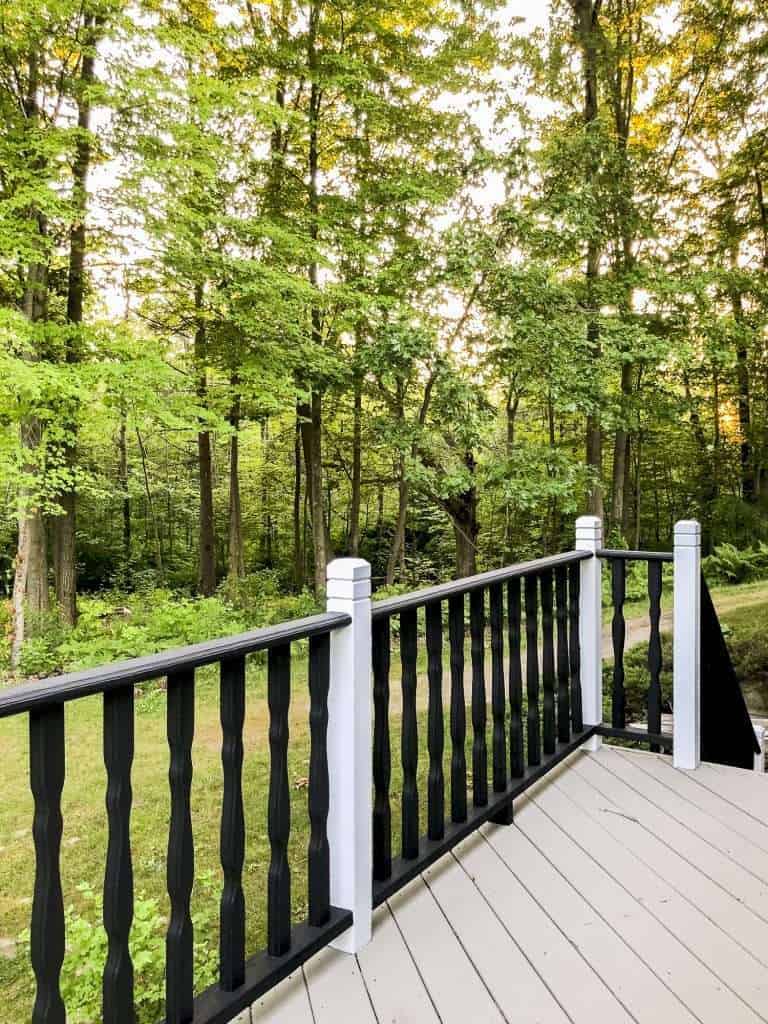
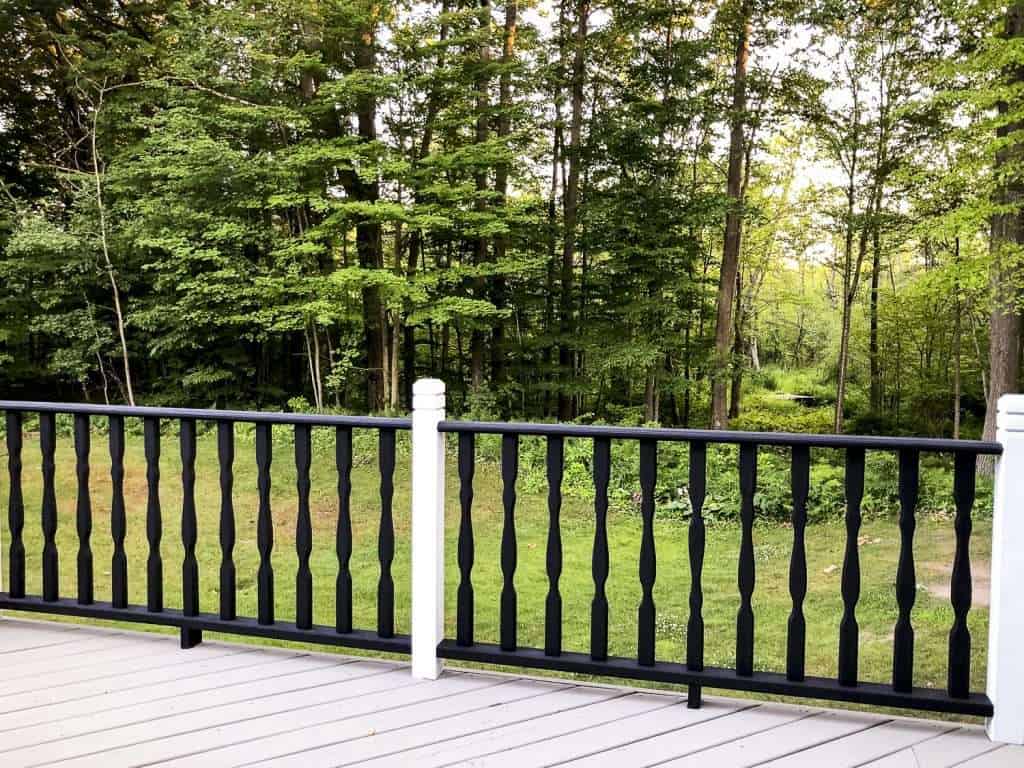
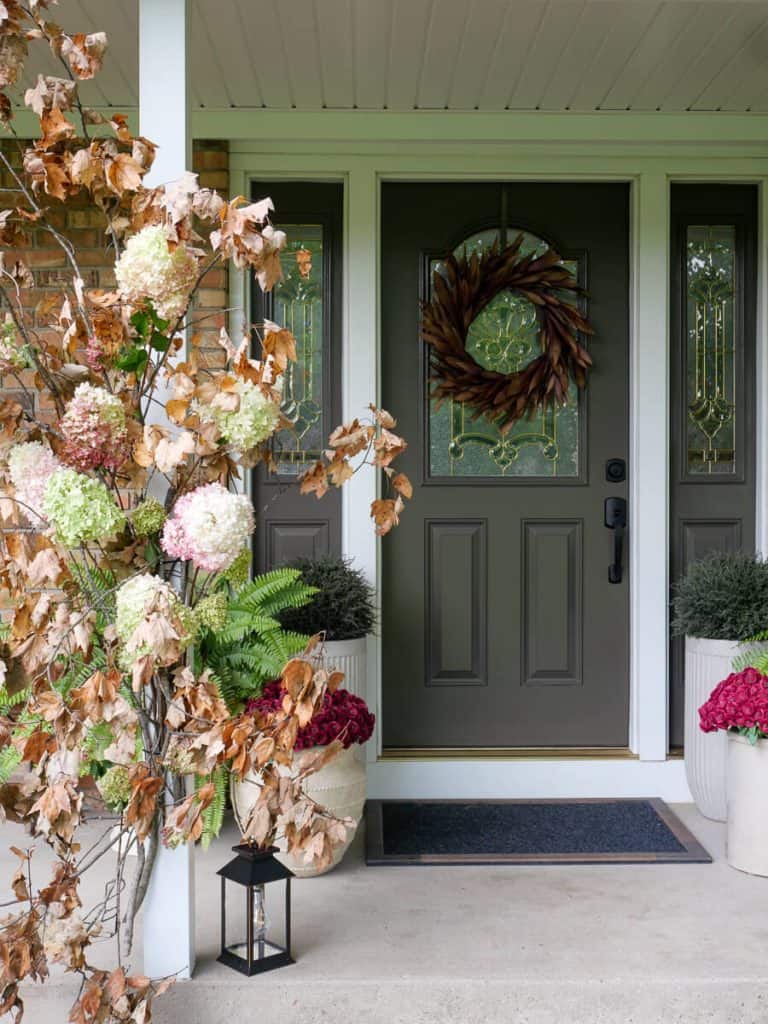
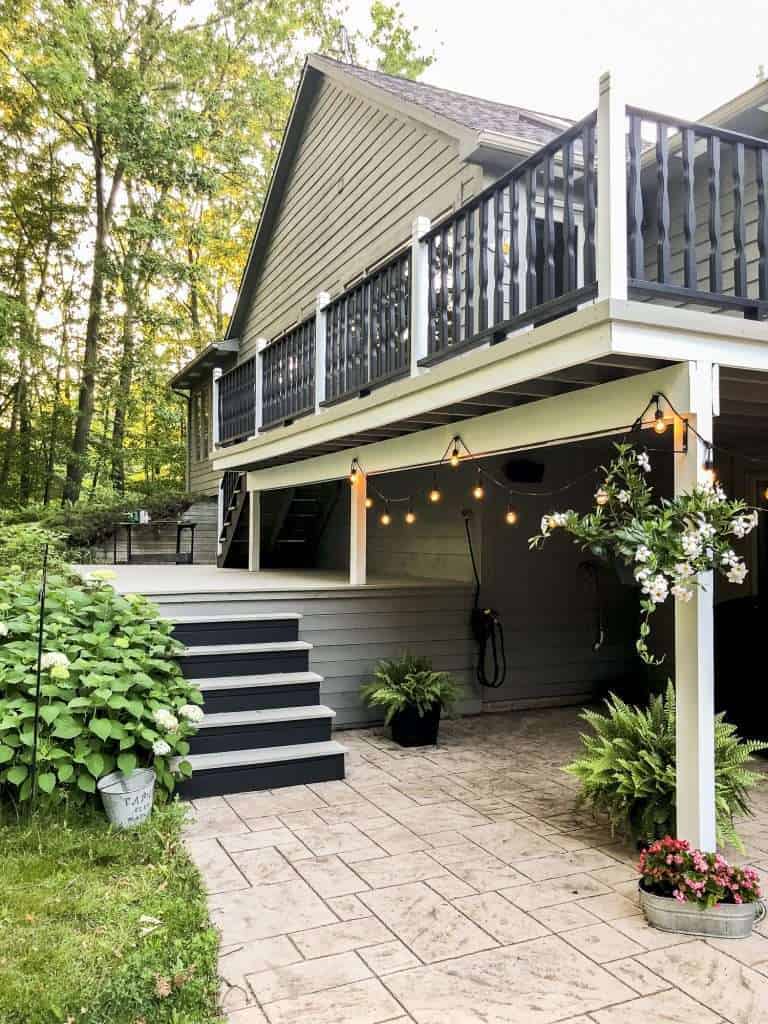
The biggest transformation of this project was the painted railings. The railing is not my style, however, using Tricorn Black for the rails and Snowbound for the posts transformed it drastically!
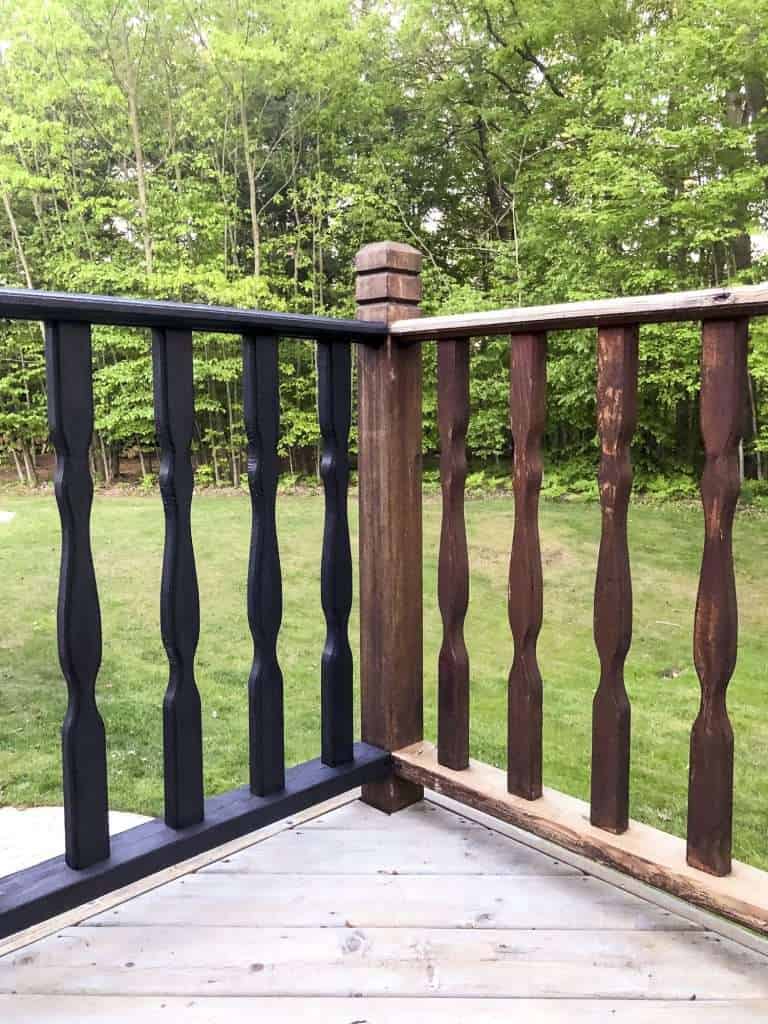
The black modernized it so quickly. It never ceases to amaze me what paint can do!
Originally, I had planned to paint the top rail white. After the first set was completed, I quickly decided to do it all black. It was too time consuming to try to alternate colors with the tedious trim work. However, keeping the posts white made a huge difference! I love the contrast.
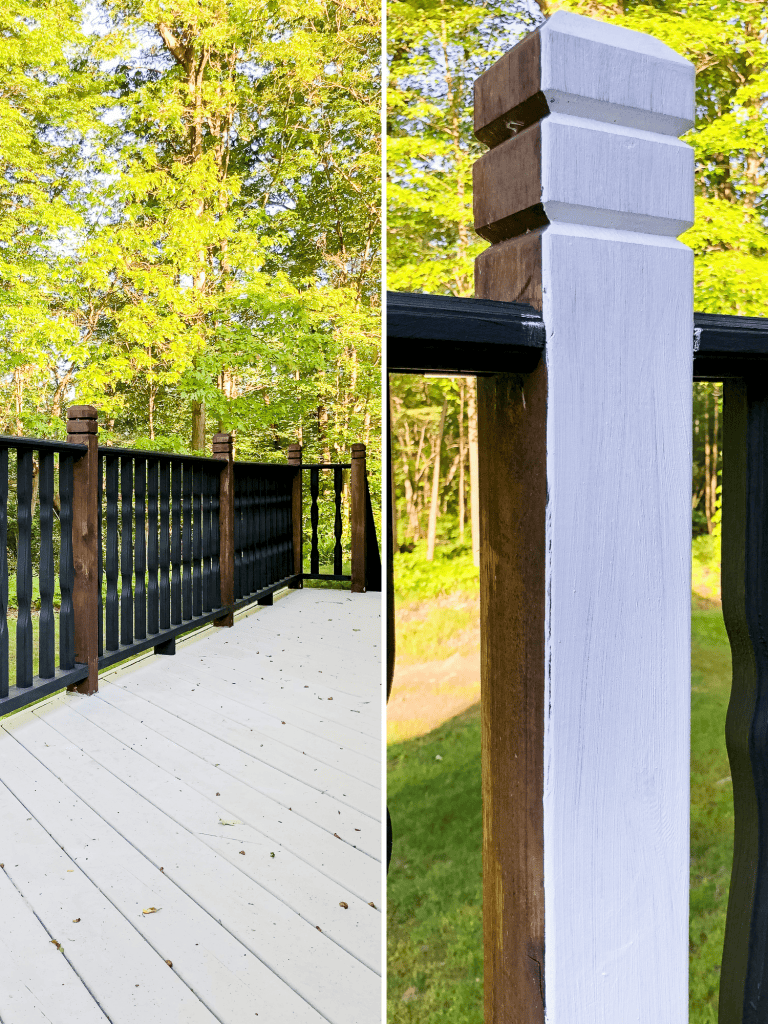
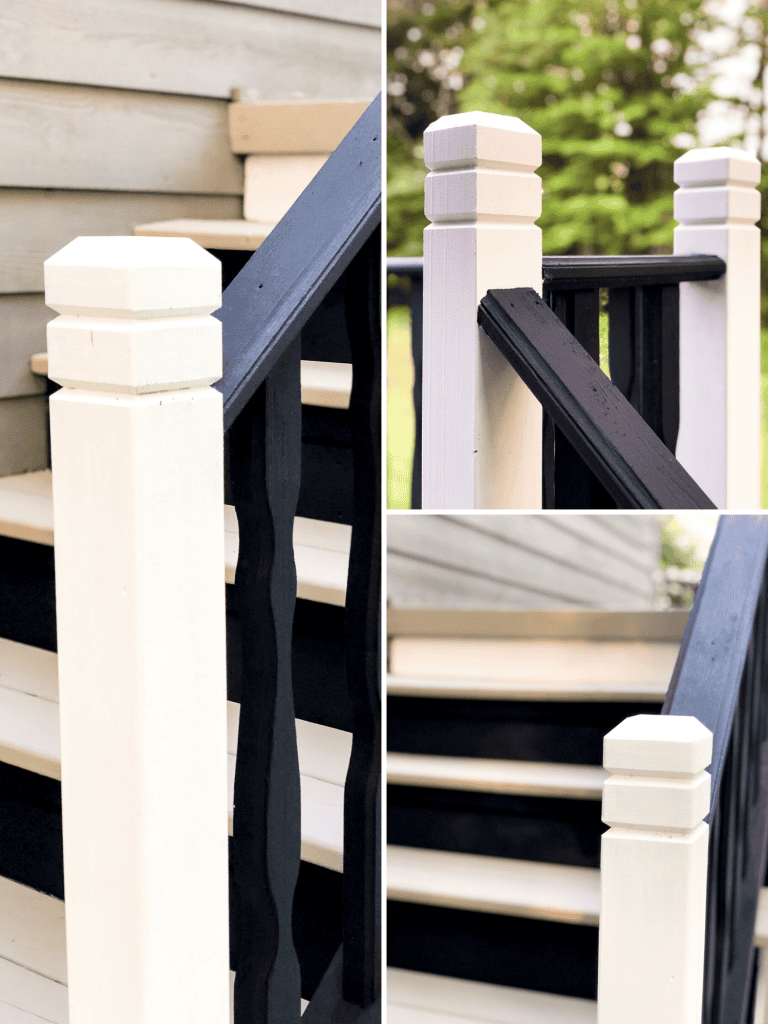
It really made the back deck feel more upscale to have the contrasting colors. Once I put that first coat of Snowbound on the posts it was like a totally different deck!
Everything required two coats, per the directions. The saturation of the colors really shows and I’m so happy with my color choices.
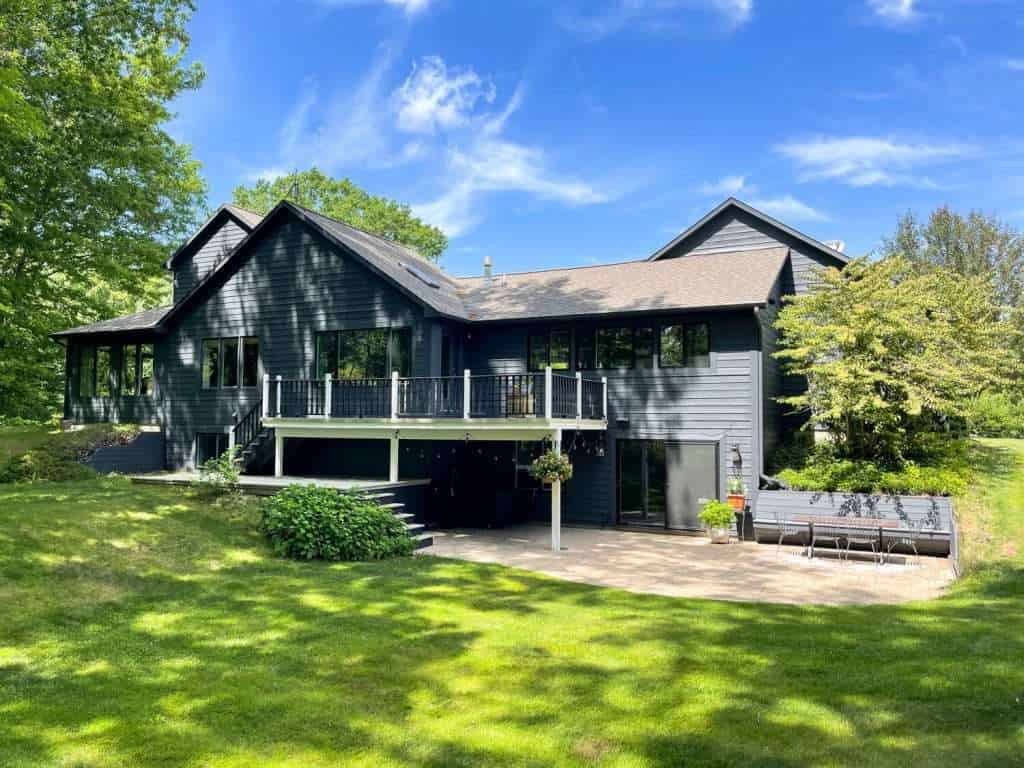
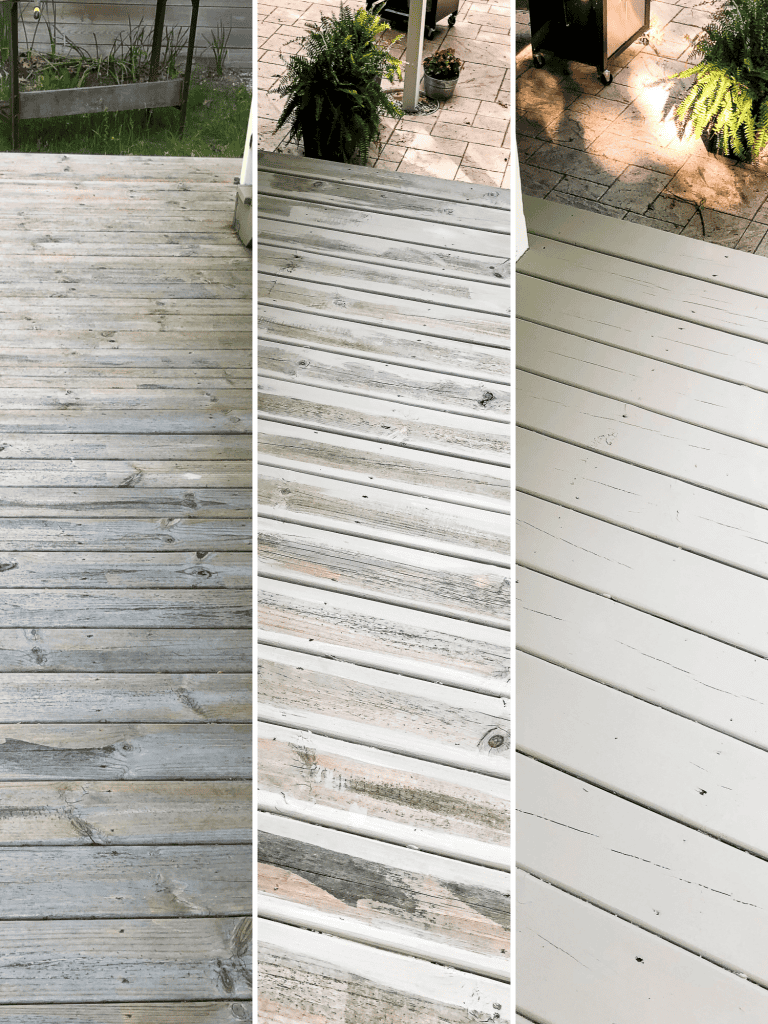
I’m so pleased with how our painted deck turned out!
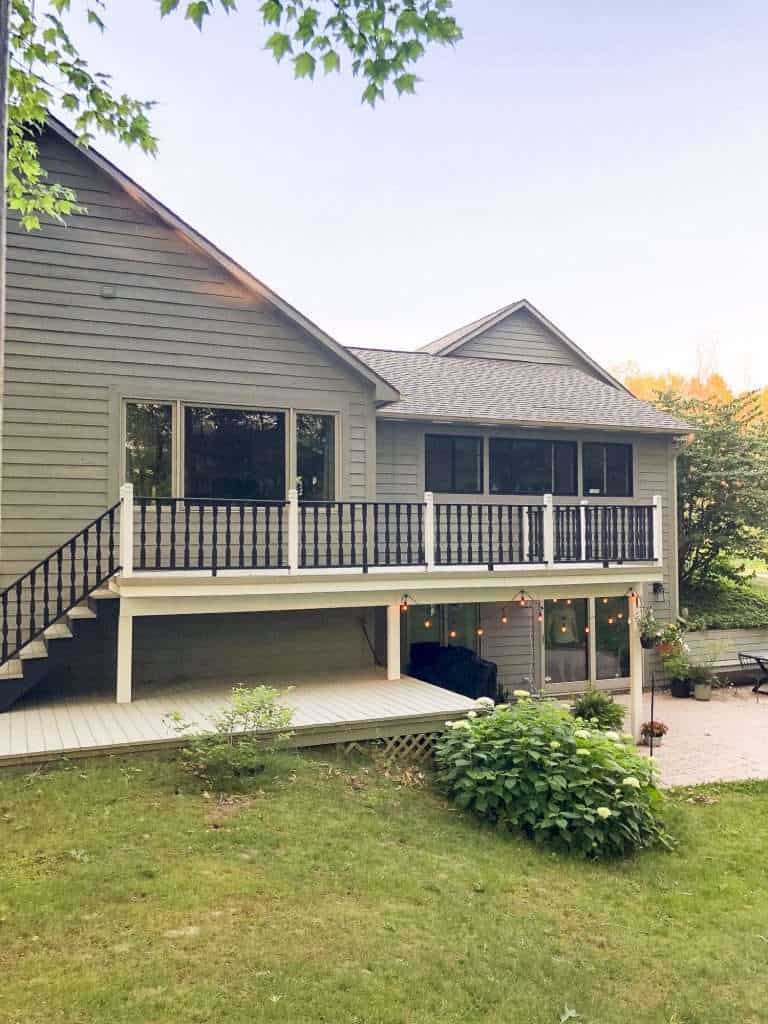
Can you even believe it’s the same wood deck?!
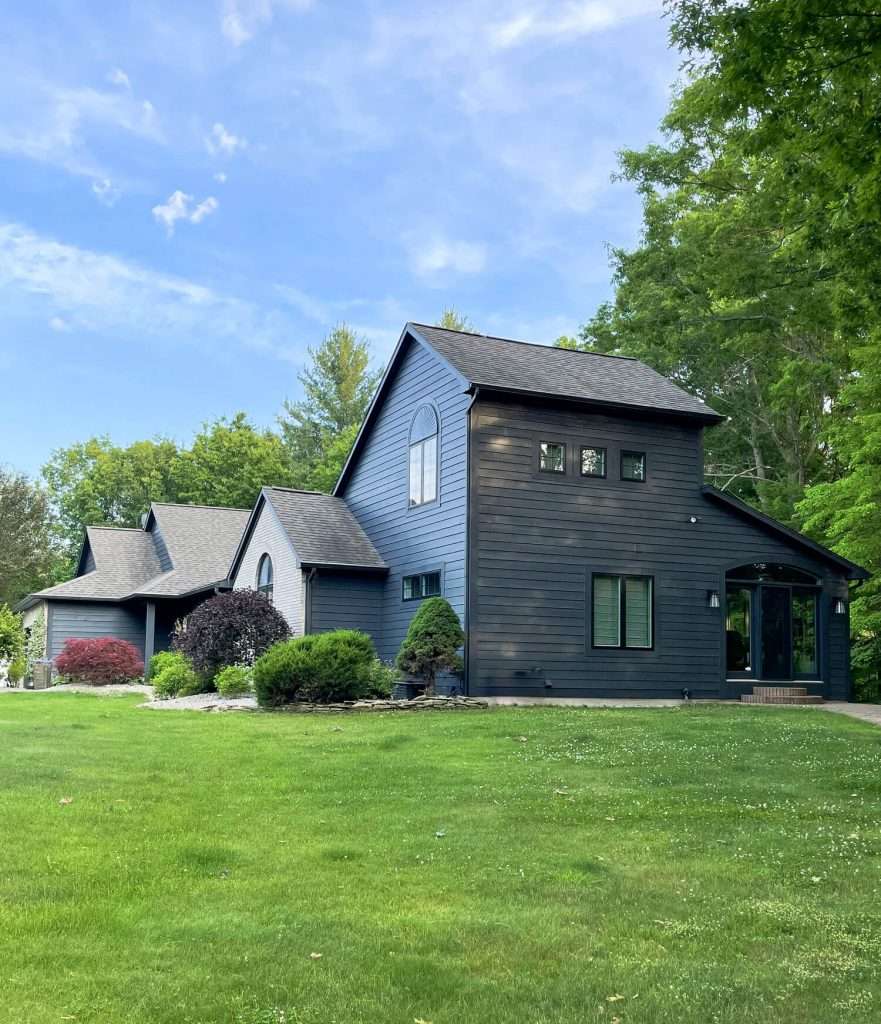
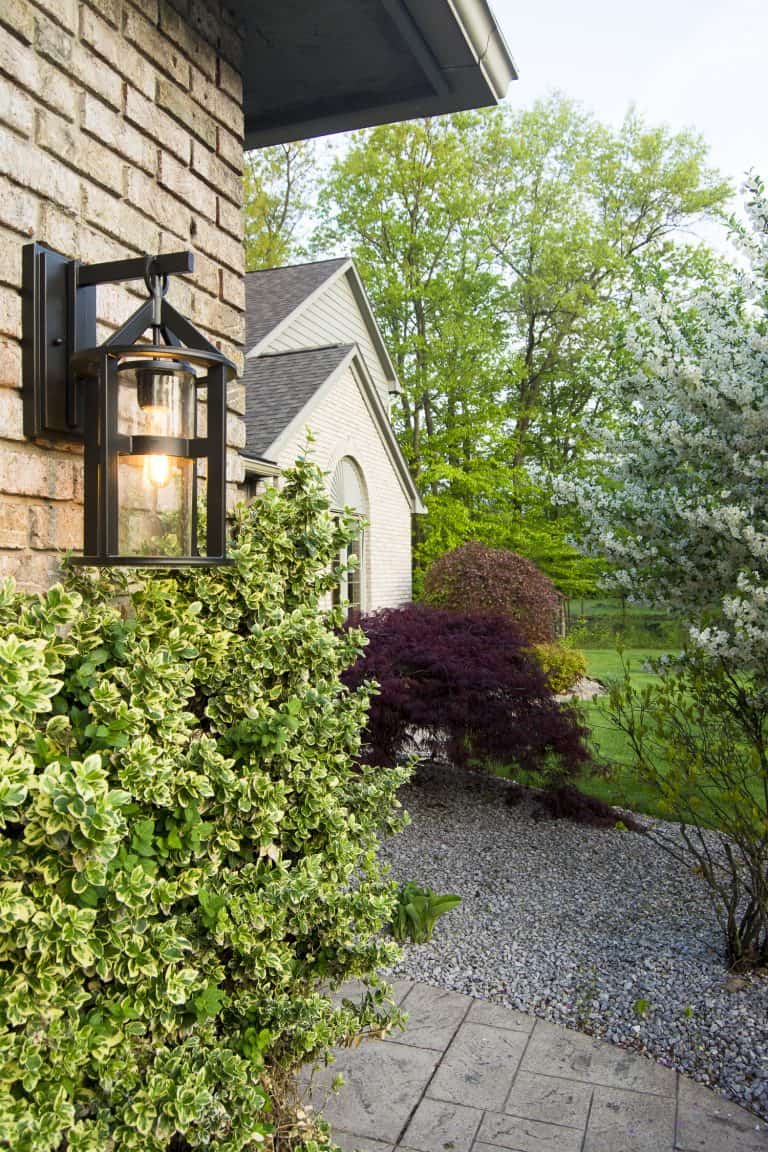
Honestly, after painting the deck, it made me recognize how worn our house looks too! Next project, paint the house. You can see how that turned out in this post on black exterior paints.
Before and afters are my favorite! It is amazing how much paint can transform a home.

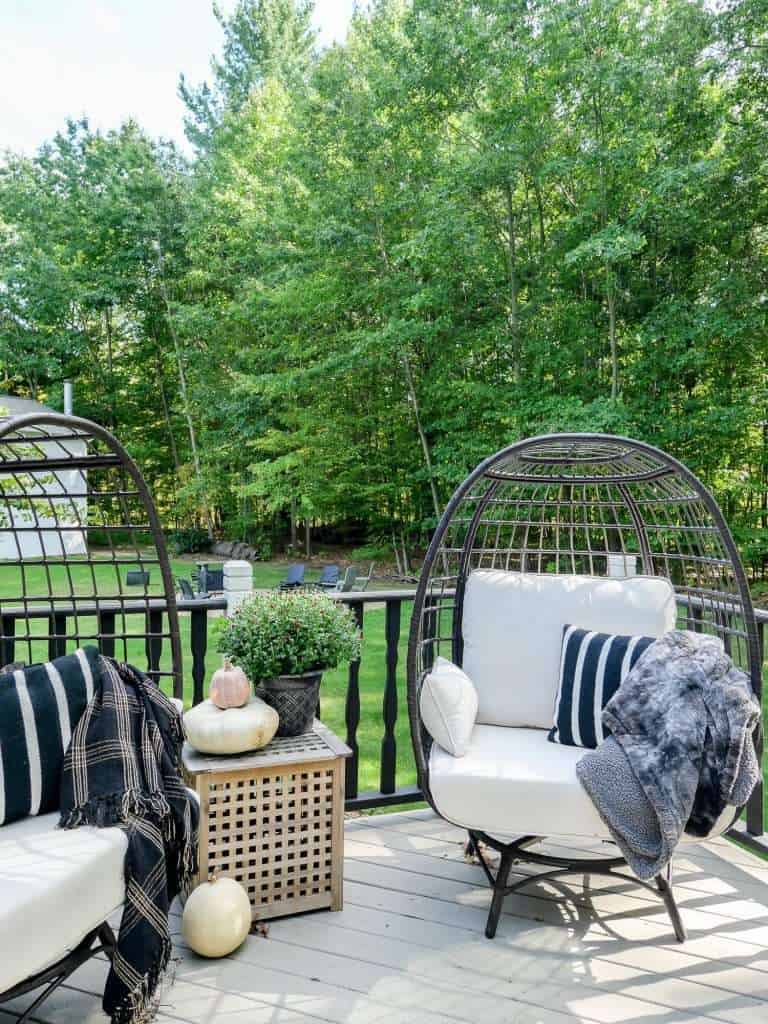
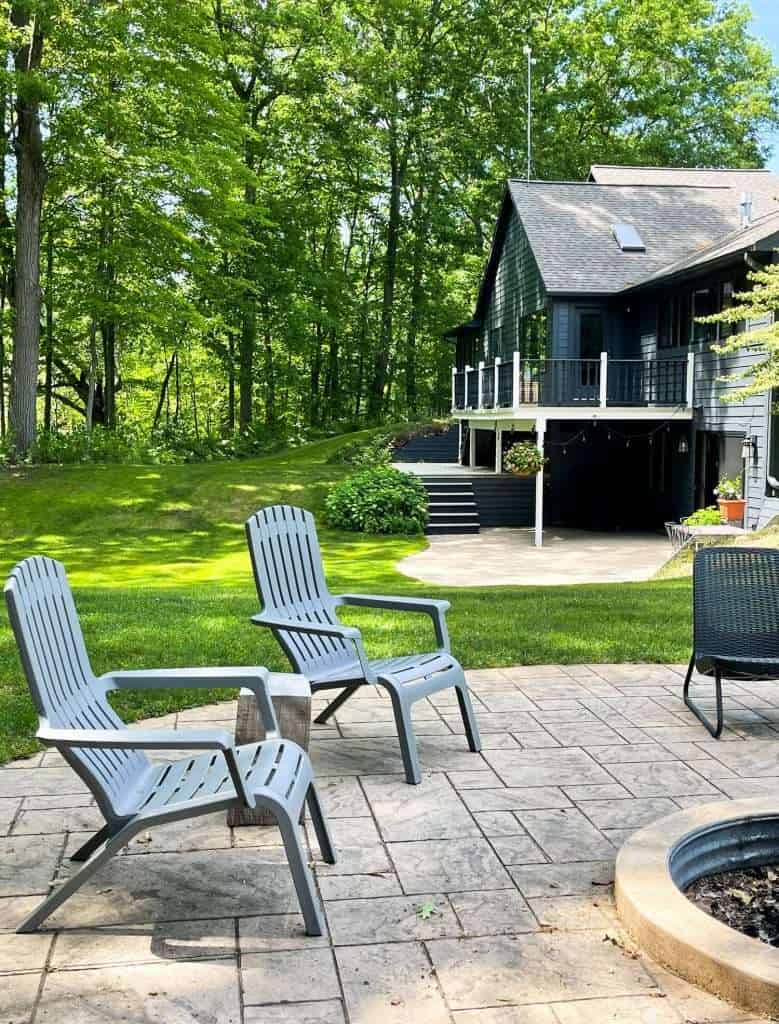
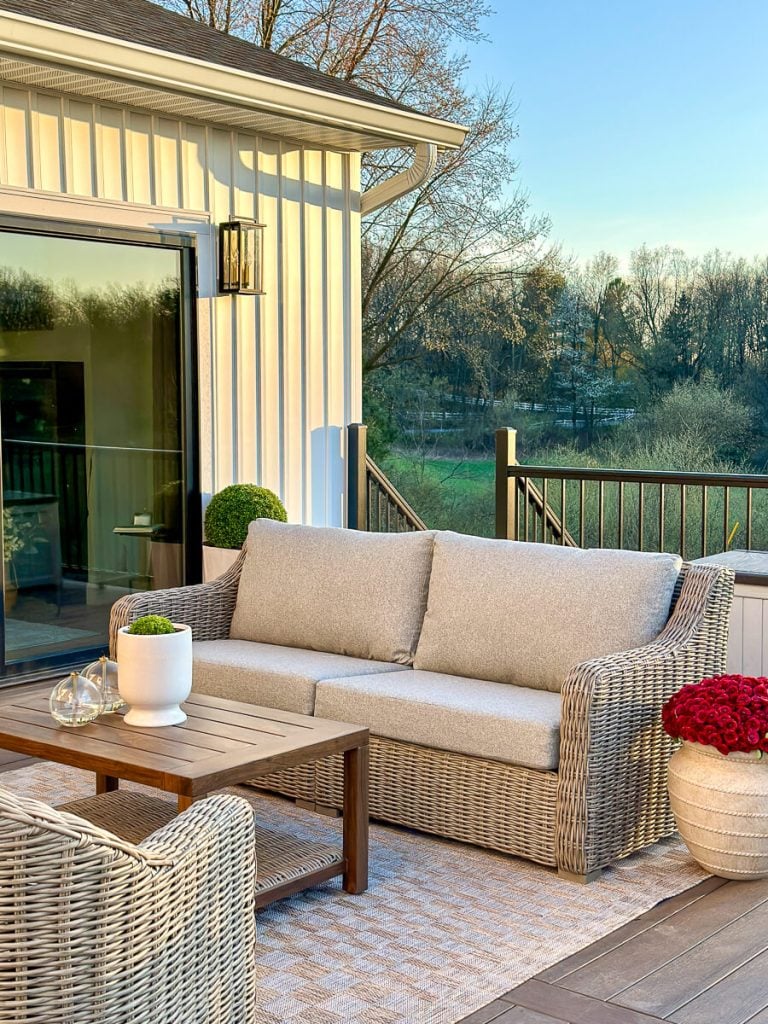
Styling a Deck for Entertaining
Now our deck is so much more inviting. Honestly, we rarely used the back yard for entertaining because it looked so dilapidated. That will no longer be a problem!

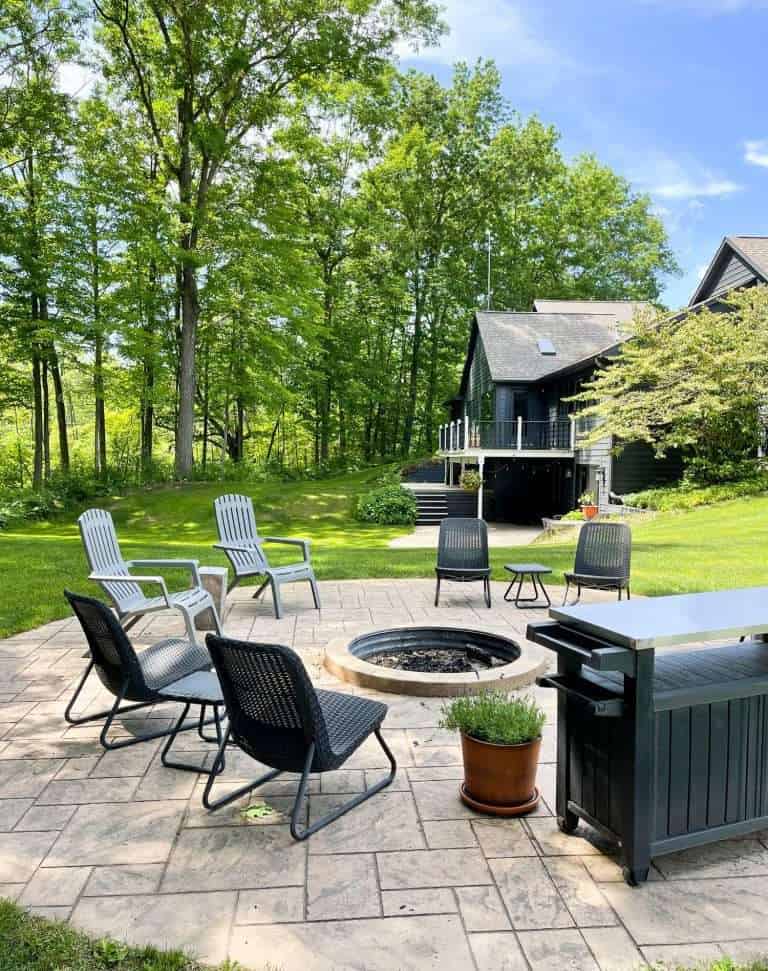
Our back patio now feels complete since the deck matches its style more. You can see more of our outdoor spaces in this post about how I designed our yard for relaxation and entertaining!
And if you’re looking for some great ways to update your outdoor living spaces, learn how with these 20 low budget backyard living ideas.
The next step of this project is to design the completed deck for entertaining!
I would love to get some comfortable patio sofas to create a little oasis on the deck.
The back deck offers some of the best views of our woods and creek so we’d love to entertain on it more often.

Shop Outdoor Decor
SHOP THE LOOK
A Complete Transformation with Deck Paint
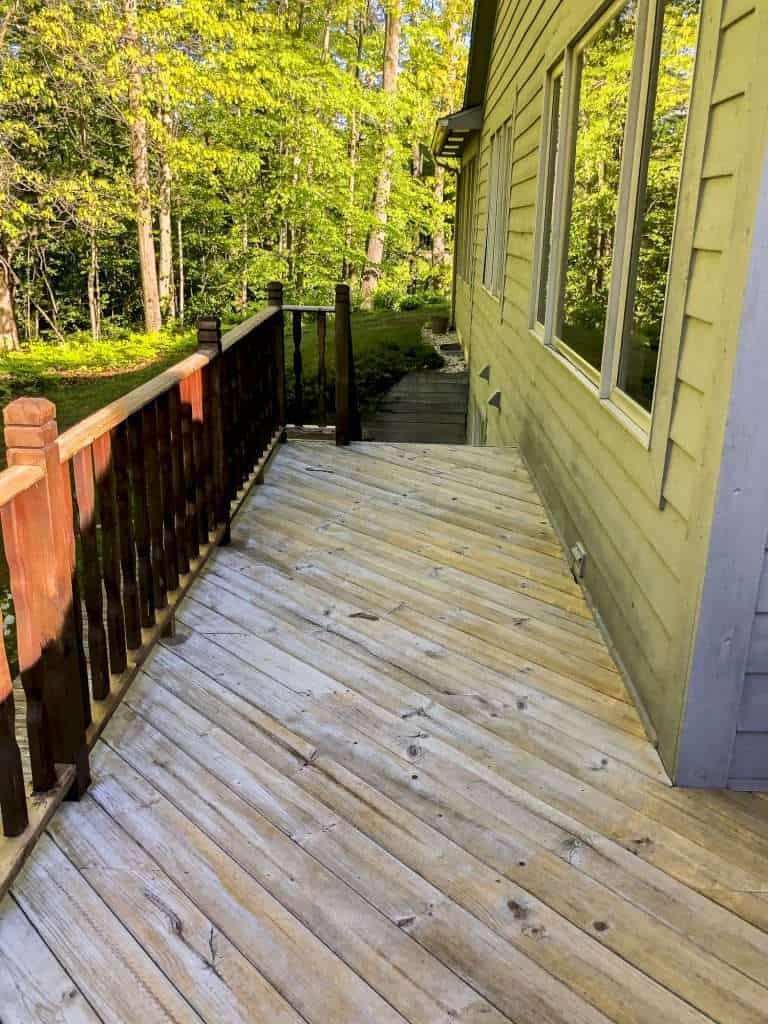
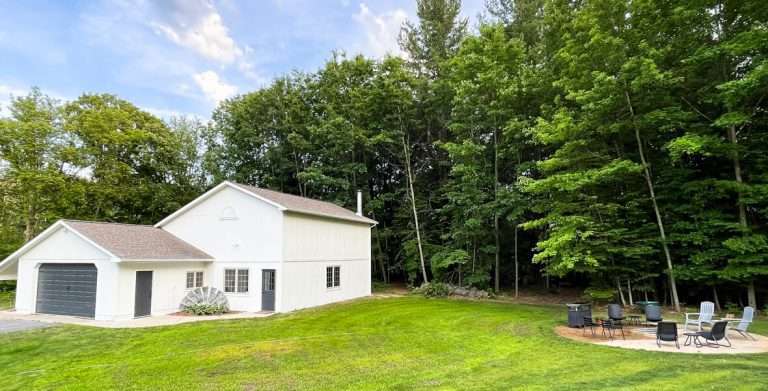
When we moved into our home in 2018, I knew the back deck needed to be refinished. Here’s a little more detail on the color choices I made and the paint I used.
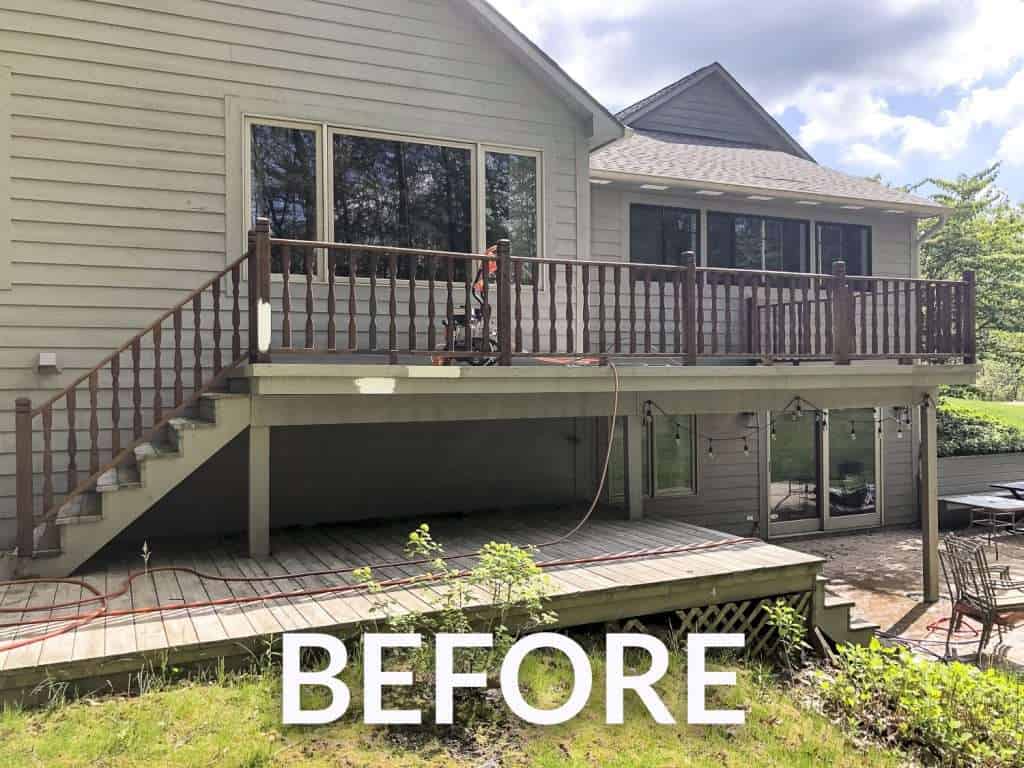
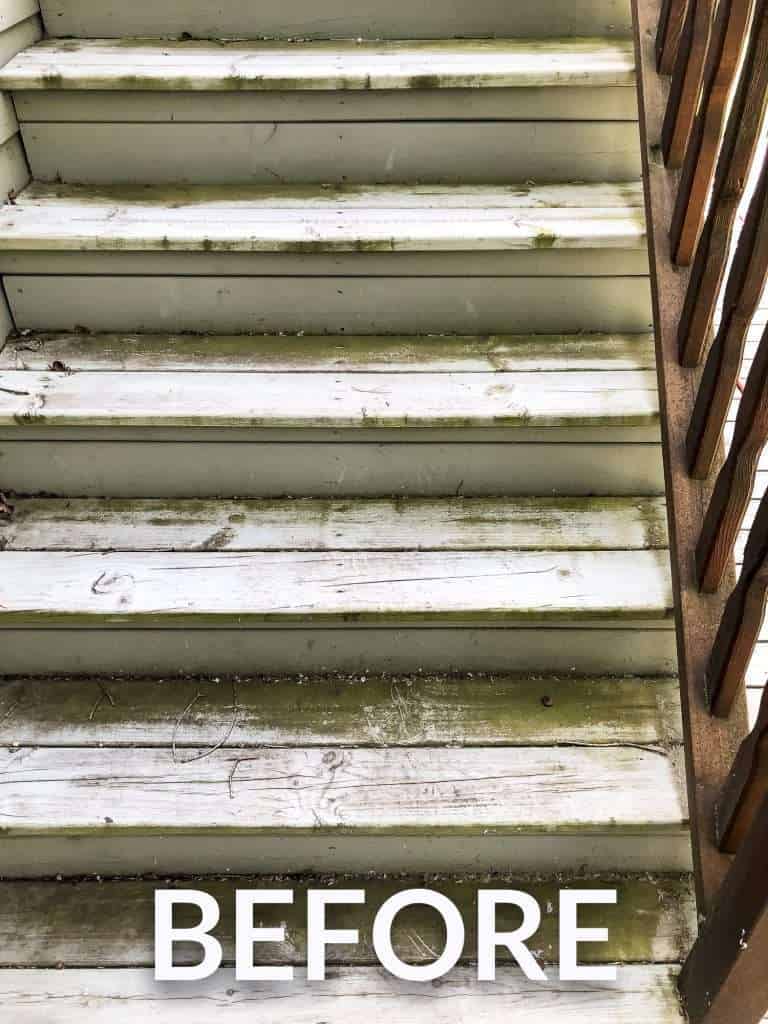
The green deck stain matched the house, but wasn’t holding up well to the constantly wet environment of our shaded deck. Plus, the outdated cedar spindles were worn and chipping.
Overall, it blended into the house, but not in a good way. I knew deck paint would bring it back to life since the structure was sound. So I headed to gather some deck paint samples!

I started out with:
- Snowbound SW 7004 (White)
- Iron Ore SW 7069 (Black/Grey)
- Jogging Path SW 7638 (Light Taupe)
- Studio Clay SW 9172 (Dark Taupe)
This was a great example of why I always recommend testing samples before purchasing paint. My original design plan included black, white and a dark taupe. I loved two of the samples I purchased, but the Iron Ore pulled more grey than I expected.
I ended up getting another sample of black paint from Sherwin Williams and was much happier with the outcome! I finalized my color scheme with:
- Snowbound for the posts
- Tricorn Black for the railing and stair risers
- Studio Clay for the decking
My Review of Our Deck Paint
After discussing my project with the Sherwin Williams store manager, I decided to go with Super Deck Deck & Dock Coating. He recommended it because it is a solid coating rather than a semi-transparent stain that will hold up better to our damp and wooded environment.
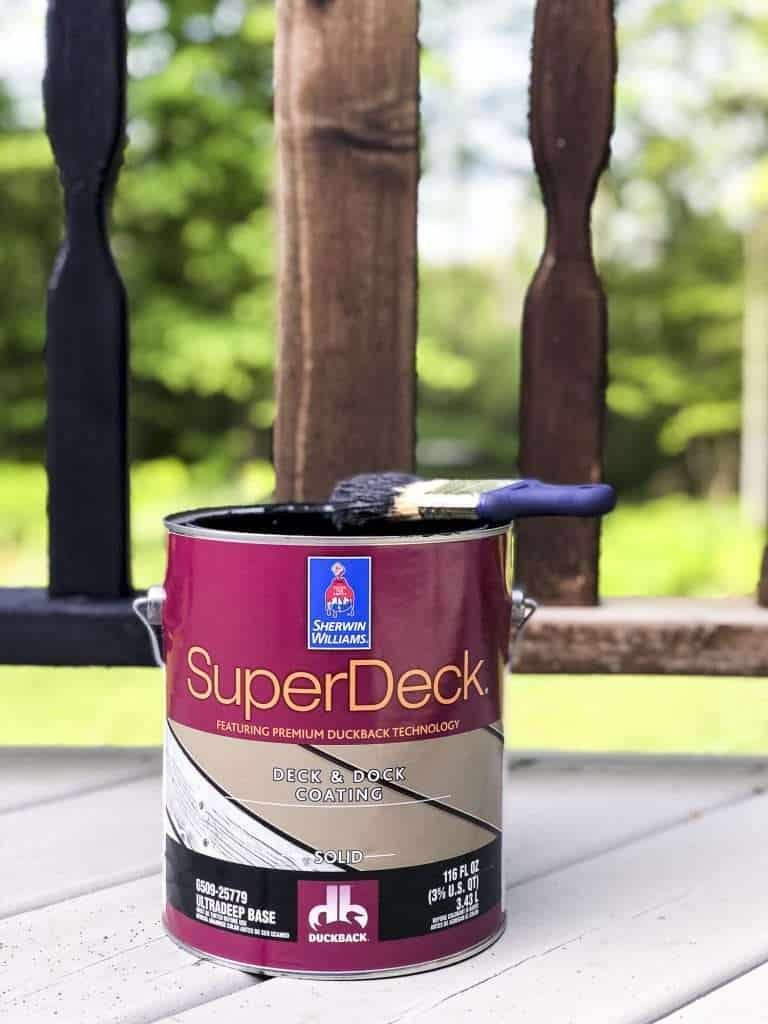
{UPDATE: 1 YEAR AFTER PAINTING} The upper deck has held up well. Unfortunately, the lower deck is chipping. The lower deck is subjected to water overspray from our sprinkler system daily in the summer and holds the snow load in the winter. I’m disappointed that it didn’t hold up better after only one summer and winter season.
The upper deck has had no issues, and the railings are still perfect. But the lower deck has not held up to the elements.
I always like to be 100% transparent on products I use. So please take note that I’d only use this product again on surfaces that are not heavily exposed to weather.
Looking for More Painting Tips?
- 10 Best Exterior White Paints
- 10 Best Exterior Black Paints
- How to Paint a Room Fast in 5 Steps
- How to Paint Wood Trim
- How to Paint Windows Without Tape
- How to Paint a Tile Backsplash
- How to Paint Kitchen Cabinets
Stay Connected
Thanks so much for stopping by Grace In My Space today!

I hope that this post on how to paint a deck inspired you to cozy up your outdoor spaces. Make sure to subscribe to access all my free guides. Plus, you can follow along with me daily on Instagram and weekly on YouTube!
~Sarah
More Outdoor Living

This meticulously researched and artfully composed article demonstrates outstanding scholarly merit. The logical flow of arguments coupled with elegant expression makes it particularly commendable. It has my highest appreciation.
Like a finely woven tapestry of words, this article captivates both mind and heart. Its lyrical quality and profound wisdom resonate deeply, making it a work I shall return to often with renewed admiration.